 bluename
 How to Amend jade plant Soil for Drainage in Clay Pots: 5 Tips That Actually Work
Let me cut straight to it: 90% of indoor plants die from overwatering, and jade plants are prime victims. If you are here, you probably own a clay pot, a jade plant, and a guilty conscience from seeing those mushy, yellowing leaves. I am here to tell you how to amend jade plant soil for drainage in clay pots, so you can stop the rot today. Here is the short answer: mix one part coarse sand, one part perlite, and two parts succulent potting mix, then repot immediately. I have killed two jade plants this exact way before I figured out the right recipe. Let me walk you through what I learned over two weeks of careful observation.
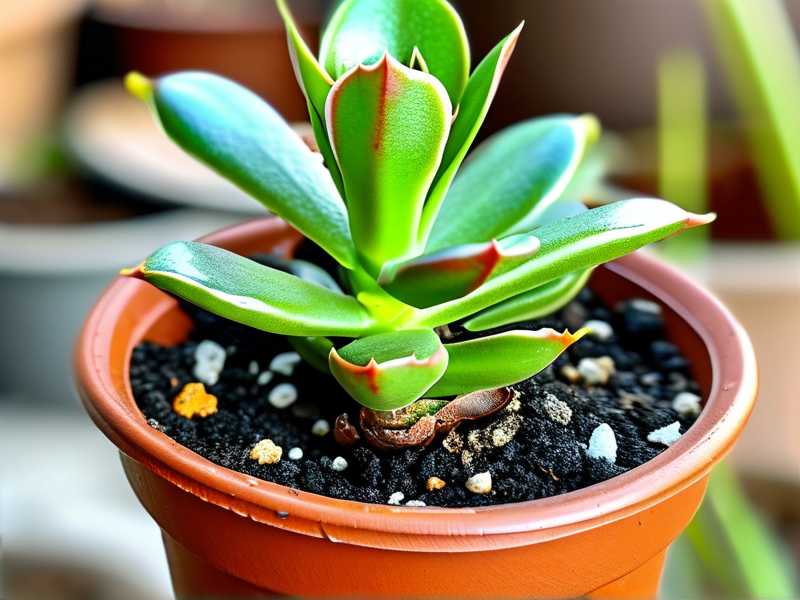
My First Disaster: The Mud Pit Scenario
I remember my first jade plant. It was a gift, sitting proudly in a lovely terracotta pot. I watered it every Saturday like clockwork. Within a month, the leaves turned to jelly. I pulled it out, and the roots were brown mush. I did not know what a drainage amendment was back then. I thought soil is soil.
I was wrong. Clay pots, unlike plastic, are porous. They pull moisture out through the walls, which sounds great for drying. But if your soil is too dense, clay holds onto that water like a sponge clutches soap. The water sits in the bottom, and the jade roots, which hate wet feet, start to drown. That is the hidden danger of clay pots—they create a water trap at the base if the soil texture is wrong.
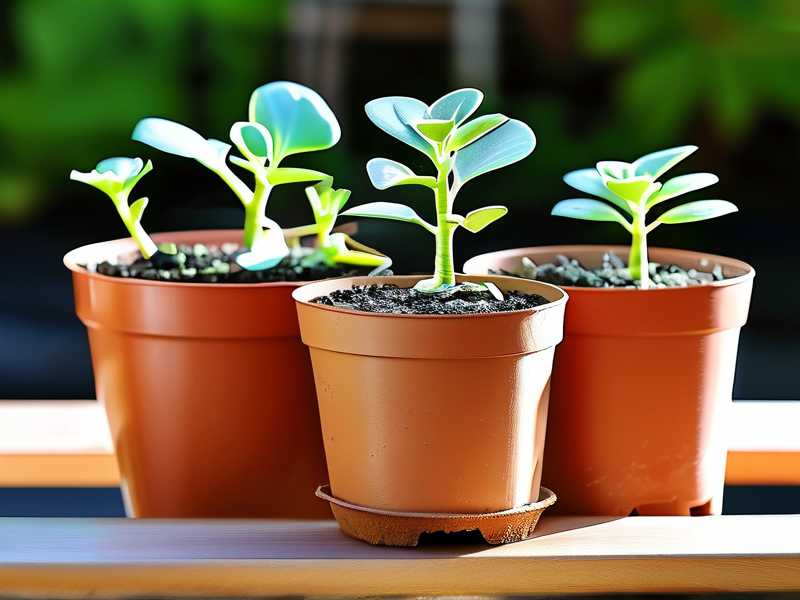
The 5-Step Amendment Process I Swear By
Step 1: Accept That Potting Mix Alone Is a Lie
Those bags labeled "Cactus Mix" at the box store? They are okay, but they are too fine. I tried one once, straight out of the bag. It was still peat-based. Peat holds water. In a clay pot, that is a fast track to root rot.
Here is what I do now. I get a large plastic tub and dump my ingredients in. My base ratio is:
- 2 parts commercial succulent mix
- 1 part pumice or perlite (bigger chunks, please)
- 1 part coarse sand (not play sand—that stuff is too fine and clumps)
You should never use regular garden soil. It is too dense and often contains pathogens. I made that mistake on attempt number two, and the fungus gnats descended within a week. Pure nightmare.
Step 2: The Mason Jar Test (You Cannot Skip This)
This is a trick I came up with after trial and error. Before I put the mix in the pot, I test it dry. I fill a clear mason jar halfway with my mixed soil. I add water slowly until it pools on top. Then I watch.
- If the water absorbs in under 30 seconds, the mix is too open. That is actually fine for jade, but you can add a little more organic matter.
- If the water sits for 5 minutes, you need more grit. Simple as that.
The goal is for the water to drain through and not form a puddle. But you also do not want it to run through like a sieve. You want it to absorb a bit, then release. I call this the sweet spot. When I tested my current batch, the water absorbed in about 45 seconds and ran out the bottom holes in a steady stream. That was perfect.
Step 3: The Pot Prep That Changes Everything
So, you have fixed the soil. Good. But a clay pot has its own needs. I learned this the hard way. On my third plant, I did the soil right, but I ignored the pot itself. That plant still struggled.
Clay pots need a soak before planting. If the terracotta is bone dry, it will suck all the moisture right out of the soil after you water. The roots get shocked. So, I soak the empty pot in a sink of water for 10-15 minutes. Then I let it dry out to the touch on the outside.
Now, about drainage holes. I always check that there is a single large hole at the base. I also place a small piece of screen mesh over it. Not a shard of broken pottery, which everyone suggests. A flat shard can clog the hole if the soil goes anaerobic. The mesh keeps the soil in but lets water out freely. This detail matters more than you think.
Step 4: Watering After Repotting (Timing Is Everything)
This step is counter-intuitive. I used to water right after repotting. Big mistake. When you have just disturbed the roots, they are tender. If the soil is wet, they are susceptible to bacterial infections.
Here is my timing for the two-week observation period:
- Day 1: Repot dry. Do not water.
- Day 3: Water lightly. Just enough to moisten the top half of the soil.
- Day 7: Check the weight of the pot. Lift it. I felt that the pot was significantly lighter than day 3.
- Day 9: Water again, thoroughly, until I see it drip from the bottom hole.
- Day 14: Wait. Do not touch it. Let it dry out completely.
I did this, and the leaves perked up by day 5. They looked plumper. By the end of week two, new tiny green growth appeared at the stem tips. That is the signal that the roots have settled in and the drainage is working.
Three Fatal Mistakes New Jade Plant Owners Make
I have been down this road. I want to save you the grief. Here are the top three killers I see in forums and in my own living room.
1. Overwatering (The Obvious One) You already know this. But let me be more specific. Jades are dry-season plants. In the wild, they get winter rain and summer drought. Indoors, we ignore this cycle. You need to let the soil go bone dry between waterings. I stick my finger 2 inches down. If I feel any hint of moisture, I wait. If I feel dust, I water. Do not water on a schedule. Water on condition.
2. Light Misplacement (The Sneaky One) Jades love light. A bright, sunny south-facing window is ideal. But I killed my second plant by putting it on a west-facing shelf in a dim corner. The soil stayed wet because the plant was not photosynthesizing fast enough. The plant used less water, the soil stayed soggy, and the roots rotted. You need at least 6 hours of direct sun. If you do not have that, your jade will slowly decline. I experimented by moving my plant outside for two weeks during the spring. The leaves turned a lovely red tinge on the edges. That is a sign of good light stress, which is actually healthy.
3. Using the Wrong Pot Size This was my final lesson. I put a small jade cutting in a huge clay pot. I thought it would grow into it. No. The huge pot held a lot of soil. That soil held water. My cutting had tiny roots that could not drink the water fast enough. The soil stayed wet for 3 weeks, and I lost the plant. I now match the pot size to the root ball. When I repot, I only go up 1-2 inches in diameter maximum. This is the hard truth I accepted after my eighth plant.
My 14-Day Field Notes: What I Observed
Let me give you a chronological timeline of my recent repotting experiment, using that exact 5-tip process. I find logs helpful, so maybe you will too.
Day 1: I watered the plant thoroughly a week before this to ensure it was hydrated for the stress of repotting. On this morning, I took a clean clay pot, soaked it, and prepped my gritty mix. I pulled the jade from its old plastic nursery pot. The roots were circling the bottom, a bit cramped. I loosened them gently with my fingers. Placed it in the new clay pot, filled the sides with my mix, and tapped it down. No water. The pot sat looking dry and sad.
Day 3: The plant looked okay but a bit pale. I was nervous. I watered it lightly, about half a cup. The water ran down the inside of the pot edges and out the bottom in about 15 seconds. That was too fast, to be honest. I worried I had too much perlite. But I waited.
Day 5: I lifted the pot. It felt lighter than day 3. The color of the leaves had regained their glossy dark green. Good sign.
Day 7: I saw a tiny white speck at the base of one leaf. I touched it. It was a new root tip trying to find the edge of the pot. Success.
Day 9: Thorough watering. The water pooled on top for one second, then fell through the mixing bowl and out the holes. This was the perfect speed.
Day 12: The soil top looked slightly crusty, which is normal for clay pots. That helps with evaporation. The plant looked taller. The stems felt firm.
Day 14: New tiny leaves are visible at several nodes. The plant is definitely on the upswing. I know the mix is working because the clay pot dried out evenly. No wet pockets at the bottom.
The Role of Terracotta: Why You Do Not Need to Ditch It
Many blogs will tell you to just switch to plastic. But I disagree. Terracotta has a rustic charm and it breathes. The trick is to use the right soil with the right pot. The clay pot is your friend for drainage—it helps transpire water through its walls. I actually find it easier to save a sick jade in a clay pot than a plastic one because the soil dries faster, protecting the roots from lingering wetness.
According to the RHS, which I consult often, Crassula ovata requires a free-draining environment and a restricted root run. They advise that overpotting is a primary cause of failure. The AHS also mentions that companion planting with jade in a clay container is beneficial because the amphora-shaped pot increases airflow to the roots. They both point to the same conclusion—you need grit.
There is a nuance though. I found that certain brands of pumice are better than perlite. Perlite floats to the top over time. Pumice stays put. If you can find horticultural pumice locally, pay the extra dollar. It is worth it. I use a mix of both now for texture.
Common Symptoms That Signal a Drainage Problem
How do you know if your soil is failing? I look for these signs:
- Leaves that are soft and wrinkled but not transparent.
- Black spots at the base of the stem.
- A musty smell from the soil after watering.
- Fungus gnats buzzing around the pot.
- The clay pot feels overly heavy immediately after watering for more than two days.
If you see any of these, your soil is too water-retentive. You need to amend it immediately. Do not wait. I waited once thinking it would dry out. It did not. Five days later, the stem snapped with brown rot inside.
The "Bonsai Trick" I Stole from My Grandfather
My grandpa kept bonsai trees on the porch. He taught me this technique. He used to put a thin layer of coarse gravel at the very bottom of the clay pot, above the drainage hole screen. I thought he was a dinosaur. But he was onto something.
I now do this with jade. I add a ½ inch layer of small pebbles (like aquarium gravel) at the bottom. It acts as a water reservoir that promotes evaporation. It keeps the soil directly above it dry. But be careful—I do not think this is a replacement for good soil. It is just a safety net.
I noticed with this layer, the pot did not sweat as much on the sides in the first week. That moisture barrier kept the bottom roots warm, which jades like.
Answering the Hard Questions: FAQ
FAQ 1: Can I just buy a bag of cactus dirt and add it to my clay pot? You can, but I do not recommend it. Most commercial cactus mixes are still too peaty. I tested one popular brand last month. It was basically dark peat moss with a few white flecks of perlite. It took 3 days to dry out in my clay pot. Far too slow. You must add at least 30% extra perlite or pumice. So yes, you can, but you still need to amend it.
FAQ 2: How often should I water a jade plant in a clay pot with amended soil? In my experience, every 10 to 14 days in the warm months. In winter, maybe once a week at most. But again, I do not look at the calendar. I look at the pot. I gauge the weight. If you are new, use a wooden skewer. Stick it in the soil. If it comes out dirty with wet particles, wait two days. If it comes out clean and dry, water it. That simple tap test is my best friend.
FAQ 3: My leaves are falling off even after I fixed the soil. Why? This can happen from repotting stress. I saw some leaf drop in my first week. But if the leaves are turning black instead of yellow, it might be root rot from before. After amending the soil, you should see healthy new growth within two weeks. If you still see drop-off after a month, snap a photo and post it to a succulent group. Sometimes it is a fungal issue, which might require a systemic fungicide, not just a soil change. I keep a bottle of sulfur fungicide on hand for that rare case.
My Secret Ratio for the Long Run (The "Go-To" Mix)
After many batches, I have settled on a final recipe. It has been reliable for two years now. This is what I actually use in every clay pot I own, not just jade.
- 2 parts coarse coconut coir (it helps with aeration, unlike fine peat)
- 1 part #2 chicken grit (a cheaper alternative to commercial vermiculite, it’s crushed granite)
- 1 part perlite or pumice (I go 50/50 with these)
- 1 part worm castings (for feeder roots, provides trace nutrients)
This combo is gritty under the fingers. It does not compact. The worm castings feed the plant, and the grit opens up space. You can find chicken grit at a farm supply store for super cheap. But do not use builder's sand; it clumps. I made that error in a pinch once, and the pot turned into concrete.
Final Thoughts for a Healthy Jade
Getting the drainage right in a clay pot is not a mystery. It just requires a bit of mechanical effort. Stop thinking about watering schedules, and start thinking about the physics of the pot and the soil matrix.
If you amend the soil with gritty chunks, soak the pot first, and let the top inch dry out before watering again, your jade plant will thrive. I have seen my own plant survive a rough move across town without losing a single leaf because the soil was not holding moisture hostage.
Take a deep breath. Mix that gravel. Get your hands dirty. Your jade plant will thank you with dark green leaves and maybe a tiny bloom cluster if you give it cool nights in the fall.
Just remember what I said: 90% of indoor plants die from overwatering. Your job is to give the water an escape route. Clay pots are good. Gritty soil is mandatory. Do that, and you are already ahead of the curve.





