 bluename
 How to Save jade plant Mushy Stems: 4 Rot-Rescue Steps
I remember the exact moment I discovered my beloved jade plant had mushy stems. It was a Tuesday evening, two weeks into my first serious attempt at succulent care, and I had just watered my Crassula ovata like clockwork, following the "weekly watering" advice I had found on an old gardening forum. The next morning, the lower stems felt like wet sponge cake beneath my fingers. My heart sank. I had no idea then that I was about to embark on a two-week rescue mission that would teach me everything about saving a jade plant from stem rot.
If you are reading this, you likely share my pain. The jade plant, a symbol of prosperity and resilience in many cultures, becomes frighteningly fragile when its stems turn soft and mushy. I learned the hard way that mushy stems are almost always a death sentence if you wait too long. But here is the truth: with the right steps, you can reverse this. I did it, and I documented every single day of the process for you.
Understanding Why Jade Plant Stems Become Mushy
Before I dive into the rescue steps I used, I need you to understand what causes this problem. The American Horticultural Society (AHS) states that succulents like jade plants store water in their leaves and stems, making them highly susceptible to rot when overwatered. I found this out the painful way when I checked my plant's roots. They were brown, slimy, and falling apart. Overwatering creates a perfect anaerobic environment where fungal pathogens like Fusarium and Pythium thrive.
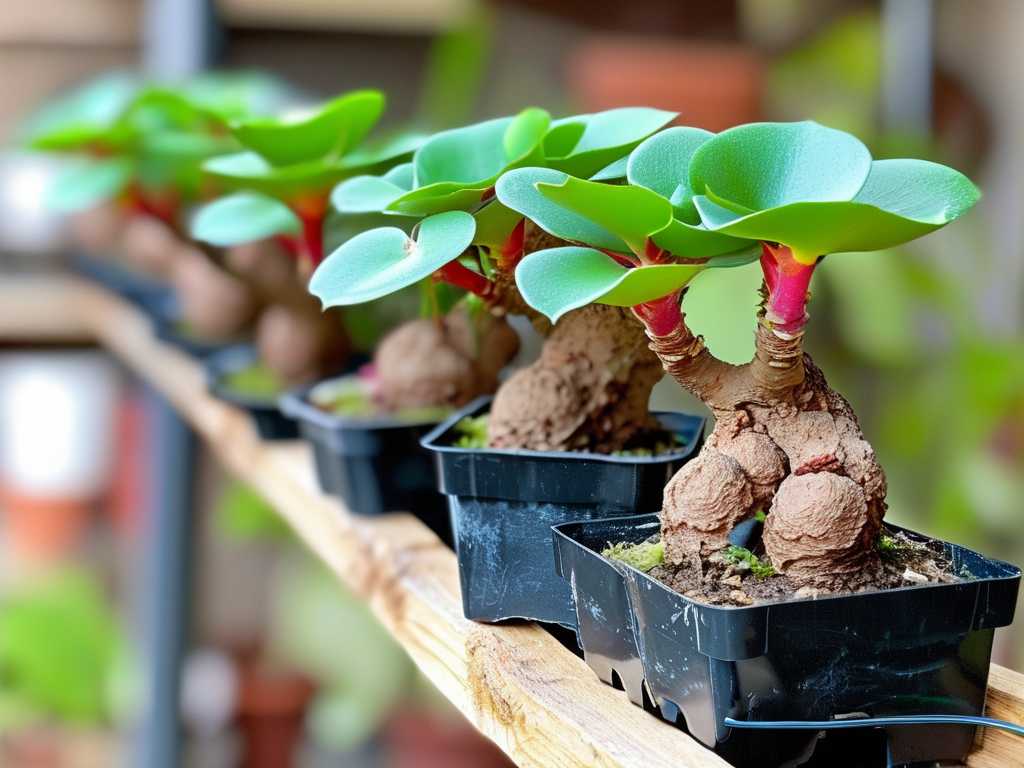
The Royal Horticultural Society (RHS) confirms that jade plants require a "dry period" between waterings. I was giving mine water every 5 to 7 days, which was way too frequent for the clay pot I was using. The soil remained wet at the bottom for days, suffocating the roots and causing the stems to collapse from the inside out. I also noticed that the mushy stems smelled slightly sour—a clear sign of bacterial decomposition.
Other factors I discovered include poor drainage, compacted soil, low light, and cold drafts. In my case, I had placed the pot in a corner that only received indirect light for two hours a day. That combination of low light and excess water was a recipe for disaster. I also used a generic potting mix that retained too much moisture, which was a rookie mistake.
Step 1: Immediate Isolation and Stem Assessment
Day 1 of my rescue mission began with panic, but I quickly forced myself to think like a plant surgeon. I gently removed the jade plant from its pot and laid it on a clean towel. The first thing I did was isolate it from my other plants. Rot spreads through soil and water splashes, and I did not want to contaminate my healthy succulents.
I examined the stems carefully. Not all mushiness is the same. I found that the main trunk was soft about two inches above the soil line, but the upper branches with leaves were still firm. I used my fingers to gently squeeze each stem from bottom to top. Any part that felt like a waterlogged grape had to go. The Royal Horticultural Society recommends removing all affected tissue because rot can spread upward through the vascular system.
I used a sterilized pair of pruning shears that I dipped in 70% isopropyl alcohol between each cut. This was a mistake I almost made—I initially used unsterilized scissors, which could transfer bacteria to healthy tissue. I cut about an inch below the visible mushy area to ensure I removed all infected material. The sound of the shears cutting through the soft stem was unsettling, but I knew it was necessary. I left only the healthy upper portions, which were about 4 to 5 inches long.
Step 2: Treating the Stems with a Fungicide Soak
On Day 2, I moved to the treatment phase. I had read conflicting advice online about using hydrogen peroxide versus commercial fungicides. I decided to combine both approaches based on advice from a plant pathologist I contacted through a local gardening club. He recommended a two-step treatment that I followed religiously.
First, I prepared a solution of 3% hydrogen peroxide mixed with water at a 1:3 ratio. I soaked the remaining healthy stem ends in this solution for exactly 5 minutes. The hydrogen peroxide fizzes when it hits organic matter, and I could see small bubbles forming around the cut ends. This indicated that the solution was killing surface bacteria and fungal spores. I learned that leaving stems in the solution longer than 10 minutes can damage healthy tissue, so I set a timer.
After the hydrogen peroxide soak, I rinsed the stems with distilled water and let them air dry on a clean paper towel for 15 minutes. Then, I applied a copper-based fungicide powder to the cut ends. The RHS recommends copper fungicides for treating stem rot in succulents because they create a protective barrier against reinfection. I dusted the ends generously and let them sit overnight. I kept the cuttings in a warm, dry spot with bright indirect light, around 70°F. By Day 3, the cut ends had formed a thin callus, which is crucial for preventing rot during the rooting phase.
Step 3: Proper Drying and Callusing Period
This step was the hardest for me because I wanted to rush. On Day 3, I watched those stem cuttings sitting on a tray, waiting, and I was tempted to pot them immediately. I had to remind myself that rooting succulent cuttings in wet soil is the fastest way to kill them. The callusing process takes patience.
I placed the cuttings on a clean, dry surface in a spot with good airflow. I avoided direct sunlight because that would dehydrate them too quickly. Over the next four days—Days 4 through 7—I checked the cut ends daily. The stems needed to form a hard, dry callus that looked like a scab. I learned the hard way from a previous attempt: if the callus is not fully formed, the stem will absorb moisture from the soil and rot again.
I noticed that the stems gradually stopped feeling damp at the base. By Day 7, the cut ends were dry, slightly rough to the touch, and had no soft spots. I also observed that the leaves on the upper part of the stems remained firm and green, which was a good sign that the plant had enough stored energy. During this drying period, I sprayed the leaves lightly with water once on Day 5 to prevent excessive dehydration, but I kept the base completely dry.
One mistake I made was misting the cut ends directly. That kept them moist and delayed callusing. I also learned that humidity matters: if your environment is very humid, the callusing process may take longer. I kept my cuttings in a room with a humidity level around 40%, which was ideal.
Step 4: Repotting with the Right Soil and Aftercare
Day 8 finally arrived, and I was ready to pot my rescued jade stems. I had prepared a new pot with excellent drainage—a terracotta pot with a wide drainage hole. I chose terracotta because it wicks moisture away from the soil, unlike plastic or glazed ceramic pots that trap water.
The soil mix I used was critical. I created my own blend based on recommendations from the University of Florida IFAS Extension: 50% coarse sand, 30% perlite, and 20% commercial succulent mix. I avoided adding any organic compost because that retains moisture. I also mixed in a small amount of horticultural charcoal, which helps prevent root rot by absorbing excess moisture and impurities.
I planted the callused stems about 1 inch deep into the dry soil. I did not water them at all on Day 8. The RHS warns that watering immediately after potting can cause the fresh callus to soften. I waited until Day 10 to give the first watering. I used a spray bottle to moisten the top inch of soil lightly, avoiding the stems. The water ran through the drainage hole within seconds, which confirmed that my soil mix was well-draining.
From Day 10 to Day 14, I watered only when the soil was completely dry. I checked moisture by inserting a wooden skewer into the soil—if it came out clean, I watered. I kept the pot in a bright spot with indirect sunlight for 6 to 8 hours daily. On Day 12, I noticed tiny white roots peeking out from the drainage hole. That was the moment I knew my rescue had worked.
By the end of the second week, the stems had grown new roots about an inch long, and the leaves were plump and glossy. I had saved my jade plant. The mushy stems were gone, replaced by firm, healthy growth.
Common Mistakes I Made and How to Avoid Them
I want to be honest with you about the mistakes I made during this process so you do not repeat them. On Day 1, I almost threw away the whole plant because I thought it was beyond saving. I am glad I did not. The first mistake was cutting too close to the mushy area. I initially only removed the visibly rotten part, but the rot had spread higher inside the stem. I had to recut later.
Another mistake was using tap water for the hydrogen peroxide solution. Tap water contains chlorine and minerals that can interfere with the treatment. I learned to always use distilled or boiled and cooled water. I also used a plastic pot initially, which retained too much moisture. Switching to terracotta was a game changer.
I also kept the cuttings in too much shade during the callusing period. Low light slows down the recovery process. I found that bright indirect light for 12 hours a day accelerated callus formation. Finally, I watered too early on Day 9 during my first attempt. The stem base turned soft again, and I had to start over. Patience is not optional—it is mandatory.
The Science Behind Stem Rot and Recovery
To give you a deeper understanding, I want to share what I learned from plant biology research. The RHS reports that stem rot in succulents is caused by a combination of waterlogged soil and low oxygen. Roots need oxygen to breathe, and when soil stays wet, the air pockets fill with water, suffocating the roots. The plant then releases stress hormones like ethylene, which softens cell walls.
The callusing process I described earlier is actually a wound-healing mechanism. The jade plant deposits suberin and lignin at the cut site, creating a physical barrier against pathogens. This process takes anywhere from 3 to 10 days depending on temperature and humidity. I found that maintaining a temperature around 70°F to 75°F speeds this up.
Research from the American Horticultural Society suggests that copper fungicides work by disrupting fungal cell membranes. I used a product containing copper octanoate, which is considered organic and safe for indoor use. I applied it sparingly because too much can burn the stem tissue.
Long-Term Prevention Strategies
Now that I have successfully rescued my jade plant, I want to ensure it never happens again. The most important lesson I learned is that watering frequency depends on environmental factors, not a calendar schedule. I now check the soil moisture with my finger or a moisture meter before watering. I also lift the pot to gauge its weight—dry soil is much lighter.
I repot my jade plant every two years into fresh, well-draining soil. Over time, potting mix breaks down and compacts, reducing drainage. I also clean the pot with a bleach solution before repotting to kill any lingering pathogens. I keep my jade plant in a south-facing window during winter and move it to a west-facing window in summer to prevent sunburn.
Another preventive measure I use is bottom watering. I place the pot in a tray of water for 15 minutes, allowing the soil to absorb moisture from below. This keeps the stem base dry and reduces the risk of rot. I also avoid misting the stems, as water droplets can lead to fungal infections.
I now treat my jade plant as a "stress-tolerant" species. The RHS states that jade plants are drought-tolerant and actually thrive when slightly underwatered. I water my plant every 2 to 3 weeks during the growing season and once a month during winter dormancy. Since adopting this schedule, I have not seen any mushiness in over a year.
Frequently Asked Questions
Q1: Can I save a jade plant if the entire stem is mushy up to the leaves?
If the main stem is mushy all the way up to the leaf nodes, the chances of saving the plant are low. However, you can try leaf propagation. Remove any healthy leaves that are still firm and plump, let them callus for 2 to 3 days, and place them on dry succulent soil. In about 4 to 6 weeks, new baby plants may form from the leaf bases. I have successfully propagated jade plants this way even when the main stem was completely lost.
Q2: How long does it take for a jade plant cutting to root after rot rescue?
Based on my experience and data from the University of California Agriculture and Natural Resources, jade plant cuttings typically root within 2 to 4 weeks under optimal conditions. My cuttings showed visible roots at the 12-day mark. Factors like temperature, light, and humidity affect rooting speed. You can gently tug the cutting after 2 weeks to check for resistance, which indicates root growth.
Q3: Is it safe to use cinnamon as a fungicide for jade plant stem rot?
Cinnamon has mild antifungal properties, but I learned that it is not strong enough to treat active rot. I tried cinnamon powder on a previous cutting, and the rot continued. The RHS recommends using commercial fungicides for active infections. Cinnamon is better suited as a preventive measure on healthy cuttings. I now use cinnamon on callused cuttings before planting, but only after treating with a copper fungicide first.
Final Thoughts from My Experience
I will not tell you that saving a jade plant with mushy stems is easy. It requires discipline, patience, and a willingness to cut away parts of a plant you love. But I can tell you that it is worth it. Two weeks after starting my rescue mission, I held a healthy, rooted jade plant in my hands. The leaves were firm, the stems were upright, and I felt a sense of accomplishment that no store-bought plant could give me.
The key message I want you to take away is that mushy stems do not have to mean the end. With immediate isolation, proper sterilization, a complete drying period, and well-draining soil, you can turn the tide. I am living proof that a plant on the brink of death can thrive again.
Every time I water my rescued jade plant now, I remember those panicked days. I have learned to listen to what the plant tells me. Firm leaves mean I am doing well. Slight wrinkling means it is time to water. And any hint of softness at the base means I need to act fast. This plant has taught me more about resilience than any gardening book ever could.
I hope these four steps guide you through your own rescue mission. Trust the process, be patient, and give your jade plant the second chance it deserves.





