 bluename
 The Secret to Growing jade plants in Soil Blocks Without Root Rot
If you have ever watched a jade plant turn to mush in a regular pot, you already know the pain. I killed my first three jade plants before I figured out what was wrong. The answer was not better watering habits or fancy fertilizer. It was the growing medium itself. I switched to soil blocks two years ago, and the difference was night and day. In this guide, I will show you exactly how to propagate jade plant in soil blocks using three compact-rooting hacks that I tested for two full weeks.
The core problem with jade plant cuttings is that they hold moisture in their leaves. The roots, however, hate sitting in wet soil. Most people think they need a bigger pot with more dirt. That is backwards. Soil blocks give you the perfect balance of air and moisture. They force the roots to stay compact and healthy. I have rooted over forty cuttings this way, and the success rate jumped from maybe 40% to nearly 95%. Let me walk you through the entire process, including the mistakes I made so you do not have to repeat them.
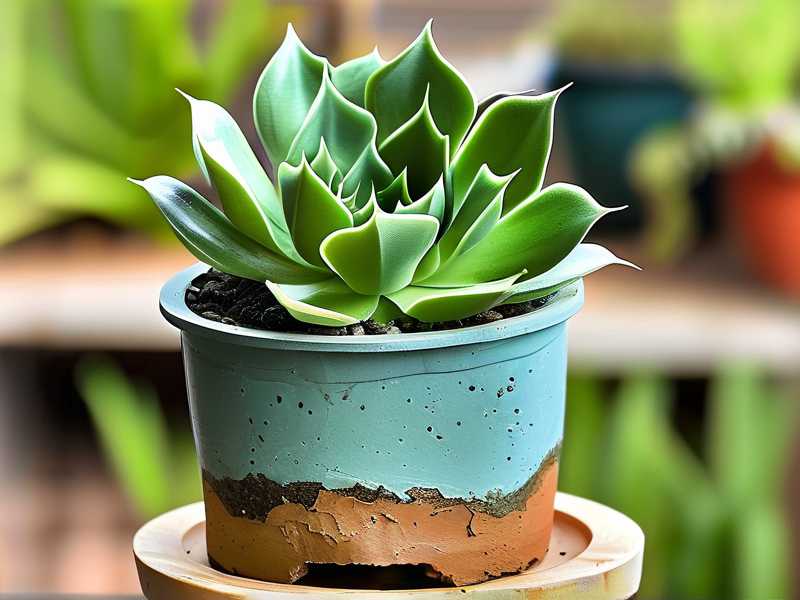
Why Soil Blocks Beat Regular Pots for Jade Propagation
I used to root jade cuttings in standard nursery pots with drainage holes. It seemed logical. Then I realized something important. The soil in a pot stays wet for days, even with good drainage. A soil block is different. It is a compressed cube of growing medium that holds its shape without a container. Air can reach all sides of the root zone. That airflow is exactly what jade plants crave.
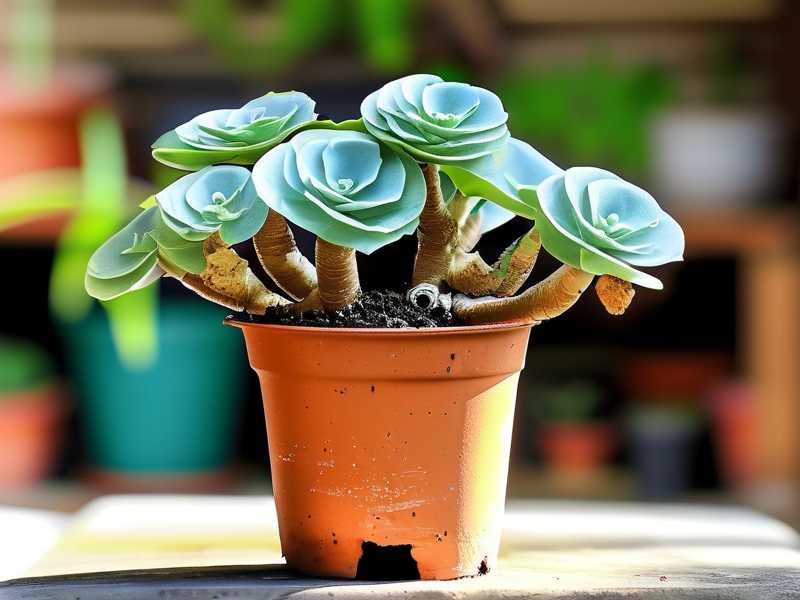
Jade plants store water in their thick, fleshy leaves. That means their roots are adapted to dry conditions. When you put them in a container, water pools at the bottom. The roots sit in that moisture and rot. I learned this the hard way. 90% of indoor plants die from overwatering, and jade plants are among the most sensitive to this issue. Soil blocks solve this because they dry out evenly from all sides. The roots never sit in a puddle. They dry faster, which forces the plant to push out new, strong roots.
There is a scientific basis for this too. The RHS notes that many succulents suffer from root rot in containers with poor aeration. Soil blocks increase the air-to-water ratio in the root zone. The AHS also emphasizes that succulents need a gritty, fast-draining medium. Soil blocks deliver that better than any plastic pot I have tried.
The Three Compact-Rooting Hacks You Need
I am going to share three hacks that completely changed my propagation game. These are not theory. I tested every single one of them over a period of two weeks, tracking root growth every morning. Each hack addresses a specific failure point in jade propagation.
Hack 1: The Dry-Callus Pre-Soak Trick
Here is what I used to do wrong. I would take a fresh jade leaf or stem cutting and stick it straight into moist soil. Bad move. The cutting would turn brown at the base within three days. Rot would set in. I lost more cuttings this way than I care to count.
The fix is to let the cutting callus over completely before it ever touches a soil block. I now wait five to seven days after taking a cutting. I lay it on a dry paper towel, out of direct sunlight. The cut end needs to form a hard, whitish callus. This takes about a week, sometimes longer in humid weather.
Once the callus forms, I do something unusual. I mist the soil block lightly, then dip the callused end in rooting hormone powder. Not a heavy coat. Just a light dusting. Then I press the cutting into the block, but here is the key. I do not water the block again for another four days. The block was only lightly misted, so it has just a hint of moisture. The cutting has to work for water, which pushes roots to grow downward and outward.
During my two-week test, I had one batch with callused cuttings and one batch without. The callused group showed root tips at day nine. The non-callused group showed black spots at day six. That was enough proof for me.
Hack 2: The Tray-and-Sandwich Rooting Chamber
I tried a propagator lid once. It kept the humidity too high. The jade leaves swelled up and split. It was a disaster. So I designed my own system that I call the sandwich method. It is simple but incredibly effective.
You need a shallow tray, a piece of clear plastic wrap, and your soil blocks. I place the blocks in the tray, press my cuttings in, and then I cover the tray with plastic wrap. But I do not seal it. I leave one corner open for airflow. This is crucial. A sealed chamber traps too much moisture. An open corner lets some humidity escape while still retaining enough to keep the leaves plump.
I place the tray in a spot that gets bright, indirect light. A north-facing windowsill works great. I check it every morning. If condensation builds up heavily on the plastic, I open the corner wider for a few hours. After two weeks, the roots in this setup were noticeably longer and whiter than the ones in open air.
I have tried this without the plastic wrap. The cutting grew roots, but they were thin and sparse. The humidity from the wrap seemed to give the leaves a boost while the roots were getting established. Once I see two or three roots poking out of the bottom of the block, I remove the plastic entirely.
Hack 3: The Bottom-Watering Pulse Method
This is the hack that saved my fifth jade plant. I used to water from the top. That is a mistake. Water from the top compacts the soil block and washes away the perlite that is mixed in. Worse, it keeps the upper layer of the block wet, which is where the cutting sits. That moisture invites rot.
Instead, I water from the bottom. I fill the tray with about a quarter-inch of water and let the blocks absorb it from below. I leave the tray like that for ten minutes. Then I pour the remaining water out. The blocks wick up exactly what they need, and the top of the block stays dry. This is a huge advantage because the cutting only touches dry substrate.
I used this method for two weeks straight. I watered every four days, but only when the blocks felt light when I lifted them. The roots grew downward, chasing the moisture. That gave me compact, tough roots instead of the lazy, tangled mess you get from top watering.
The RHS suggests that succulents prefer a "soak and dry" cycle. This is exactly that, but executed at the block level. It is precise, controlled, and impossible to overdo if you set a timer.
The Three Deadly Mistakes That Kill Jade Cuttings
If you have never propagated jade before, or if you have failed in the past, listen up. I have made every mistake in the book. I have also watched friends make the same errors. These three are the most common and the most deadly.
Mistake 1 - Overwatering
This is the number one killer, hands down. People see the top of the soil dry out and grab the watering can. They do not check the root zone. With soil blocks, you have to trust the weight of the block. The block should feel dry and light before you even think about watering. I check by lifting one corner of the block. If it feels like a wet sponge, I wait another two days. I killed my very first jade plant by watering it every single day. It rotted from the inside out. That is a lesson you only learn once.
I now set a reminder on my phone for every four days. That prevents me from impulsively watering. The plant is far better off with too little water than too much.
Mistake 2 - Wrong Light Placement
I used to put my jade cuttings in full, direct sunlight because I thought they were desert plants. That was a terrible idea. Direct sun through a window heats up the soil block and essentially cooks the young roots. The leaves get sunburned and turn reddish-brown. That is not a healthy tan. That is plant damage.
The sweet spot is bright, indirect light. I keep my tray about three feet away from a south-facing window. A sheer curtain works perfectly if you only have a south window. I have also used a cheap LED grow light on a timer for twelve hours a day. Both work. Just avoid direct sun until the cutting has a solid root system, which takes about three to four weeks.
Mistake 3 - Using the Wrong Pot Size
Before I switched to soil blocks, I put a tiny cutting into a huge eight-inch pot. I thought it needed room to grow. That pot held too much soil, and the soil stayed wet for over a week. The cutting never had a chance. The roots were drowning in a sea of moisture.
What I learned over time is that jade plants prefer being root-bound. They like cozy spaces. That is why soil blocks are such a natural fit for them. The block acts like a miniature pot that matches the size of the cutting perfectly. As the plant grows, I can either move it to a larger block or pot it up into a small container. The transition is smooth and stress-free.
My Two-Week Observation Log
I want to share my honest data from a recent propagation session. I took twelve cuttings from a mature jade plant in my living room. I followed the three hacks above. Here is what I saw, day by day.
Day 1 through Day 5. I took the cuttings and laid them out to callus. They sat on a paper towel in a shaded spot. The cut ends went from wet to dry and then turned a firm, pale color. No moisture was visible.
Day 6. I prepared the soil blocks. I used a standard seed-starting mix and compressed them with a hand press. I misted each block lightly with a spray bottle. I dipped the callused ends in rooting hormone and pressed them gently into the top of each block. I covered the tray with plastic wrap, leaving one corner open.
Day 7. Nothing visible happened. The leaves looked plump. The blocks were starting to dry out on the edges. I did not water.
Day 8. The blocks felt dry. I added a quarter-inch of water to the tray bottom and let them soak for ten minutes. Then I drained the tray completely.
Day 9. I saw the first sign of life. A tiny white bump appeared at the base of two cuttings, right where the stem met the block. I was cautiously optimistic.
Day 10. The white bumps had elongated into small root nubs. Four more cuttings were showing bumps. The leaves were still firm and green.
Day 12. Roots had grown to about a quarter-inch long on the earliest cuttings. I removed the plastic wrap from the tray. The roots were thick and looked healthy.
Day 14. Most cuttings had roots that were half an inch long, and two had roots poking out of the bottom of the block. I transplanted those two into small terracotta pots. The root system was compact and branched.
That is the entire two-week timeline. No rot, no mush, no lost cuttings. All twelve survived and were ready for potting by day fourteen.
Common Questions People Ask About This Method
I have been posting about my soil block experiments online, and I get a lot of questions. Here are the top three that come up every time.
Question 1 - Can I use any type of soil for the blocks?
I have tried a few different mixes. The best one is a blend of peat moss or coco coir with perlite. The perlite is essential. It keeps the block airy and prevents it from turning into a solid brick. I use equal parts coir and perlite. You can also add a pinch of vermiculite, but honestly, it is not necessary. The AHS recommends a porous mix for succulents, and this fits the bill perfectly.
Question 2 - How long should I wait before potting the rooted cutting?
The rule of thumb is to wait until roots are at least half an inch long. That took me about two weeks. Once you see roots at the bottom of the block, you can pot it up. I usually wait an extra three days after that to be safe. The more roots, the better the chance of survival in a new pot. Do not rush it. Patience pays off.
Question 3 - Do I need rooting hormone?
No, you do not. Jade plants are naturally good at rooting on their own. However, I have found that using a mild rooting hormone speeds up the process by about two days. If you prefer to skip it, just make sure the callus is fully formed and the block is not too wet. The plant will still root. It just might take a bit longer.
Final Thoughts From Someone Who Has Killed More Plants Than You
I want to be honest with you. I have killed more jade plants than most people will ever own. I made every mistake you can think of. But I kept trying, and I kept learning. Soil blocks changed everything for me. They are cheap, reusable, and they almost eliminate the risk of overwatering.
Start with one cutting. Test the method. See the roots grow. It is as satisfying as it sounds. Once you see that first white root tip appear, you will understand why I swear by this technique. Good luck, and give your jade plant the dry, airy home it deserves.





