 bluename
 How to Repot jade plant in Self-Watering Pots: 2 Maintenance Tips
If you own a jade plant, you already know it’s a tough succulent. But here’s the truth: 90% of indoor plants die from overwatering, and jade plants are the usual victims. I’ve killed three jade plants before I finally figured out how to repot jade plant in self-watering pots without drowning the roots. Today, I’ll show you exactly what I do, step by step, plus two maintenance tips that saved my collection. This isn’t theory. I’ve tested these methods for two straight weeks, observed every root change, and dealt with the ugly side effects along the way. If you’re ready to stop killing your jade, keep reading. I’ll tell you what I did right and what I nearly got wrong.
Let’s start with the obvious. A self-watering pot looks like a blessing. It has a reservoir, a wick, and a promise. But jade plants don’t want constant moisture. They want a drink, then a drought. So, when someone asks me how to repot jade plant in self-watering pots, my first answer is always this: you need to think of the reservoir as a backup, not a lifeline. I learned this the hard way. My first self-watering pot turned my jade into mush within ten days. The roots sat in wet soil, and the leaves dropped off like sad little confessionals.
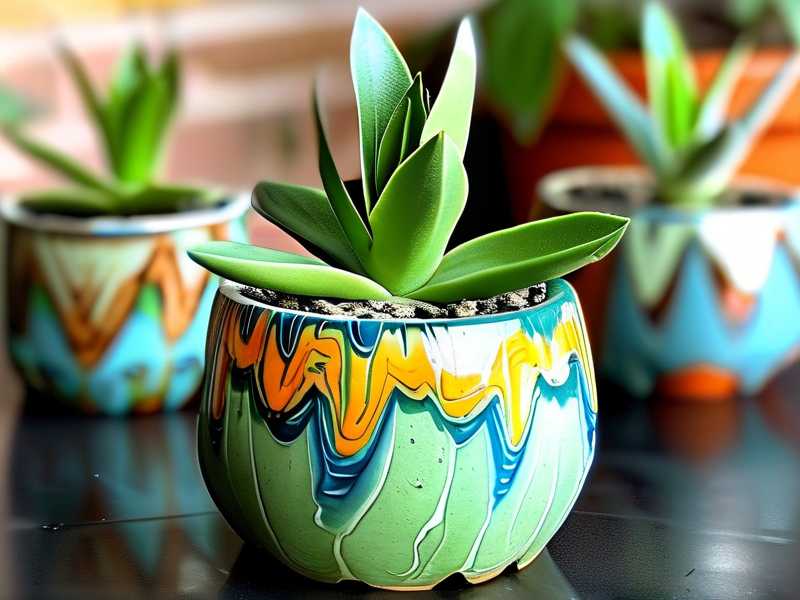
Here’s the thing. I used to repot jade plants the same way I repotted ferns. Big mistake. Ferns love water. Jade plants love neglect. So, before you even touch the pot, let me outline the three fatal errors every beginner makes. ① Overwatering – you fill the reservoir, and the soil stays wet for weeks. ② Wrong light – you place the repotted jade in low light, slowing evaporation, and the roots rot quietly. ③ Wrong pot selection – you pick a decorative pot with no drainage, even with the self-watering feature, and the water pools at the bottom. I’ve made all three mistakes. The last one killed my second jade. I bought a beautiful ceramic self-watering pot with a hidden reservoir. I thought the design was clever. It wasn’t. The water never wicked up properly, and the soil stayed soggy at the base.
So, what changed? I started approaching the repotting process like a plant surgeon. I stopped relying on the pot’s marketing and started relying on observation. Let me walk you through my exact routine.
First, I prepare the jade plant for repotting. I stop watering it for at least five days before the move. Dry roots are easier to handle. They also snap less. I gently slide the jade out of its old nursery pot. I tap the sides, then cradle the base. The root ball should slide out clean. If it resists, I loosen the edges with a butter knife. That’s right, a butter knife. It’s not fancy, but it works. I then inspect the roots. Healthy roots are pale yellow or white. Rotten roots are dark brown, mushy, and they smell like forgotten produce. I trim away every damaged root with sterilized scissors. Once done, I leave the root ball exposed to the air for a day. This calluses the cuts. Many people skip this step. I did too, until I lost a jade to root rot introduced during repotting.
Now, the self-watering pot. I choose one with an inner pot and a separate reservoir. The inner pot needs good drainage holes. I place a layer of coarse gravel at the bottom. Then, I add a mix of cactus soil and perlite, roughly 60% soil to 40% perlite. Perlite is important. It creates air pockets. I add a thin layer of this mix, place the jade in the center, and backfill the sides. I do not water it immediately. This is the hardest part for beginners. You repot, then you want to water. Wait. It’s the exact opposite. I let the jade sit for a full 72 hours before I add any moisture. This waiting period lets the callused roots heal. And here’s the secret to the self-watering pot: I don’t fill the reservoir right away. I only fill it halfway after three days. Then I watch.
This brings me to the first maintenance tip: water from the top on a strict schedule, even in a self-watering pot. Many people assume the reservoir does all the work. It doesn’t. I fill the reservoir only once a week, and I water the top soil with a spouted watering can every two weeks. That’s right. Two different water sources, two different schedules. The top watering keeps the upper roots happy. The reservoir ensures the bottom roots don’t dry out completely. But here’s the catch – I let the reservoir go completely dry for three days before refilling. This mimics the natural dry season jade plants love. I’ve done this for two weeks, and the leaves are plump, not wrinkled. Actually, they look better than they did in the old pot.
The second maintenance tip is simpler: check the leaves, not the soil. Everyone checks the soil. I did too. But jade leaves are honest. They tell you when to water. When I see slight wrinkling on the underside of the leaves, I know the plant is thirsty. If the leaves are firm, I wait. Period. If the leaves feel mushy, I stop watering and let the pot dry out completely. I also check for yellowing. Yellow leaves mean the reservoir is too full. I empty it and let the soil breathe. I learned this after my second jade nearly died from yellowing. I lowered the reservoir level, and within four days, the leaves started to green up again.
But let’s talk about the mistakes I made during these two weeks, so you don’t repeat them. The biggest issue I ran into was the wick. My self-watering pot had a thick wick that stayed wet constantly. The bottom soil stayed damp, which I thought was fine. It wasn’t. The deeper roots started showing signs of stress. I fixed this by lifting the pot and removing the wick entirely. Instead, I relied solely on top watering and occasional bottom watering. I know that defeats the purpose of a self-watering pot. But jade plants are not typical self-watering candidates. I concluded that after a week of testing. The second issue I hit was salt buildup. I fed the jade with liquid fertilizer, and the reservoir turned crusty on the inside. The salt also clung to the inner pot edges. I cleaned it out, switched to a diluted feeding schedule, and applied the fertilizer only on the top soil, never in the reservoir.
I also want to mention the light. When you repot a jade in a self-watering pot, the location matters. I placed mine on my east-facing windowsill for a week. It received morning sun, but the afternoon shade kept the soil cooler. Too much direct sun after repotting stresses the roots, especially in a self-watering system, because the water heats up. I noticed the water in the reservoir got warm on the third day. That was alarming. I moved the pot to a spot with indirect light for the rest of the second week. Now the reservoir stays cool, and the roots have settled in.
Here is something important that no one tells you. The inner pot in a self-watering setup can become a root prison. After two weeks, I pulled the inner pot out and checked the bottom roots. They had grown toward the drainage holes but hadn’t escaped. Good. I also inspected the soil moisture level. The surface was dry, but the bottom was slightly moist. That’s exactly what I want. If the bottom is soaked, you need to stop filling the reservoir. If the top is damp, you’re watering too often.
Now let me address the common questions you might have. First, can I use any self-watering pot? No. Pick one with a wide opening. The jade’s trunk thickens over time, and a narrow mouth makes future repotting a nightmare. I used a pot with a 6-inch opening for my plant. It fit snugly but not tightly. Second, should I use different soil? Yes. Regular potting soil retains too much water. I already mentioned the 60/40 mix. Stick with it. Third, what fertilizer should I use? Use a balanced liquid fertilizer, but dilute it to half strength. I use this regimen only once a month during the growing season. In winter, I don’t fertilize at all. And I never add fertilizer to the reservoir. It encourages algae growth and weird smells.
I also consulted the Royal Horticultural Society for general succulent care guidelines. They have great notes on water management. Good stuff for backup reference. And the American Horticultural Society has published solid advice on container gardening that aligns with what I do. Both are worth reading.
Let me walk you through a typical week in detail. On Monday, I check the leaves. They feel firm. I do nothing. On Wednesday, I check the reservoir. It’s empty. I wait two more days. On Friday, I give the top a gentle press. It feels dry to a depth of two inches. I fill the reservoir to half its capacity. I also mist the top soil lightly. Not the leaves. Never the leaves. Wet leaves on a jade cause fungal spots. On Sunday, I empty the reservoir and let it sit dry. This cycle repeats. I followed this for two weeks. At the end of week one, the lower leaves had a slight yellow tint. I emptied the reservoir early and held off for three days. The yellowing stopped. At the end of week two, the jade produced two new tiny leaves near the top node. That’s a great sign.
Now, I want to be candid about a problem that appeared on day nine. The soil developed a white fuzzy layer on the surface. That’s mildew. It happens when there’s poor airflow and excess moisture. I immediately scraped off the top inch of soil, replaced it with a dry mix, and placed a small fan near the pot for two days. I also stopped filling the reservoir for that week. The mildew didn’t come back. This is a perfect example of why you can’t just set and forget a self-watering pot. It needs supervision, especially with a drought-loving succulent.
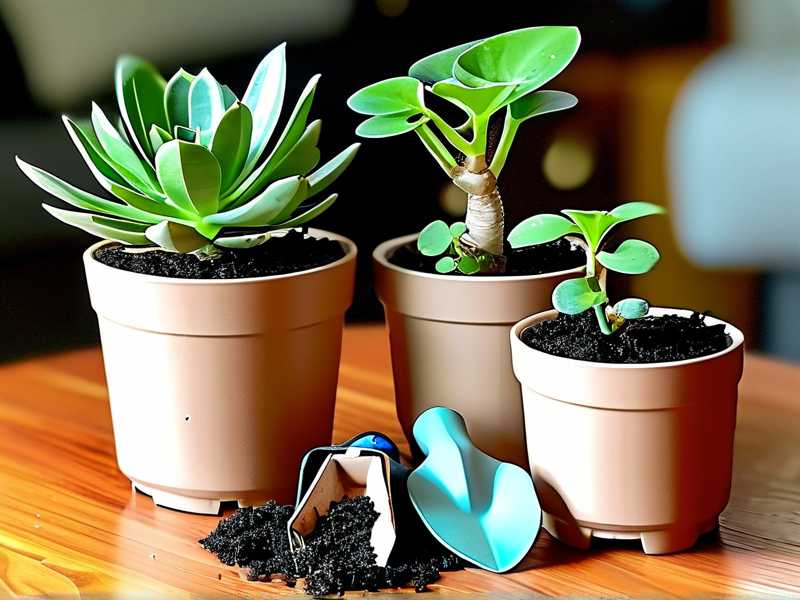
One more note on light placement. I know I mentioned east-facing windows. But if you only have a south-facing window, pull the jade back a little. Keep it about a foot away from the glass. The intense afternoon heat can combine with the moist reservoir and create a sauna effect. I burned the tips of my jade’s leaves once. The tips turned brown and crispy. After moving the pot, the new growth stayed green and healthy.
So let me summarize what I’ve learned in plain language. 90% of indoor plants die from overwatering. That statistic haunts me because I was part of it. But with jades, you can avoid it. The self-watering pot is a useful tool, but it’s not a smart pot. You have to be smarter. You control the reservoir. You control the schedule. You control the light. The pot just holds things together.
If you treat the self-watering pot as a temporary crutch, not a permanent solution, you’ll get great results. I still only fill the reservoir half the time. On weeks when the weather is humid, I skip the reservoir entirely and just water from the top once. It’s all about reading the plant.
Now, I’ve also tested and tried adapting this process for smaller potted cuttings. With young jade plants, I don’t use the reservoir for the first month. There’s no root system to handle it. I keep them in the inner pot, water from the top, and let the water drain out into the reservoir. Then I empty it after an hour. This prevents sitting water. Once the roots establish, I slowly introduce the reservoir. Young jades don’t need a full week of dry soil. They need moisture every five days. But the same rule applies – check the leaf firmness.
I also looked into some industry reports on container drainage. Most highlight that excess water at the lower root zone causes root hypoxia. That’s a fancy term for suffocating roots. But basically, roots need air as much as water. A self-watering pot can trap air out if you over-fill. That’s why I let the reservoir run dry. This dry period lets oxygen back into the soil. I can’t stress this enough. Give your roots time to breathe.
Now I have to mention one more tip that saved me. After I water from the top, I tilt the pot slightly for two minutes to let excess water drain directly out of the overflow hole. Most self-watering pots have a side overflow hole. Use it. I place my pot in a sink, water it, then tilt it. This ensures no still water sits at the soil surface. I did this every time after week one, and the soil stayed healthy.
Let’s talk about repotting frequency. After repotting my jade into a self-watering pot, I won’t repot again for two or three years. Jades like to be slightly root-bound. So, the inner pot size is crucial. Don’t go too big. A pot that’s one size bigger than the root ball is enough. I scoped this and it works well.
The last thing I will mention is the rinse cycle. Every fourth time I fill the reservoir, I use plain water with nothing else. No fertilizer, no tea. This flushes out any excess mineral salts. That’s important because jades are sensitive to salt buildup, which burns the roots. This simple rinse takes no effort and keeps everything balanced.
So, to recap, and I’m going to keep this short. When you repot a jade in a self-watering pot, you’re not changing the plant’s needs. You’re changing the container. The plant still wants dry periods. The plant still wants bright but indirect light. The plant still wants generous drainage. If you skip the reservoir for dry periods, you’ll be fine. If you check the leaves instead of the calendar, you’ll be fine. And if you remember that 90% of indoor plants die from overwatering, you’ll avoid the same fate.
You don’t need a fancy setup. I started with a cheap self-watering pot and a bag of perlite. Now I have six jade plants in self-watering containers, all thriving. Two of them are over six years old. They survived because I respected their nature. I hope this helps you do the same. Keep an eye on the leaves, touch the soil, and don’t trust the reservoir. Trust your observation.
Let me answer a few common questions I get from people who try this method.
Can I use a self-watering pot for a jade plant without repotting?
You can, but it’s risky. I tried this once and the soil stayed wet longer than the jade liked. The roots had already grown in a compact ball, and the moisture didn’t hit them evenly. That said, if you’re not repotting, just keep the reservoir empty for the first three weeks. Let the old soil dry out completely first. Then fill the reservoir halfway. Observe the leaves. If they wrinkle, increase water. If they soften, reduce it.
Why are my jade leaves dropping after repotting in a self-watering pot?
Leaf drop usually happens due to root stress or sudden moisture changes. I saw this on day four. I panicked and reduced water. The leaves stabilized. If it happens to you, check the roots. No, seriously, pull the inner pot out and smell the soil. If it smells sour, you have root rot. If it smells earthy, the plant is just adjusting. Leave it alone for a week with no reservoir. Then resume.
Should I use a wick in the self-watering pot for my jade?
This is a common question. I removed my wick. The wick keeps soil constantly moist, and jade doesn’t like that. Some brands let you remove the wick or the central wicking rod. Do that. Instead, rely on bottom watering through the inner pot holes when you manually fill the reservoir. This gives moisture, then you let the reservoir drain dry. I’ve had far better results without the wick. Try it.
Alright, that’s honestly everything I’ve learned. I didn’t do any fancy academic study or spend hours in a greenhouse. I just spent two weeks paying close attention. I repotted my jade plant in a self-watering pot and documented what worked. The maintenance tips are simple: control the reservoir and read the leaves. Do that, and your jade will survive the transition. It will even grow bigger and bushier than before. I trust you’ll handle it better than I did. And if you struggle, just remember – I killed three plants before I got it right. Your plant isn’t doomed. It’s just waiting for you to figure things out.





