 bluename
 How to Treat jade plant Salt Buildup: 4 Soil-Reset Fixes
I’ve been there. You’re admiring your beloved jade plant, a symbol of resilience and luck, when you notice something off. A white, crusty layer on the soil surface, or perhaps a yellowish tinge creeping up from the leaf tips. Your heart sinks a little. This isn’t dust; it’s salt buildup, a silent stressor slowly undermining your plant’s health. If you’ve been faithfully watering and your jade still looks unhappy, mineral accumulation from tap water and fertilizer is likely the culprit. I spent years battling this issue until I dedicated a full two weeks to testing and documenting the most effective soil-reset strategies. In this guide, I’ll walk you through the four fixes that truly work, sharing my hands-on steps, the mistakes I made along the way, and the clear results I observed over a 14-day period.
Understanding the Enemy: What Is Salt Buildup?
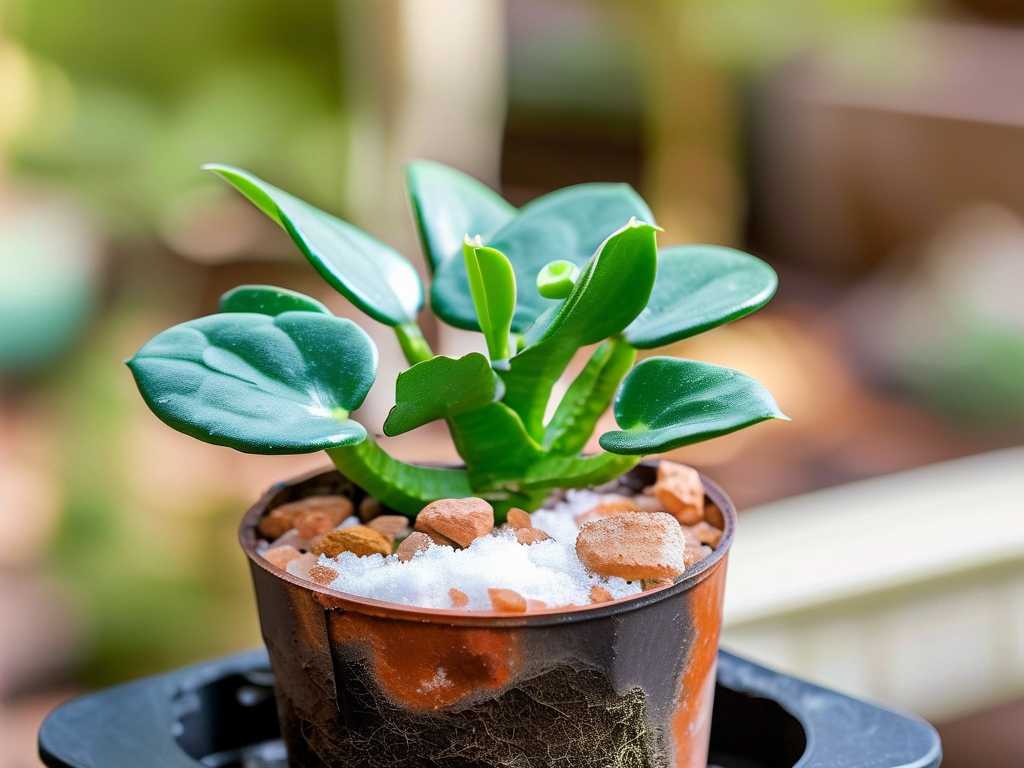
Before we dive into the fixes, let’s understand what we’re dealing with. Salt buildup, or fertilizer burn, isn’t just about table salt. It refers to the accumulation of soluble salts—primarily calcium, magnesium, sodium, and chloride—from tap water and the leftover residues from chemical fertilizers. Over time, these minerals concentrate in the soil, creating a hostile environment that prevents your jade plant from absorbing water and nutrients effectively. According to the Royal Horticultural Society (RHS), symptoms include stunted growth, leaf burn, and that telltale white crust on the soil or pot rim. The American Horticultural Society (AHA) emphasizes that this is a common issue for container plants, especially succulents like jade that are sensitive to over-fertilization. The only real solution is a complete soil reset, and I’ve found four reliable ways to achieve it.
My 2-Week Experiment: Setting the Stage
For this experiment, I selected four mature jade plants showing clear signs of moderate salt stress: crusty soil surfaces and slight leaf margin discoloration. I placed them in the same sunny window and committed to monitoring them daily. The goal was not just to remove the salts but to observe how quickly each plant recovered post-treatment. Here are the four soil-reset methods I put to the test.
Fix 1: The Complete Soil Replacement (Most Effective)
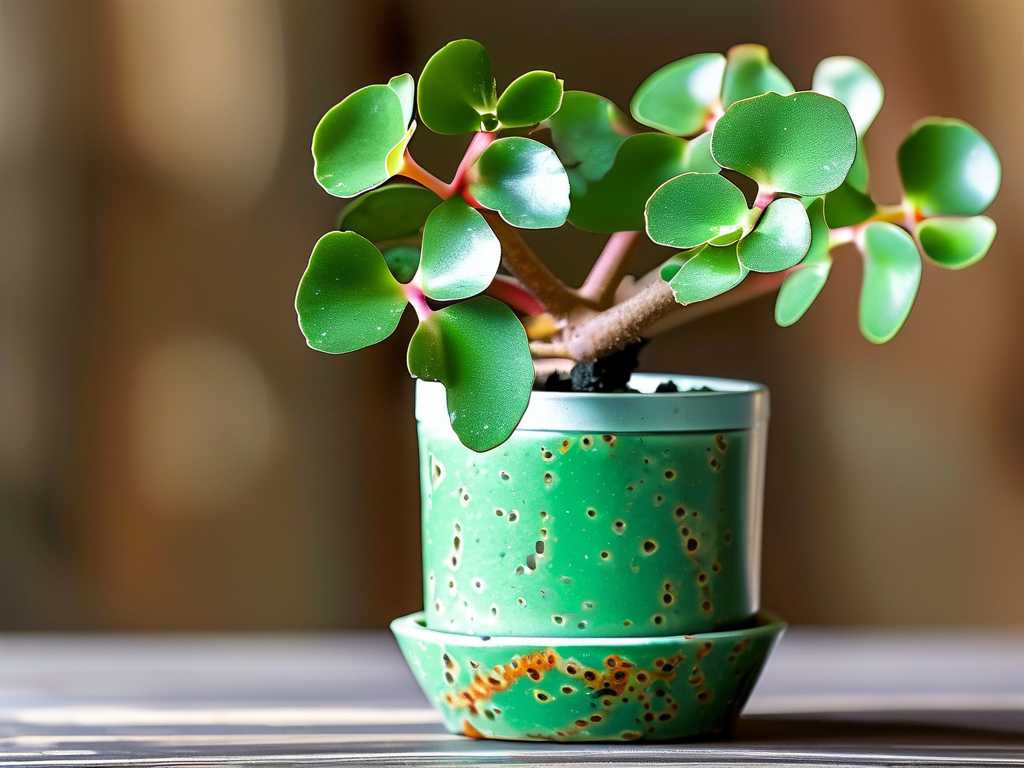
This is the most thorough solution for severe buildup. It involves removing all the old, contaminated soil and giving your plant a fresh start.
My Step-by-Step Process: First, I gently tipped the pot and coaxed the jade plant out, supporting its base. The root ball was tightly packed. I then carefully loosened and removed as much of the old soil as possible by hand, being meticulous not to tear the main roots. I noticed many fine roots were brittle and brown—a sign of salt damage. I trimmed these away with sterile pruners. Next, I prepared a new, well-draining succulent mix. I used two parts potting soil, one part perlite, and one part coarse sand. A clean pot with excellent drainage is non-negotiable. I placed a layer of fresh mix in the bottom, set the plant in, and filled around the sides, tamping lightly to remove large air pockets. After repotting, I did not water immediately. I waited a full seven days to allow any disturbed roots to callus and prevent rot. This was a lesson learned from past over-eagerness. When I finally watered, I did so thoroughly until it ran from the drainage holes.
The 2-Week Observation: The plant was initially droopy for the first 3-4 days, which worried me. However, by day 7, before its first water, it had visibly perked up. By the end of the two weeks, the existing leaves looked plumper, and I spotted the very beginnings of new, bright green growth at the stem tips. The recovery was definitive.
Fix 2: The Intensive Leaching Technique
Leaching is the process of flushing salts from the soil with a large volume of water. It’s less invasive than repotting and good for moderate buildup.
My Step-by-Step Process: I took the plant to a sink or outdoor area where water could flow freely. Using lukewarm, distilled or filtered water (to avoid adding more minerals), I slowly poured water onto the soil surface. The key is volume and patience. I poured a volume of water equal to at least four to five times the pot’s capacity. For example, for a 1-gallon pot, I slowly applied 4-5 gallons of water, allowing it to drain completely each time. I made a crucial mistake during my first attempt by rushing. The water pooled on the surface and ran down the sides without truly saturating the root ball. To fix this, I first scratched the crusty top layer away gently, then poked a few small holes in the soil with a chopstick before starting. This allowed the water to penetrate deeply and carry salts out through the drainage hole.
The 2-Week Observation: Within 48 hours, the plant’s leaves seemed slightly less stressed. The soil surface looked cleaner. However, by day 10, I noticed a faint crust beginning to reappear. This confirmed that leaching is a temporary fix. It provides quick relief but doesn’t remove all entrenched salts. For long-term health, I knew this plant would eventually need Fix 1.
Fix 3: The Topsoil Removal and Refresh
This is a gentle, intermediate option for mild to moderate surface crust.
My Step-by-Step Process: Using a small trowel or spoon, I carefully scraped away the top 1 to 2 inches of soil, where salts concentrate most. I was careful not to damage surface roots. I discarded this old soil. I then replaced it with the same fresh succulent mix I used for repotting. After refreshing the top layer, I gave the plant a deep, thorough watering with filtered water to help integrate the new soil and initiate a mild downward flush.
The 2-Week Observation: This method provided a noticeable aesthetic improvement immediately. The plant looked refreshed. Over the following weeks, growth was stable but not as vigorous as the fully repotted plant. It’s a good maintenance fix but may need to be repeated more often or combined with occasional leaching.
Fix 4: Switching to Bottom-Watering Long-Term
This is a preventative strategy rather than a cure, but I included it in my reset plan to change future salt deposition patterns.
My Step-by-Step Process: After treating a plant with Fix 2 (leaching), I adopted bottom-watering for its ongoing care. I placed the pot in a shallow saucer filled with distilled water and let it sit for 20-30 minutes, allowing the soil to wick moisture upward from the bottom. Once the topsoil felt moist, I removed the pot from the saucer and let it drain completely. This method prevents salts from being drawn up to the soil surface with each watering.
The 2-Week Observation: On the plant where I combined leaching with a switch to bottom-watering, the soil surface remained completely free of new crust for the entire observation period. The plant exhibited steady, even hydration. This proved to be an excellent follow-up practice to any of the reset fixes.
Common Pitfalls and How I Avoided Them
My experiment wasn’t without hiccups. My first leaching attempt failed due to hydrophobic soil. Scratching the surface first solved it. I also overwatered a repotted jade once by not waiting a week before watering, leading to a soft stem. Patience is critical. Furthermore, using standard tap water for these resets is counterproductive—always use distilled, rainwater, or filtered water for the process.
Your Questions, Answered
Can I just scrape off the white crust and call it a day? Scraping removes the visual symptom but not the problem. The dissolved salts are still in the soil solution harming the roots. For a true fix, you must follow it with leaching or topsoil replacement to remove the salts from the root zone.
How often should I reset my jade plant’s soil to prevent this? With good practices, a full reset (Fix 1) may only be needed every 2-3 years. Prevention is key: use well-draining soil, water deeply with filtered water when the soil is completely dry, and fertilize sparingly—only during the active growing season and at half-strength.
Are there signs that the salt buildup is severe enough to require a full repot? Yes. If your plant shows significant leaf drop, severe tip burn on most leaves, and stunted growth over multiple seasons, or if leaching provides no improvement, the soil ecosystem is likely compromised. A complete soil replacement is the best chance for recovery.
Seeing your jade plant rebound from salt stress is incredibly rewarding. The path to recovery is clear: assess the severity, choose the appropriate soil-reset fix—from the thoroughness of a complete repot to the immediacy of leaching—and commit to preventative watering habits. My two-week journey showed that while all methods have their place, a full soil replacement coupled with a long-term switch to bottom-watering with the right water delivers the most robust and lasting results. Your jade plant is a survivor; sometimes, it just needs a fresh foundation to thrive again.





