 bluename
 How to Fix jade plant Leaf Spots: 5 Causes + Spot-Elimination Fixes
There’s nothing more disheartening than noticing unsightly brown, yellow, or black spots marring the plump, glossy leaves of your beloved jade plant. As a long-time indoor gardener, I’ve been there, staring at those spots with a mix of concern and frustration. Is it a death sentence? Absolutely not. More often than not, those jade plant leaf spots are your plant’s SOS signal, a clear message that something in its care routine needs adjusting. Over the years, I’ve diagnosed and treated every type of spot imaginable on my Crassula ovata collection. In this guide, I’ll walk you through the five most common culprits and, more importantly, the exact, step-by-step fixes I’ve used to restore my plants to health. This isn’t just theory; it’s a battle-tested plan from one plant lover to another.
Understanding the “why” is 90% of the cure. Let’s diagnose the problem before we treat it.
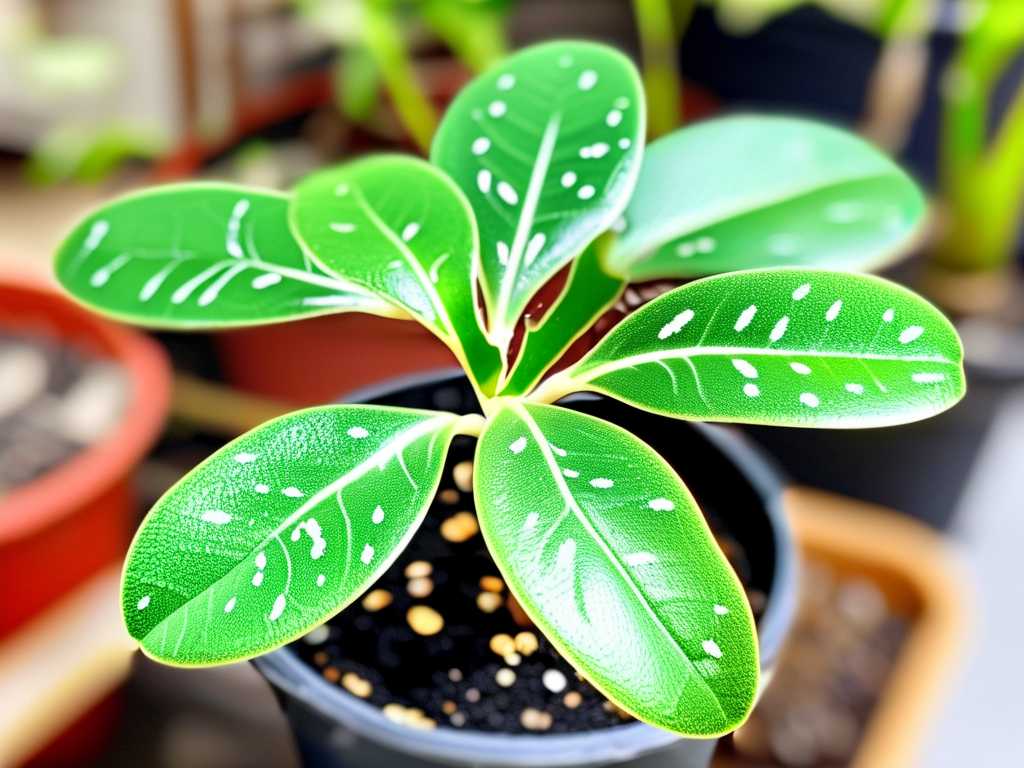
Diagnosing the Problem: What Your Jade Plant’s Spots Are Telling You
Before you reach for any treatment, take a close look. The color, texture, and location of the spots are vital clues.
- Soft, Mushy, Brown Spots: Often starting at the leaf base or on the lower leaves. This usually screams overwatering and the onset of root rot.
- Crisp, Dry, Brown Scabs or Patches: Typically on the tops of leaves, especially those facing the light source. This is classic sunburn.
- White, Powdery Deposits: A fluffy or dusty white coating that can be rubbed off. This is powdery mildew, a fungal issue.
- Small, Raised Brown Bumps: Firm to the touch, sometimes with a sticky residue on or around the leaf. These are likely scale insects.
- Yellow Halos Around Brown/Black Spots: A sign of a bacterial or advanced fungal infection, often exacerbated by poor air circulation and moisture on the leaves.
I learned this diagnostic step the hard way. I once treated a sunburned jade for a fungal infection, applying a fungicide and moving it to an even shadier spot. The plant became etiolated (stretched) and even weaker. Now, I always investigate first.
Cause 1: Overwatering and Root Rot
This is the arch-nemesis of nearly all succulents, and jade plants are no exception. Their thick leaves store water, meaning they thrive on neglect rather than constant attention. Overwatering suffocates the roots, creating a perfect environment for rot-causing fungi (like Pythium or Phytophthora) to attack. The damage manifests as soft, mushy, dark spots on leaves, which may eventually drop off.
My Spot-Elimination Fix: The Great Rescue & Dry-Out
When I confirmed root rot on my oldest jade—a plant I’d had for over a decade—I panicked. But decisive action saved it. Here’s what I did, and what you should do:
- Unpot and Inspect: Gently remove the plant from its pot. Shake off the old soil and carefully inspect the roots. Healthy roots are firm and white or light tan. Rotten roots are dark brown/black, mushy, and may fall apart or smell foul.
- Surgical Removal: Using sterilized pruning shears (I wipe mine with isopropyl alcohol), I cut away every single rotten root. Be ruthless. It’s better to remove too much than to leave any rot behind.
- Let it Callus: I left the root system bare to air dry for 24-48 hours. This allows the cut ends to form a callus, sealing them off from further infection.
- Repot in Fresh, Dry Soil: I used a brand new, well-draining succulent & cactus mix. The Royal Horticultural Society (RHS) emphasizes the critical importance of “sharp drainage” for succulents to prevent waterlogging. I chose a terracotta pot, which breathes better than plastic.
- The Waiting Game: I did not water the plant for a full week after repotting. This gives the stressed roots time to heal and seek out moisture without being overwhelmed.
My 2-Week Observation: The leaf drop stopped within 4 days. The remaining leaves, while still bearing some scars, firmed up. After two weeks, I gave it a thorough but careful watering. New, healthy root growth was evident when I gently checked the soil moisture at the pot’s edge. The key takeaway? When fixing an overwatered jade plant, patience during the dry-out period is non-negotiable.
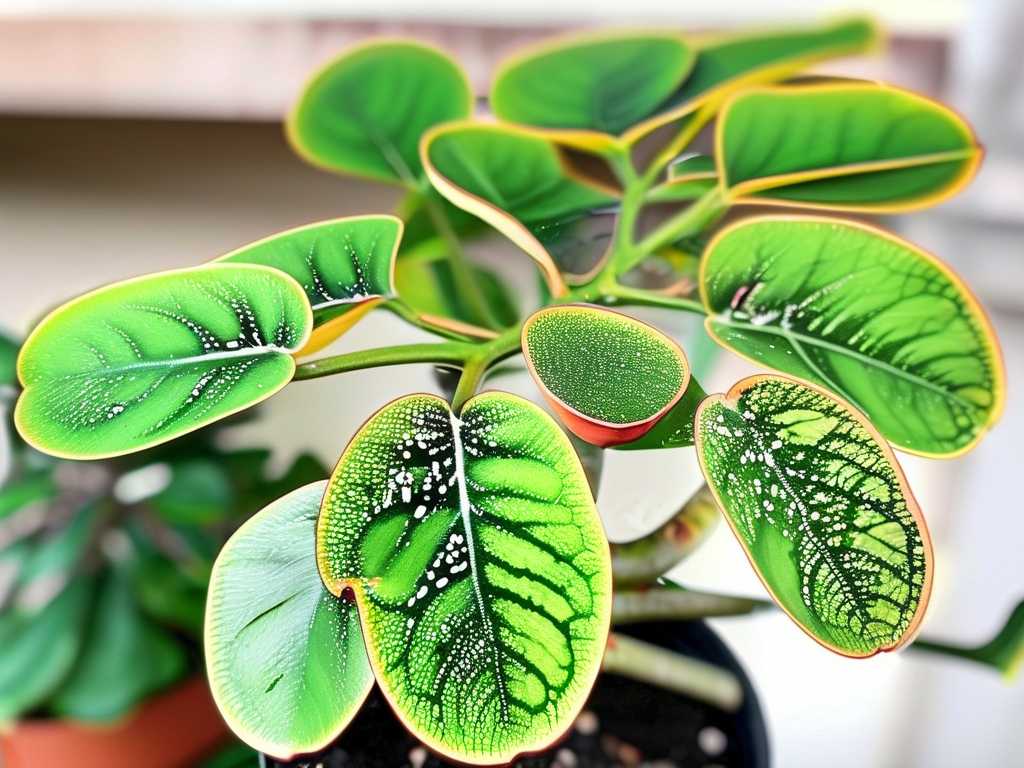
Cause 2: Sunburn (Yes, It’s Possible!)
We know jades love light, but too much of a good thing, especially abruptly, causes damage. Moving a plant from a low-light indoor spot directly into intense, direct afternoon sun will scorch its leaves. The spots are dry, crispy, and tan to brown, appearing only on the areas most exposed to the light.
My Spot-Elimination Fix: Acclimation is Everything
I scorched a beautiful variegated jade by getting overzealous in spring. The fix isn’t a treatment for the burned leaves—those are permanently scarred—but a protocol to prevent further damage.
- Relocate Immediately: I moved the plant to a spot with bright, but indirect, light. A few feet back from a south-facing window or in an east-facing window is ideal.
- Gradual Introduction: Over the next 3-4 weeks, I slowly increased its exposure to direct sun. I started with just 30 minutes of morning sun, adding about 15-20 minutes every few days.
- Prune for Aesthetics (Optional): Once the plant was stabilized and growing again, I used clean shears to prune off the most severely burned leaves. This improved its appearance and redirected energy to new growth.
My 2-Week Observation: The existing scorch marks didn’t spread or worsen after moving the plant. The plant stopped looking stressed, and the green parts of the leaves remained taut and healthy. After two weeks of acclimation in its new spot, I noticed the very beginning of new, compact growth at the stem tips—a sure sign it was happy again.
Cause 3: Fungal Diseases (Powdery Mildew & Leaf Spot)
Fungal issues like powdery mildew and other leaf spot diseases thrive in cool, damp conditions with poor air flow. Powdery mildew looks like someone dusted your plant with flour. Other fungal spots may be circular, with defined edges, and can be yellow, brown, or black.
My Spot-Elimination Fix: Improve Environment and Apply Treatment
I battled powdery mildew on a jade kept in a slightly too-humid bathroom. Here was my action plan:
- Isolate the Plant: Fungi spread. I moved the affected jade away from my other houseplants immediately.
- Increase Air Circulation: I placed a small oscillating fan nearby to keep air moving, a tactic supported by the American Horticultural Society (AHS) for preventing fungal outbreaks.
- Prune Affected Leaves: I carefully removed and disposed of the most heavily spotted leaves.
- Apply a Natural Fungicide: For mild cases, I’ve had success with a homemade spray of 1 tablespoon baking soda, 1/2 teaspoon mild liquid soap, and 1 gallon of water. I tested it on one leaf first, then sprayed all surfaces every 5-7 days for two weeks. For more stubborn cases, I use a commercial fungicide containing neem oil or potassium bicarbonate, following the label instructions precisely.
My 2-Week Observation: The powdery substance stopped spreading after the first treatment. After the second application, the existing white patches began to fade. By the end of two weeks, with consistent airflow and treatment, the new growth was completely clean and spot-free. The plant’s overall health improved significantly once the fungal pressure was removed.
Cause 4: Pest Infestations (Scale & Mealybugs)
Pests like scale insects suck sap, weakening the plant and leaving behind sticky honeydew that can lead to sooty mold. Scale appears as immobile, bumpy brown spots on stems and leaves. Mealybugs look like tiny bits of white cotton.
My Spot-Elimination Fix: Physical Removal and Horticultural Oil
I found scale on a jade I’d brought indoors for the winter. It was a meticulous process.
- Manual Removal: For scale, I used a cotton swab dipped in rubbing alcohol (70% isopropyl) to dab and wipe off every single bump I could see. For mealybugs, the same method works. This is time-consuming but crucial.
- Shower Power: I then gave the plant a gentle but thorough shower with lukewarm water to dislodge any hidden pests or eggs.
- Apply Horticultural Oil: Once dry, I sprayed the plant thoroughly with a ready-to-use neem oil or insecticidal soap solution, covering all leaf surfaces (top and bottom) and stems. These oils suffocate pests without harsh chemicals.
- Repeat and Inspect: I repeated the alcohol swab and spray treatment every 5-7 days for three weeks to break the life cycle. Persistence is key.
My 2-Week Observation: After the first treatment, the sticky residue diminished. By the second week, I saw no new scale bumps forming. The plant’s growth, which had been stalled, began to show signs of resuming. Regular inspection became part of my weekly routine.
Cause 5: Bacterial Leaf Spot
Less common but serious, bacterial spots are often angular, water-soaked looking, and may have a yellow halo. They spread quickly in warm, wet conditions, especially if water sits on the leaves.
My Spot-Elimination Fix: Sterilization and Environmental Control
- Immediate Isolation: This is highly contagious. Isolate the plant first.
- Sterilized Pruning: With sterilized shears, I removed all affected leaves and stems. I sterilized the shears with alcohol between every single cut to avoid spreading bacteria.
- Stop Overhead Watering: I switched to watering directly at the soil level, being careful not to splash. I also watered in the morning so any splashes would dry quickly.
- Improve Airflow: As with fungal issues, I increased fan circulation around the plant.
- Copper Fungicide (as a Bactericide): In severe cases, a copper-based bactericide can help suppress the bacteria. I used it as a last resort, applying it carefully according to the product’s directions.
My 2-Week Observation: This was a tense period. Pruning stopped the rapid spread within days. The remaining leaves showed no new water-soaked spots after the first week. By maintaining a dry leaf environment and good airflow, the plant slowly began to recover over the second week, though recovery from bacterial issues is often slower than from other causes.
Prevention: The Best Cure for Leaf Spots
After dealing with these issues, my focus shifted entirely to prevention. Here’s my foolproof routine:
- Water Deeply, Then Let Dry: I only water when the soil is completely dry several inches down. I then soak it thoroughly and let all excess drain away.
- Provide Bright, Indirect Light: My jades thrive in east or south-facing windows (with a sheer curtain for harsh afternoon sun).
- Ensure Fantastic Drainage: I always use pots with drainage holes and a gritty, fast-draining soil mix.
- Promote Airflow: I keep plants spaced out and use a fan on low in my plant room.
- Quarantine New Plants: Any new plant spends at least two weeks isolated from my collection, a simple step that has saved me countless headaches.
Frequently Asked Questions
Can I just cut off the spotted leaves? Yes, but with purpose. Prune affected leaves with sterilized tools to improve looks and prevent potential spread (for infectious causes). However, if the cause is environmental (like sunburn or overwatering), you must also correct the underlying issue, or new spots will just form.
Will the spots on the leaves ever go away? No, the existing spots are permanent scars. The leaf tissue there is damaged. The goal of treatment is to stop new spots from forming. As the plant grows, you can eventually prune off the old, scarred leaves, and new, healthy foliage will replace them.
My jade plant has spots but is still growing. Should I be worried? Growth is a good sign of underlying vitality. However, the spots indicate stress. It’s like running a marathon with a pebble in your shoe—you can finish, but it’s not optimal and could lead to a bigger problem. Addressing the cause of the spots will make your plant not just survive, but thrive with more robust, beautiful growth.
Dealing with jade plant leaf problems can feel daunting, but remember, your plant is resilient. By carefully observing the spots, correctly diagnosing the cause—be it overwatering, too much sun, or pests—and applying the targeted fixes, you can absolutely turn things around. My own plants are living proof. Start with the simplest fix: check your watering habits and light conditions. Often, that’s all it takes to get your jade back on track to being the glossy, spot-free centerpiece it deserves to be.





