 bluename
 How to Cure jade plant Anthracnose: 3 Fungal Infection Fixes
I’ll be honest—the first time I saw those sunken, brown, watery-looking spots on my prized jade plant’s leaves, my heart sank. I thought it was just a little sunburn or maybe some physical damage. But as the spots spread, developing a telltale yellowish halo and causing leaves to drop one after another, I knew I was dealing with something more sinister: jade plant anthracnose. If you’re here, you’re likely facing the same frustrating battle against this fungal infection. The good news? After a lot of trial, error, and careful observation over a dedicated two-week treatment period, I found a clear path to recovery. This guide isn’t just theory; it’s my firsthand account of the steps that worked, the mistakes I made along the way, and exactly what you need to do to save your plant.
Understanding Your Enemy: What Is Jade Plant Anthracnose?
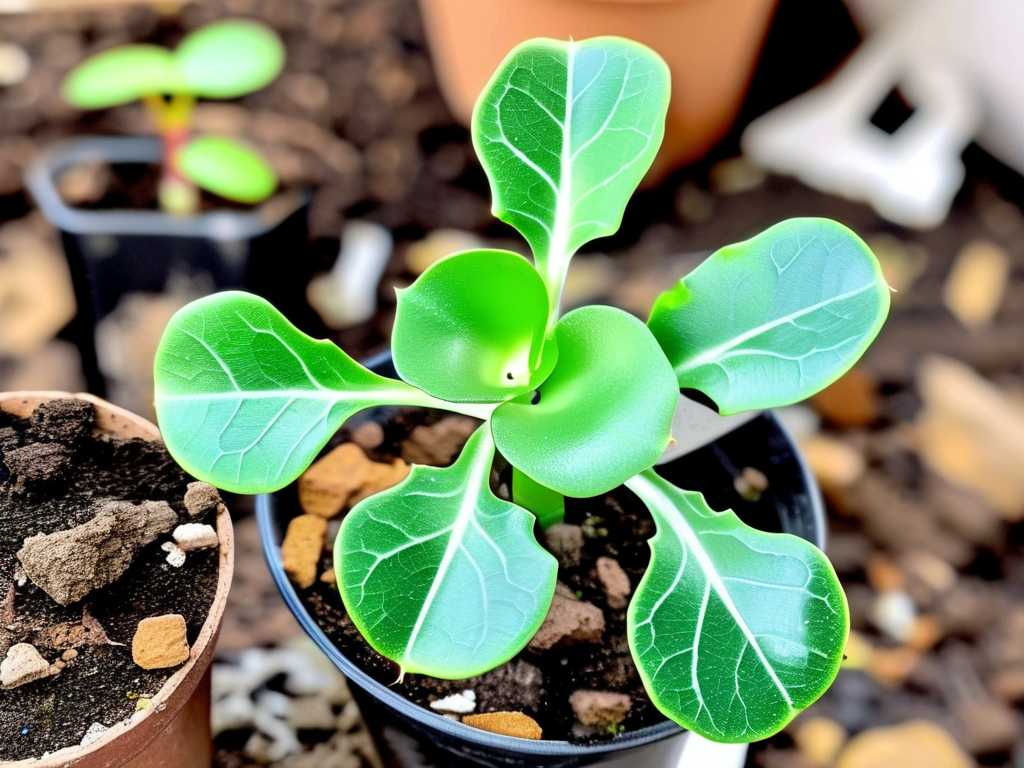
Before you can fix a problem, you need to know what you’re fighting. Anthracnose in jade plants is primarily caused by fungi in the Colletotrichum genus. It thrives in warm, humid, and wet conditions. The most obvious signs are those circular to irregular brown lesions on the leaves and sometimes stems. As the Royal Horticultural Society (RHS) notes, these spots often start small but can rapidly enlarge under favorable conditions, leading to significant leaf loss and weakening the entire plant. It’s not just an eyesore; it’s a systemic issue that hampers your plant’s ability to photosynthesize and grow.
My Initial Mistakes: What Made the Problem Worse
In my panic, I made almost every classic error. First, I increased watering, thinking the plant was stressed and thirsty. This, of course, created the perfect damp environment for the fungus to explode. Second, I moved the plant to a shadier spot to “protect” it, which reduced air circulation and light—two things crucial for drying foliage and inhibiting fungal growth. Finally, I delayed isolation. For a few days, I kept the infected jade near other succulents, risking the spread of spores. Learn from my haste: don’t water more, don’t reduce light drastically, and always isolate immediately.
The 3-Step Fix: How I Cured My Jade Plant’s Fungal Infection
This is the core of my recovery plan. I committed to these steps for a full two weeks, monitoring progress daily. Consistency is non-negotiable.
Step 1: Immediate Isolation and Assessment
The moment you confirm anthracnose, the infected plant must be quarantined. I moved my jade to a separate room with good light and airflow. Next, I conducted a thorough assessment. Wearing gloves, I gently examined every leaf and stem. I used a magnifying glass to identify the earliest, smallest spots. This initial audit gave me a baseline. I then prepared my workspace with a clean cloth, a pair of sterilized pruning shears (I wiped them down with isopropyl alcohol), and a trash bag for infected material. Remember, never compost diseased plant parts.
Step 2: Surgical Removal and Sterilization
This is the most critical physical intervention. The goal is to remove all visibly infected tissue to stop spore production.
- The Process: One by one, I snipped off every leaf showing a brown spot, even tiny ones. For leaves with only a small spot, I sometimes cut away just the affected portion if most of the leaf was still healthy. For stems with lesions, I made a clean cut at least an inch below the infected area, ensuring I was into healthy, green tissue.
- The Mistake & Fix: My first mistake was being too timid. I left a few “mildly” spotted leaves, hoping they’d recover. They didn’t; they became spore factories. Three days into treatment, I had to do a second, more aggressive pruning. The fix was simple: if in doubt, cut it out. After every few cuts, I re-sterilized my shears with alcohol to prevent cross-contaminating the wounds I was creating on the healthy plant.
- Two-Week Observation: After this aggressive pruning, the plant looked sparse, but clean. Over the next 14 days, I inspected the remaining foliage daily. No new spots appeared on the old growth, confirming I had successfully removed the primary infection sources.
Step 3: Fungicide Application and Environmental Overhaul
Removing the fungus isn’t enough; you must protect the plant and change the conditions that led to the outbreak.
- Choosing and Applying a Fungicide: I opted for a two-pronged approach. First, I used a ready-to-use copper fungicide spray, thoroughly coating all remaining leaves, stems, and the soil surface. As per the American Horticultural Society’s (AHS) guidance on fungal diseases, copper-based products are effective contact fungicides for many leaf spot diseases. Second, for systemic protection, I used a bio-fungicide containing Bacillus amyloliquefaciens, a beneficial bacterium that outcompetes pathogens. I applied it as a soil drench.
- The Schedule: I applied the copper spray once at the start of treatment. The bio-fungicide drench was applied at the start and again at the 10-day mark. This combination provided immediate and long-lasting protection.
- Fixing the Environment:
- Watering: I stopped all overhead watering completely. I switched to bottom-watering only, allowing the soil to soak up moisture from a saucer below. This kept the leaves perfectly dry. I let the soil dry out almost completely between waterings.
- Light & Air: I moved the plant back to its original, very bright spot with several hours of morning sun. I also placed a small, oscillating fan nearby on low setting to gently improve air circulation around the plant, which helped evaporate any moisture quickly.
- Humidity: I ensured the room humidity was below 50%, using a dehumidifier if necessary during humid days.
Monitoring Recovery: What to Expect Over Two Weeks
The recovery wasn’t instantaneous. Here’s my day-by-day log of the key events:
- Days 1-3: Plant looks bare post-pruning. No changes.
- Days 4-7: Critical period. No new spots appeared. The cut ends of stems began to callus over cleanly. This was my first sign of success.
- Days 8-10: I noticed the tiniest, bright green new growth buds forming at the leaf nodes on the stems. This was the plant signaling its return to health.
- Days 11-14: New growth continued. The existing plump, healthy leaves remained firm and spot-free. The soil dried out on a perfect schedule. By day 14, I was confident the active infection was cured.
Preventing Future Fungal Outbreaks on Jade Plants
Curing the disease is half the battle; preventing its return is the other. My environmental overhaul became permanent. I now water all my jades from the bottom. They receive maximum light possible. I ensure there’s always space between pots for air to flow. I also do a preventative spray of the bio-fungicide every early spring and fall, when environmental conditions can shift. Regularly cleaning up fallen leaves and debris from the soil surface is a simple but vital habit.
Will the brown spots on the infected leaves ever go away? No, they will not. The damaged tissue is dead and cannot heal or turn green again. This is why surgical removal is so important—it eliminates these ugly, spore-producing areas and allows the plant to direct energy into producing new, healthy growth.
Can I use neem oil to treat jade plant anthracnose? While neem oil has fungistatic properties (meaning it can inhibit spore germination), my experience and expert consensus suggest it is better as a preventative or for very mild, early cases. For an established anthracnose infection, I found it was not strong enough. A dedicated fungicide, like a copper-based product, is more reliable for halting an active outbreak.
How do I know if my jade plant is beyond saving? If the fungal infection has spread to the main stem, causing it to become soft, mushy, and blackened, the plant’s structural integrity is compromised. If, after aggressive pruning, you are left with no healthy leaves or stem segments, recovery is unlikely. However, jades are remarkably resilient. If there is even one healthy leaf or a short segment of firm, green stem, you can attempt propagation to save a piece of the plant.
Seeing your jade plant overcome anthracnose is incredibly rewarding. It requires swift action, a willingness to make tough cuts, and a commitment to changing the care routine. The two-week treatment window I followed was decisive. The combination of physical removal of infected parts, targeted fungicide use, and a permanent shift to drier, brighter, and airier conditions didn’t just cure my plant—it made it stronger. Your jade can bounce back too. Start with isolation, arm yourself with clean tools, and remember that sometimes the kindest cut is the deepest one for the plant’s long-term health.





