 bluename
 How to Treat jade plant Pot-Bound Roots: 4 Root-Bound Fixes
You’ve noticed it, haven’t you? Your once-thriving jade plant seems to have hit a wall. The growth has slowed to a crawl, water runs straight through the pot like a sieve, and maybe it’s even starting to look a little wobbly or top-heavy. If you’re nodding along, you’re likely dealing with a classic case of pot-bound roots. I’ve been there, staring at my favorite Crassula ovata, wondering where I went wrong. The good news is, this isn’t a death sentence—it’s a cry for help and an opportunity for renewal. Over the years of nurturing these resilient succulents, I’ve learned that knowing how to treat jade plant pot-bound roots is a fundamental skill for any plant enthusiast. In this guide, I’ll walk you through the exact steps I use, based on hands-on experience and trusted horticultural advice, to give your plant a new lease on life.
Understanding the Root-Bound Jade Plant
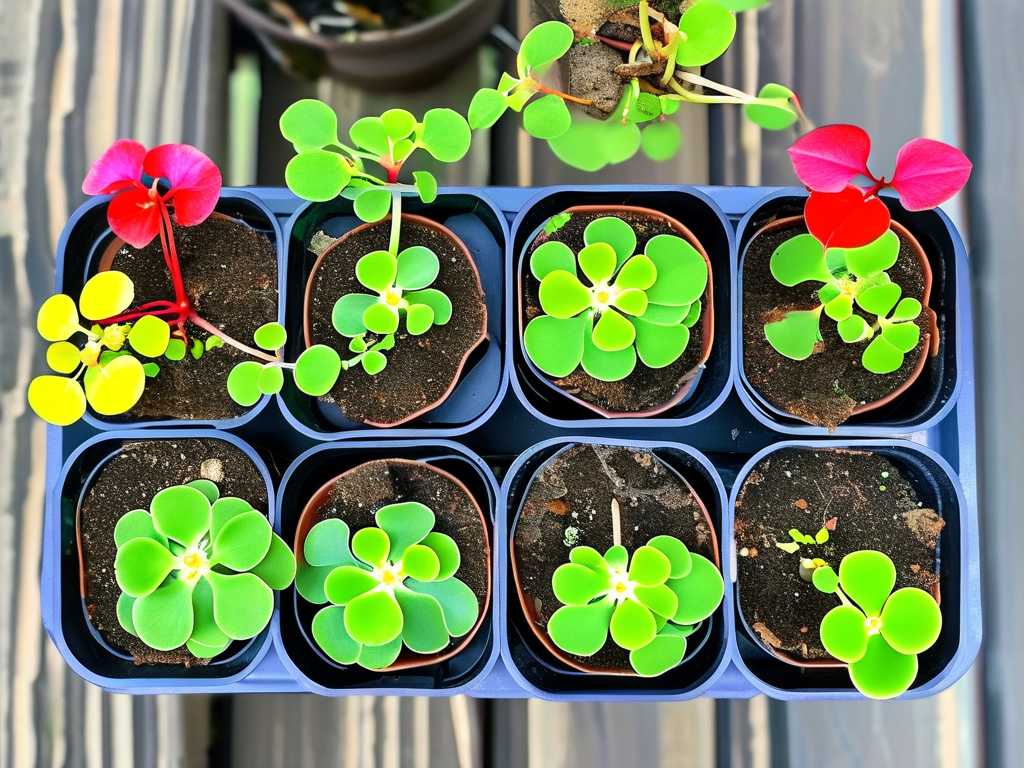
First, let’s talk about what “pot-bound” or “root-bound” really means. It’s when the root system has completely filled the container, circling around itself with no more room to grow. According to the Royal Horticultural Society (RHS), this condition can lead to a host of problems: compromised nutrient uptake, increased susceptibility to overwatering (as there’s little soil left to hold moisture), and ultimately, stunted growth. For a jade plant, a species known for its longevity, becoming root-bound can prematurely age and stress it.
How do you confirm your suspicions? Don’t wait for it to topple over. Gently slide the plant out of its pot. If you see a dense web of roots hugging the shape of the container, with little soil visible, you’ve got your diagnosis. Sometimes, the roots may even be growing out of the drainage holes. This was the exact scene I faced with my five-year-old jade last spring—a tight, tangled mass that explained its recent lethargy.
My 4-Step Protocol for Fixing Root-Bound Jade Plants
Armed with the right tools and a weekend afternoon, you can successfully address this issue. Here is the precise, step-by-step method I followed, along with my two-week observation log.
Fix 1: The Gentle Extraction and Root Inspection
Gather Your Supplies: You’ll need a new pot (only 1-2 inches larger in diameter than the old one), fresh succulent/cactus potting mix, pruning shears or sharp scissors (sterilized with rubbing alcohol), and something to cover the drainage hole (a coffee filter or mesh).
My first attempt years ago was a disaster—I yanked the plant out, causing significant root damage. Now, I’m meticulous. I watered the plant lightly two days before the repot to reduce stress, then tipped the pot on its side, supporting the base of the stem. I gently squeezed the sides of the flexible nursery pot and coaxed the root ball out. For a rigid pot, I slid a knife around the inner edge to loosen the grip.
Once out, I placed it on a newspaper and began the inspection. This is crucial. I looked for any dark, mushy roots—a sign of rot—and any excessively long, coiled ones. The American Horticultural Society (AHA) emphasizes the importance of root pruning for congested plants to stimulate new, healthy growth. This was my moment to perform a little surgery.
Fix 2: The Root Pruning and Untangling Process
This step feels intimidating but is transformative. Using my sterilized shears, I carefully trimmed away any rotten or dead roots. Next, I addressed the thick mat of roots at the bottom and sides. I made several vertical cuts, about an inch deep, into the root mass. This technique, often called “butterflying,” helps break the circling pattern. I then used my fingers to gently tease apart the outer roots, shaking away some of the old, depleted soil. The goal isn’t to go bare-root but to create space and opportunity. I probably removed about 20-25% of the total root volume.
The Mistake I Made: In my eagerness during an earlier repot, I was too aggressive and removed nearly 40% of the roots. The plant went into severe shock, dropping leaves for weeks. Lesson learned: moderation is key, especially for older jades.
Fix 3: Repotting with the Correct Soil and Technique
Choosing the right pot and soil is non-negotiable. I selected a terracotta pot with excellent drainage, just one size up. Terracotta’s porosity helps prevent overwatering by allowing the soil to dry more evenly—a critical factor for jade plant health. I placed a coffee filter over the hole to keep soil in.
I pre-moistened my fresh succulent mix (a blend of potting soil, perlite, and coarse sand) so it was lightly damp, not soggy. I created a base layer of soil in the new pot, high enough so that when I placed the jade in, its stem would sit at the same level as before. Planting too deep can cause stem rot. I centered the plant and began filling in around the roots, gently tapping the pot to settle the mix without compacting it. I left about a half-inch of space at the top for watering.
Fix 4: The Critical Aftercare and Recovery Period
This is where patience is paramount. I did NOT water the plant immediately. Why? The fresh cuts on the roots need a few days to callous over to prevent rot. I placed the repotted jade in a location with bright, indirect light—no direct sun for at least a week to minimize stress. I waited a full five days before giving it a thorough, deep watering, allowing excess water to flow freely from the bottom.
My Two-Week Observation Log:
- Days 1-3: The plant looked unchanged, maybe a little weary. No leaf drop yet. I resisted the urge to fuss over it.
- Days 4-7: After the first watering on Day 5, I noticed a subtle change. The leaves, which had felt slightly soft, began to firm up—a sign the roots were starting to drink.
- Days 8-14: This was the most encouraging phase. I spotted tiny, bright green new growth at the stem tips! Not massive growth, but definite, vibrant points of life. There was minimal leaf loss (maybe 2-3 older leaves yellowed and fell, which is normal). The plant felt stable and secure in its new pot.
This successful recovery confirmed that my root-bound jade plant treatment protocol worked. The combination of careful root pruning, appropriate pot sizing, and disciplined aftercare allowed the plant to transition smoothly.
Prevention: How to Avoid Future Root-Bound Issues
Fixing the problem is great, but preventing it is better. I now make it a habit to check my jade plants every spring by gently checking the root situation. A general rule is to consider repotting every 2-3 years. Signs like slowed growth or water pooling on the soil surface are my early warnings. Using a well-draining soil mix from the start and avoiding pots that are excessively large also helps create a healthier root environment long-term.
How often should I repot my jade plant? For most jade plants, repotting every 2 to 4 years is sufficient. They actually prefer being slightly snug in their pots. The best indicator is to check the roots in spring; if they are densely circling, it’s time.
Can I use regular potting soil for my repotted jade? I strongly advise against it. Regular potting soil retains too much moisture. Always use a specialized succulent or cactus mix, or amend regular soil with plenty of perlite or pumice (up to 50%) to ensure the fast drainage jade roots require to thrive and avoid rot.
My jade plant dropped many leaves after repotting. Did I kill it? Some leaf drop is a common stress response. Don’t panic. Ensure it’s in bright, indirect light, and be very careful with watering—only water when the soil is completely dry. As long as the stems are firm and not shriveled, your plant is likely focusing its energy on re-establishing its root system. Give it time, often several weeks, to recover.
Addressing a root-bound jade plant might seem daunting, but it’s a deeply rewarding process. It’s a direct conversation with your plant, understanding its needs beneath the surface. By recognizing the signs early, intervening with a careful hand, and providing a supportive recovery environment, you’re not just fixing a problem—you’re actively extending the life and beauty of a cherished companion. The sight of that first new growth after the procedure is all the confirmation you need that you’ve provided the perfect fix for bound roots.





