 bluename
 How to Save Your jade plant from Pests: 4 Infestation-Rescue Steps
I’ll never forget the sinking feeling. There it was, my prized, decade-old jade plant, its plump, glossy leaves looking dull and speckled. Upon closer inspection, I saw the telltale signs: tiny, cottony masses tucked in the crevices and a sticky residue on the leaves below. My jade plant had pests. If you’re reading this, you likely know that panic. You’ve nurtured this resilient succulent for years, only to find it under silent attack. The good news? I’ve been there, fought the battle, and saved my plant. This guide isn’t just theory; it’s my real, step-by-step rescue plan that brought my jade back from the brink over a critical two-week period.
Understanding the enemy is half the battle. For jade plants, the usual suspects are mealybugs and spider mites. Mealybugs look like tiny bits of cotton and love the stem joints. Spider mites are nearly invisible but leave fine webbing and stippled, yellow leaves. According to the American Horticultural Society (AHS), early identification is crucial, as a severe infestation can stunt growth, cause leaf drop, and even kill the plant. My mission was clear: eradicate them without harming the plant.
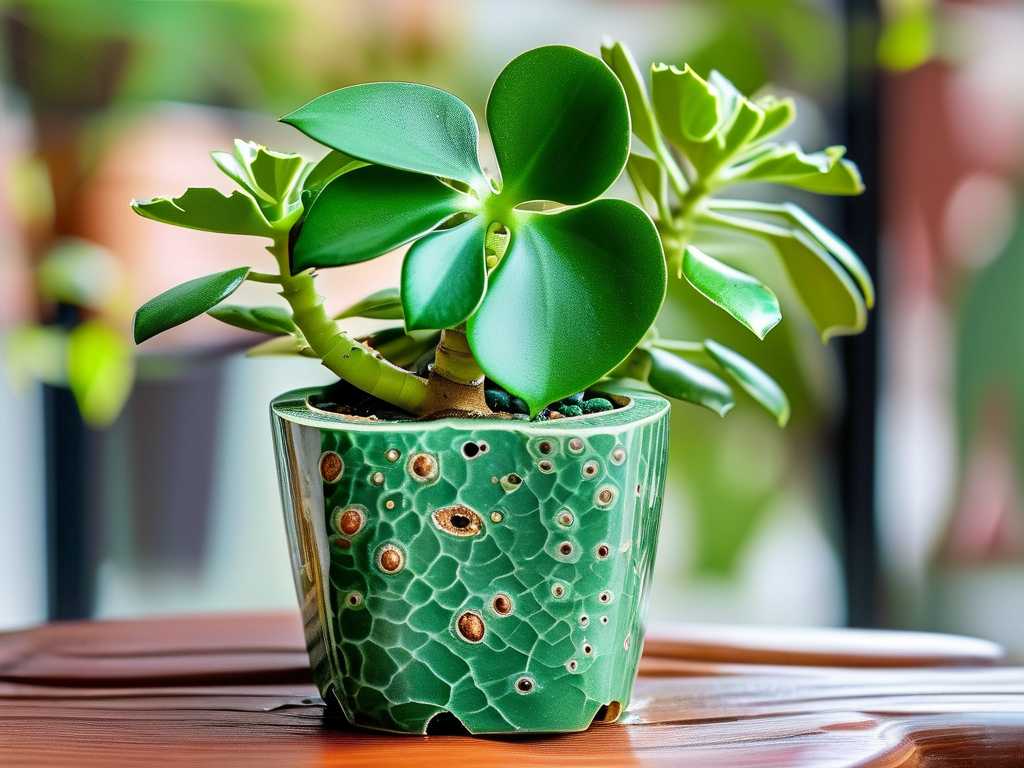
Here is the exact 4-step framework I followed, complete with the mistakes I made and how I fixed them.
Step 1: The Immediate Isolation and Assessment
The moment you suspect pests, act. Do not wait.
I moved my infested jade plant to a separate room, away from all other houseplants. This containment is non-negotiable to prevent a full-scale epidemic in your indoor garden. Next, I conducted a thorough assessment under bright light. I examined every leaf—top and bottom—every stem joint, and even the soil surface. I used a magnifying glass to confirm the presence of both mealybugs and early-stage spider mite webbing.
My Mistake and Fix: Initially, I only checked the most affected areas. A week later, I found a new colony on a seemingly clean branch. The fix? Be relentlessly thorough. I took the plant to my bathroom for the next steps, which made cleanup easier.
Step 2: The Physical Eradication Process
Before any spray touches the leaves, manual removal is essential. I put on gloves and armed myself with cotton swabs and a small bowl of isopropyl alcohol (70% strength).
I dipped each swab in alcohol and meticulously dabbed every single mealybug I could see. The alcohol dissolves their waxy coating on contact, effectively killing them. For broader areas, I made a gentle spray of one part alcohol to three parts water and lightly misted the clusters. For spider mites, I then took the plant to the sink and gave it a strong, steady shower with lukewarm water, focusing on the undersides of the leaves to dislodge mites and eggs. I let the plant drip-dry completely in the bathtub.
The Two-Week Observation Log:
- Days 1-3: After the initial shower and alcohol treatment, the plant looked clean but slightly stressed. I kept it isolated.
- Days 4-5: I spotted a few new, tiny mealybugs. This was expected, as eggs had likely hatched. No panic—this is why the process continues.
Step 3: Applying a Targeted Treatment Solution
Physical removal alone won’t break the life cycle. You need a follow-up treatment. I opted for insecticidal soap, a recommendation supported by the Royal Horticultural Society (RHS) for being effective against soft-bodied pests and relatively low-impact.
I purchased a ready-to-use insecticidal soap spray. Following the label instructions precisely, I thoroughly coated the entire plant—drenching the soil, stems, and every leaf surface until the solution dripped off. I ensured full coverage, as contact with the pest is necessary for it to work.
My Mistake and Fix: I applied the treatment in the late afternoon and placed the plant back in a sunny spot. The next morning, I noticed slight leaf burn on a few top leaves. The fix? Always treat plants in the early evening or on a cloudy day, and keep them out of direct sun until fully dry. The new growth was unharmed, and the plant recovered.
Two-Week Observation Log Continued:
- Days 6-8: Reapplied insecticidal soap as per the product’s 7-day interval instruction. The population of visible pests drastically diminished.
- Days 9-11: Vigilant daily checks showed almost no activity. The sticky residue (honeydew) was gone.
Step 4: Environmental Correction and Prevention
Pests often exploit stressed plants. My jade was slightly overwatered and in a spot with poor air circulation—an open invitation. I allowed the soil to dry out completely between waterings, a fundamental rule for jade plant care. I also pruned one densely packed branch to improve airflow within the plant’s canopy. Finally, I wiped the remaining leaves with a clean, damp cloth to remove any dust, which can hinder the plant’s health and make it easier for pests to hide.
Two-Week Observation Log Conclusion:
- Day 14: The plant was declared pest-free. It showed signs of new, healthy growth at the stem tips. It remained in isolation for one additional week for monitoring before rejoining my other plants.
This integrated approach—combining physical, chemical, and cultural controls—is the cornerstone of effective pest management for succulents. It addresses the immediate infestation and helps prevent a future one.
Addressing Your Jade Plant Rescue Concerns
Can I use neem oil on my jade plant? Yes, neem oil is an excellent natural alternative for treating jade plant infestations. It acts as both a pesticide and a fungicide. However, test it on a small area first, as some succulents can be sensitive. Dilute it as directed and apply in the evening. I used it as a preventative spray in the weeks following my rescue mission.
How often should I check my jade for pests? Make it a habit during your regular watering routine. A quick visual scan of the undersides of leaves and stem junctions once a week is sufficient for early detection, which makes any infestation rescue infinitely easier.
My jade plant lost many leaves after treatment. Is it dying? Some leaf drop is a common stress response to both pests and treatment. Focus on the growing tips. If you see new, compact growth emerging, your plant is recovering. Hold back on fertilizing and water only when the soil is bone dry to support root health during this recovery phase.
Saving a jade plant from pests requires patience and consistency. There’s no single magic spray; it’s a systematic campaign of isolation, removal, treatment, and environmental adjustment. My plant is now more robust than ever, putting out vibrant new growth. The key is to start at the first sign of trouble, be meticulous with each step, and understand that recovery happens over weeks, not days. Your resilient jade has the will to live; you just need to provide the right defense.





