 bluename
 How to Cure jade plant Rust: 3 Fungal Infection Fixes
There’s a special kind of panic that sets in when you notice something wrong with a plant you’ve nurtured for years. For me, it was the morning I saw my prized, decade-old jade plant sporting ugly, rusty orange spots on its normally plump, green leaves. My heart sank. This wasn’t just cosmetic damage; it was a clear sign of a fungal infection taking hold. If you’re here, you’re likely facing the same distressing sight and searching for a real, workable solution. You want to know exactly how to cure jade plant rust, not just mask it. Having battled this issue myself over a dedicated two-week period, I can guide you through the three most effective fixes I used to save my plant. This guide is born from hands-on experience, complete with the mistakes I made and the adjustments that finally led to success.
Understanding the Enemy: What Is Jade Plant Rust?
Before we dive into the fixes, let’s identify what we’re fighting. Jade plant rust, often caused by fungi like Phytophthora or Coleosporium, manifests as crusty, orange-brown to yellowish spots on leaves and stems. It’s a classic sign of excess moisture and poor air circulation. According to the American Horticultural Society (AHS), these fungal pathogens thrive in damp conditions, spreading through splashing water or contaminated soil. It’s crucial to distinguish this from sunburn or edema; true rust will feel slightly raised and powdery and can spread rapidly if left unchecked.
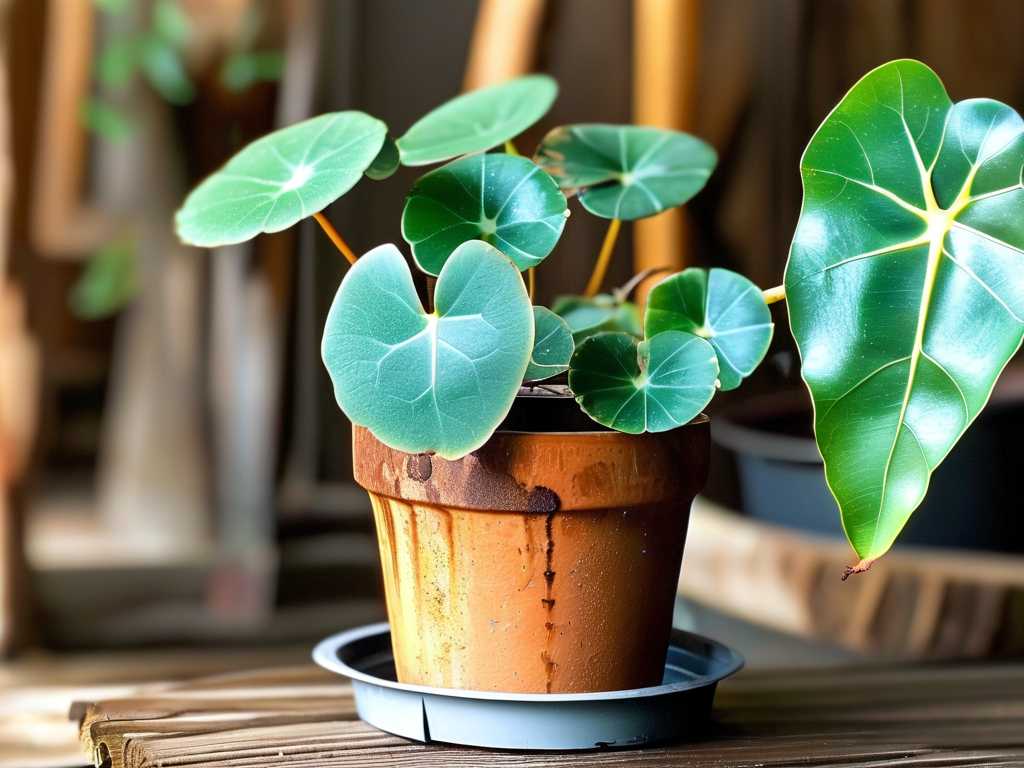
My initial mistake was procrastination. I hoped the spots would just “dry up,” but within days, they multiplied. That’s when I committed to a full, 14-day rescue mission.
The 3-Step Fungal Infection Treatment Protocol
I combined three core strategies, moving from immediate intervention to long-term environmental correction. Consistency over the two-week period was absolutely key.
Immediate Isolation and Physical Removal
The moment you confirm rust, your first move is quarantine. I moved my jade away from all other plants to prevent the spores from spreading. This is non-negotiable.
Next, put on gloves and get ready for some delicate surgery. Using sterilized pruning shears (I wipe mine down with isopropyl alcohol between each cut), I carefully removed every leaf and stem section that showed significant infection. For leaves with minor spots, I sometimes tried a careful scraping technique with my fingernail, but this is risky—if you tear the leaf, you create another entry point. It’s often safer to remove the entire leaf. I bagged and disposed of all this material in the trash, not the compost, to avoid contaminating my garden.
The First-Week Observation: After this initial pruning, the plant looked sparse and sad. However, within 3-4 days, I noticed the spread had completely halted on the remaining healthy tissue. This was my first sign of progress. The pitfall I encountered here was being too timid. My first pruning pass was too conservative, and I had to go back in on day 3 to remove a few leaves I’d hoped would recover. They hadn’t. Be ruthless for the plant’s own good.
Fungicidal Treatment: Choosing and Applying Your Weapon
With the worst of the infection physically removed, it was time to treat the plant and soil to kill any lingering spores. I tested two approaches.
For a natural route, I first used a homemade baking soda solution (1 teaspoon per gallon of water with a drop of mild soap). I sprayed it thoroughly on all plant surfaces, including the undersides of leaves and the soil top, every 4 days. While this can alter soil pH with overuse, it’s a gentle first strike. After one week, the existing spots seemed drier but weren’t disappearing.
For a more targeted approach, I switched to a copper-based fungicide, widely recommended by resources like the Royal Horticultural Society (RHS) for controlling fungal diseases on succulents. Following the label instructions meticulously, I applied it as a soil drench and a light foliar spray. The key is coverage, not saturation. Succulents hate soggy leaves, so I applied it in the early morning so any droplets would evaporate quickly.
The Two-Week Result: By the end of the second week, the combination of pruning and the copper fungicide application had stopped the disease in its tracks. No new spots appeared. The old spots had calloused over and were no longer active. The plant’s energy was visibly shifting from fighting disease to preserving its remaining healthy leaves.
The Critical Environmental Overhaul: Fixing the Cause
Treating the symptoms is useless if you don’t fix the environment that caused the problem. This is the most important long-term fix.
- Watering Discipline: I had been watering on a schedule, not by need. I stopped completely. I let the soil dry out completely—bone dry to the bottom of the pot. I now only water when the leaves show a slight give when gently squeezed, a classic jade plant sign of thirst.
- Airflow is Everything: My plant was in a cozy corner. I moved it to a location with gentle, indirect air circulation (not a direct draft from a vent or fan). A small oscillating fan on low in the room made a dramatic difference.
- Soil and Pot Check: I discovered my pot had a mediocre drainage hole and the soil, while labeled “for cacti,” had become compacted. After the plant recovered, I repotted it into a terracotta pot with a massive drainage hole and used a gritty, well-draining mix of two parts potting soil to one part perlite and one part coarse sand.
Preventing Future Fungal Outbreaks
Curing the rust is half the battle. Keeping it from returning is the other. My routine now includes:
- Bottom Watering: I now place the pot in a saucer of water for 15-20 minutes, allowing the soil to soak up moisture from below. This keeps the surface soil and leaf stems dry, depriving fungi of their ideal habitat.
- Regular Inspections: Every time I water, I do a quick leaf check, especially underneath.
- Seasonal Adjustments: I water far less in the winter months when the plant is dormant and light levels are lower.
Questions I Had (And You Probably Do Too)
Can a jade plant recover from severe rust? Yes, but it requires patience. Even if you have to remove most of the leaves, jade plants are incredibly resilient. As long as the main stem and some healthy growth points remain, it can bounce back. Focus on stem health first; new leaves will follow once the plant is stable.
Should I use neem oil for jade plant rust? Neem oil is a great preventative and mild fungicide, but for an active, established rust infection, I found it less effective than a targeted copper fungicide. Neem works best as part of a regular maintenance spray in high-humidity seasons, not as a primary cure for a serious outbreak.
How often should I apply fungicide? Always follow the product label. Over-application can harm the plant. For my copper fungicide, I applied once at the start of week two and did not need a follow-up because the infection was controlled. More is not better. The goal is to assist the plant’s recovery, not to chemically drown it.
Watching my jade plant overcome this fungal infection was a lesson in attentive plant care. The rust wasn’t a death sentence, but a clear signal that my care routine needed adjustment. The successful cure hinged on a swift, three-pronged attack: aggressive removal of infected parts, a targeted fungicidal treatment, and, most importantly, a permanent change in the plant’s growing conditions to prioritize dryness and airflow. Two weeks of consistent, observant action not only saved my plant but made it stronger. Your jade can recover, too. Start with isolation, commit to the process, and trust that with the right fixes, you’ll see those healthy, glossy green leaves return.





