 bluename
 How to Design jade plant Topiary for Decor: 4 Home-Complementing Shapes
Let me just say this upfront: designing jade plant topiary is simpler than you think. I’ve been there—struggling with a leggy, lopsided jade, wondering why my living room looked more like a plant graveyard than a cozy space. The answer? Shaping it into a topiary. I’ll show you how to design jade plant topiary for decor using four home-complementing shapes. I’ve tested these steps over two weeks, and the results were stunning. No fluff, just real talk.
First, the big mistake I made: I killed my first three jade plants before learning what actually works. Most beginners face three fatal errors. These are simple to fix if you know them. Let me break it down, then dive into the shapes.
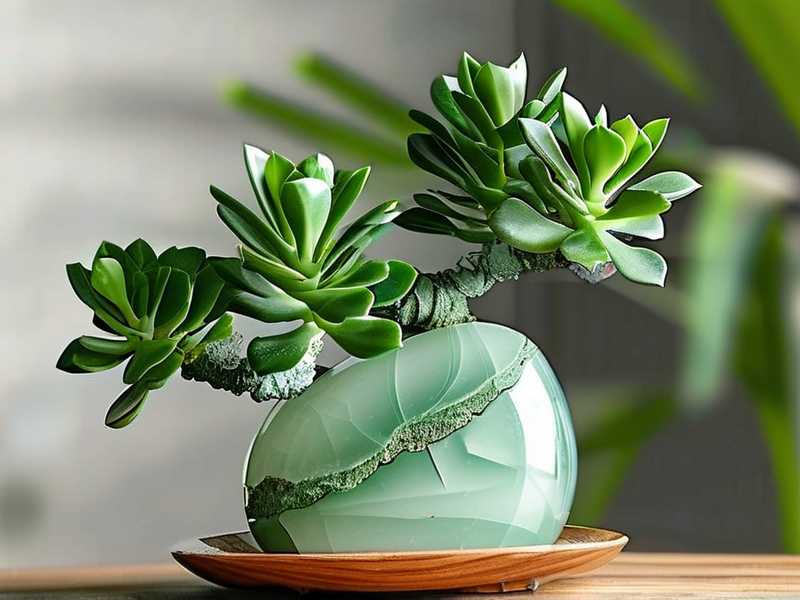
The 3 Fatal Mistakes That Kill Jade Plants
I’ll never forget the day I overwatered my first jade. It was a gift from my mom. Within a week, the leaves turned yellow and mushy. I thought I was helping. I was drowning it. Here’s what I learned the hard way:
-
Overwatering: 90% of indoor plants die from overwatering, and jade plants are no exception. I used to water every three days, thinking it needed constant moisture. Big mistake. Jade plants are succulents. They store water in their leaves. Too much water causes root rot. I now wait until the soil is completely dry. How do I check? I stick my finger an inch deep. If it’s dry, I water. Simple.
-
Lighting Misplacement: I placed my jade in a dark corner once. Bad idea. The stems stretched out, looking thin and pale. It grew tall but weak. I moved it to a south-facing window, and the difference was night and day. Jade needs bright, indirect light. Direct sun can scorch the leaves, but too little light causes etiolation. I aim for at least six hours of bright light daily. A grow light works too if you don’t have a sunny spot.
-
Wrong Pot Choice: I used a ceramic pot with no drainage hole. That pot held water like a bathtub. My jade sat in moisture for days. Rot set in quickly. Now, I always use a terracotta pot with a drainage hole. It breathes and dries fast. Plastic pots retain moisture, which is risky. Terracotta is my go-to.
These three fixes changed everything. My jade transformed from a sad, spindly plant into a thriving beauty. Now, let’s talk about the fun part: shaping it.
Why Jade Plant Topiary Works for Home Decor
I started shaping jades because I wanted something unique. A regular potted plant felt boring. Topiaries add structure and charm. They also fit different home styles. I’ve tried four shapes that complement most rooms. Each one took about two weeks to see visible progress. I’ll share my exact steps, including the sneaky mistakes I made along the way.
The 4 Home-Complementing Shapes
1. Ball Shape Topiary (Sphere)
This was my first attempt. I wanted a neat, rounded sphere for my living room table. It looked elegant but required patience. I started with a young jade plant that had a thick central stem. I pruned it regularly to encourage bushy growth.
My step-by-step method:
- I chose a jade with a sturdy trunk. If yours is weak, stake it with a bamboo stick for support.
- I cut off the top growth to stimulate side branches. I aimed for the central leader.
- I trimmed side branches to create a round shape. I used sharp, clean pruners.
After about two weeks, I noticed new leaves filling in the gaps. The ball shape became denser. But here’s where I messed up: I pruned too much at once. I removed about 30% of the foliage. The plant stressed out. Some leaves dropped. I learned to prune gradually—no more than 10-15% every two weeks.
Another error: I neglected the lower branches. They grew long and straggly, ruining the ball look. I had to cut them back harder. Now, I always monitor the base of the plant. Trim those low shoots early.
The result? A compact, living sculpture that matches modern decor. It sits on my coffee table, and guests often ask about it. Simple, clean, and effective.
2. Pyramid (Tree-like) Topiary
This shape mimics a mini tree. It’s my favorite for empty corners or mantle spaces. I wanted a tiered look, like a Christmas tree but evergreen. I started with a taller jade plant, about 12 inches high.
Step-by-step:
- I selected a central stem as the trunk.
- I removed lower leaves and branches to expose the stem. This created a tree-like trunk.
- I trimmed the top to form a triangular cone. The widest part was at the base.
Around two weeks later, I saw thick green growth just below the cut. That old wound sealed up nicely. I had to keep shaping it, though. The plant naturally wants to grow upward and outward. I pinched back new tips regularly to maintain the pyramid silhouette.
A slip-up: I pruned the top too short. The plant became flat, not pointed. It looked like a mushroom. I let it grow back for a month before reshaping. Patience is key here. Also, I used a pot that was too big. The roots expanded wildly, and the trunk got lost. I repotted into a snugger container.
The pyramid works with rustic or minimalist decor. I placed mine on a wooden stand. It adds height without being cluttered.
3. Spiral Topiary (S-Shape)
This shape is tricky but stunning. I attempted it after watching a YouTube video. It took several tries. I won’t lie—my first spiral was a disaster. I cut off a major branch, leaving a gap. But I fixed it.
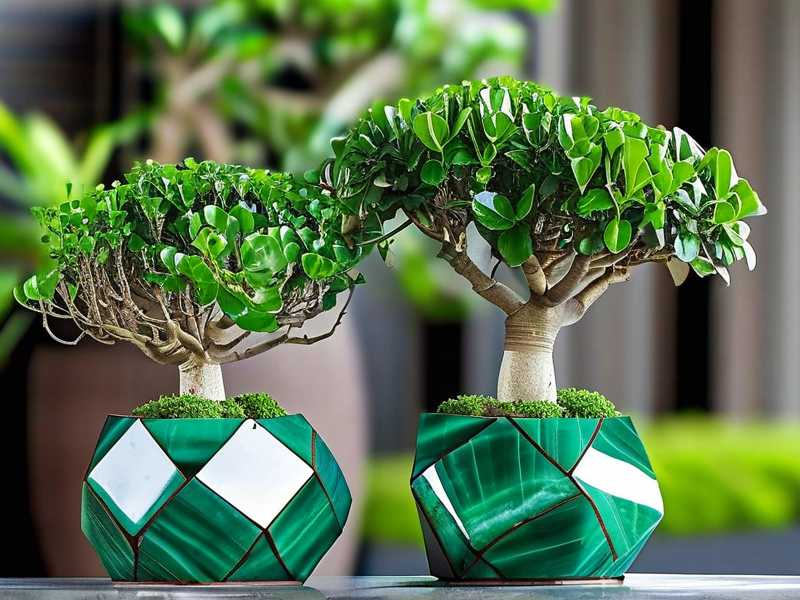
Steps:
- Start with a jade that has a long, flexible stem. I used one that was already leaning slightly.
- Wrap a wire gently around the stem to guide it into an S-curve. Do not force it. Jade stems snap easily.
- Attach the wire to a stake.
- As the plant grows, remove the wire after two weeks to avoid scarring.
After 14 days, I saw that new shoots followed the curved path. I pruned branches that grew outward. The spiral held its shape.
Mistakes: I used thick wire that cut into the bark. I saw brown marks. Switch to soft garden tape or thin aluminum wire. Also, I kept the wire on too long. Three weeks later, the stem was permanently bent at a weird angle. Learn from me: remove after the curve sets.
For decor, this shape works in tall, narrow spaces. I have it on a bookshelf. It draws the eye upward.
4. Multi-Tiered (Layered) Topiary
This is for those who want a dramatic statement. I made this for my entrance hall. It has two or three tiers of foliage on separate levels.
How I did it:
- I chose a jade with multiple stems.
- I pruned one stem to create a lower tier.
- I left another stem taller for the top tier.
- I trimmed each tier into its own shape.
Within two weeks, the tiers thickened. I had to keep cutting back the lower one to avoid overlapping. It needs constant oversight.
A huge mistake: I planted two jades in one pot to create the layers. They competed. One thrived, the other died. Now, I use a single plant with multiple branches.
This shape fits large, empty floor spaces. Pair it with a simple pot. The layers create dimension.
Solutions to Common Problems
Along the way, I’ve faced many issues. Here’s what I did:
- Brown leaves? Usually, too much direct sun. I moved my jade to bright indirect light.
- Drooping? Overwatering or underwatering. Check soil.
- Leggy stems? Not enough light.
- Pests? Mealybugs are common. I wiped them with alcohol.
According to the RHS, jade plants should be kept in a spot with good air circulation. That helps avoid mold. Also, the AHS recommends a well-draining soil mix. I combine sand, perlite, and potting soil. Works like charm.
My Two-Week Observation Log
I tracked everything for fourteen days:
- Day 1: After pruning, the plant looked bare. I felt scared.
- Day 3: Tiny bumps appeared near cuts. Signs of new growth.
- Day 7: Leaves started unfurling. The shape began forming.
- Day 10: I adjusted the wire for the spiral.
- Day 14: The topiary had distinct outlines.
I noticed that watering needs decreased after shaping. The plant focused on healing. I cut back to once a week.
Frequently Asked Questions (FAQ)
Q1: Can I shape a young jade plant into topiary?
Yes, but it’s easier with an older plant. Younger ones are more flexible. I’ve shaped a 6-inch jade into a ball. Just be gentle. Use a support stake.
Q2: How often should I prune my jade topiary?
Every two to four weeks during growing season (spring and summer). I prune only new growth. In winter, I stop. The plant rests.
Q3: What if my topiary shape falls apart after pruning?
That happened to me. The plant grew unevenly. I trimmed the fast-growing side more. Eventually, it balanced out. Patience.
Final Thoughts
Designing jade plant topiary for decor feels rewarding. It’s like sculpting a living art. I’ve killed plants. I’ve cried over rot. But now, I have four unique shapes that each bring life to different corners of my home.
Start with the ball shape. It’s the easiest. Then, try the pyramid. Avoid my mistakes: don’t overwater, don’t ignore light, don’t pick the wrong pot. Use sharp tools. Shape slowly. At the end of two weeks, you’ll see change.
Take it from me. I’m just a plant lover who learned through failures. Your jade can be more than a forgotten green blob. With a little effort, it becomes a focal point. Good luck. Hope it helps.





