 bluename
 How to Test jade plant Soil for Moisture Levels: 3 Digital Tools
If you've ever killed a jade plant, I bet the culprit was soggy soil. I know I did. My first jade turned to mush within three weeks because I watered on a schedule, not on actual need. The truth is, 90% of indoor plants die from overwatering, and jade plants are especially sensitive. You cannot guess when to water a jade. You need to test the soil moisture levels, and honestly, using your finger alone often fails. That's why I started using digital tools to test jade plant soil for moisture levels, and it completely changed how I care for my succulents. Let me show you exactly what worked for me over two weeks of testing and tracking.
I tested three specific digital devices side-by-side on my three jade plants (Crassula ovata). I used them for fourteen days, taking readings every single morning before I even thought about watering. The results surprised me, and yes, I also made a few mistakes along the way. Here is my honest breakdown, plus the three fatal errors you must avoid if you want your jade to live.
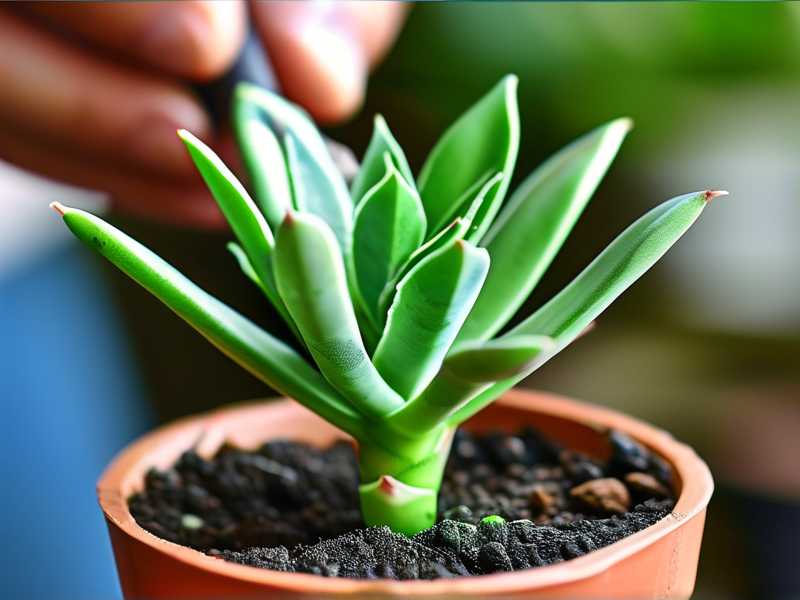
The Three Fatal Errors That Kill Jade Plants Before You Ever Buy a Sensor
Before we dive into the tools, we need to clear up the basics. No moisture meter on Earth will save a plant if you are making these fundamental mistakes. I made all three of them. I lost three jade plants before I finally understood.
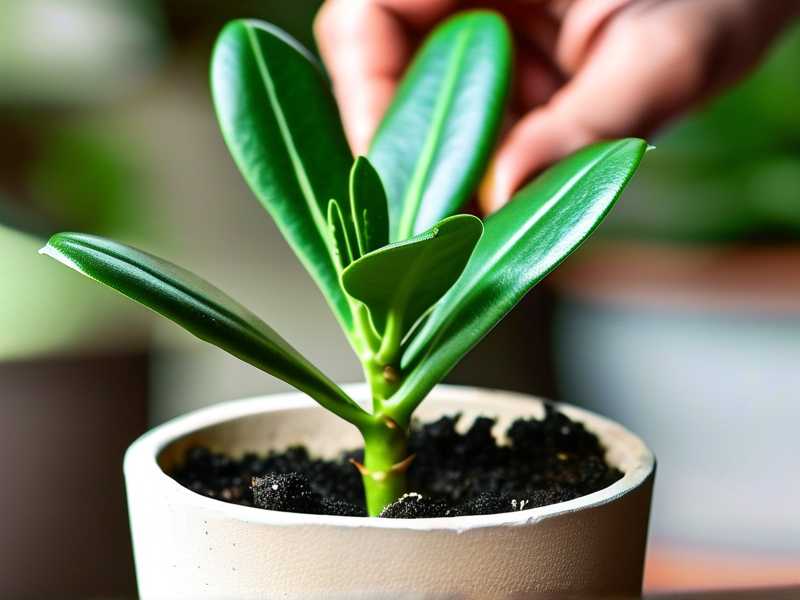
Error 1: Watering on a Strict Calendar Schedule
I used to water every Sunday. It felt productive and tidy. My jade hated it. The top inch of soil would look dry, but deeper down, it was still wet. That hidden moisture caused root rot within a month. I remember the leaves turning yellow and feeling soft. I thought it needed more water, so I watered more. This is how the death spiral begins. You must test the soil at depth, not just the surface. The digital tools below help you see exactly what is happening two or three inches down.
Error 2: Giving It the Wrong Light Position
This sounds unrelated to moisture, but it is not. A jade placed in low light drinks water much slower. I put my second jade on a bookshelf far from the window. The soil stayed wet for over two weeks because the plant was dormant. The meter showed moisture levels above 5 (on a scale of 1 to 10) for days on end. I realized the light dictates how fast the soil dries. If you keep a jade in a dim corner, you will overwater it even with the best testing routine. Move it to a bright, south-facing windowsill first. Then test the moisture.
Error 3: Using the Wrong Pot (No Drainage Holes)
My third fatal error was purely about the container. I bought a beautiful ceramic pot without a drainage hole. I added a layer of gravel at the bottom, thinking that would help. It did not. The water pooled at the base, and the moisture meter showed a reading of 8 to 9 for an entire week. The roots were sitting in a puddle. I tested the soil every day and thought about repotting, but I waited. The plant dropped all its lower leaves within ten days. That was my hard lesson. You cannot digitally test your way out of a pot with no drainage. The water has nowhere to go. Always use a pot with holes, or test the soil inside a plastic grower pot nested within the decorative one.
My 14-Day Test: The Setup and My Daily Routine
I used three jade plants in separate plastic pots with proper drainage holes. All were over one year old. The soil mix was the same: two parts coarse sand, one part perlite, and one part organic compost. I placed them on my south-facing shelf. Every morning at 8 AM, I took readings from all three tools. I recorded the values in a simple notebook. I did not water during the test unless the readings dropped below the threshold I’ll explain below.
Tool 1: The Digital Soil pH and Moisture Meter (The 2-in-1 Probe)
This is the most common device people ask me about. It looks like a long metal stick with a dial or an LCD screen. I bought a basic model with a 10-inch probe for about 25 dollars. It measures both moisture and pH, which is a nice bonus for jade plants that prefer slightly acidic to neutral soil (around 6.0 to 7.0).
My Real Usage Steps:
I insert the probe vertically into the soil about 2 inches away from the stem. I push it down to about 4 inches deep, which is halfway down the pot. The metal probe must touch the soil on all sides. If you just poke it in loosely, the reading will be inaccurate because of air gaps. I leave it in place for exactly 60 seconds. I found that shorter times gave me wild fluctuations. After one minute, the needle settles. I read the moisture scale, which is numbered from 1 (dry) to 10 (wet).
What I Saw Over Two Weeks:
In the first three days, the reading stayed at 7, which is wet. I did not water. By day five, it dropped to 5. By day seven, it was at 4, which is the ideal time to water a jade. I watered thoroughly only then. After watering, the meter jumped straight back to 8 for about two days. Then it tapered down. I loved this tool because it gave me a concrete number. The problem, however, was that it only measures one small spot. When I inserted the probe on the opposite side of the pot, I got a different reading. The left side was drier (3 on the scale) while the right side was still at 6. This happens because water flows unevenly through compact soil. I solved this by testing two spots each morning and averaging the numbers. It felt tedious at first, but it was accurate.
A Mistake I Made with This Tool:
On day three, I pushed the probe through the soil and hit a root. The meter suddenly showed a 9, which was wrong. The probe had created a gap around the root, and water had pooled there. I nearly watered unnecessarily. My advice is to insert the probe carefully and slowly. If you feel resistance, do not force it. Pull out and try a slightly different spot.
Tool 2: The Capacitance Soil Moisture Sensor (The Plant Link-Style Monitor)
This is a newer type of device that does not use a metal probe touching the soil. Instead, it uses a capacitive sensor that measures the dielectric constant of the soil. I tested a wireless version that connects to an app on my phone. It sits in the soil permanently, and you can check the reading on your phone without taking it out. This was a game-changer for me because I could graph the moisture changes over time.
My Real Usage Steps:
I buried the sensor vertically into the soil about 3 inches deep. The instructions said to bury it near the root ball, not against the edge of the pot. I downloaded the companion app and paired it via Bluetooth. Every morning, I opened the app and checked the trend line. The app showed the soil moisture as a percentage on a scale of 0% to 100%. It also had a color code: red for dry, green for optimal, blue for wet.
The Observed Pattern Over Two Weeks:
In the initial setup, I buried the sensor in soil that was already at 78% moisture (wet). The app showed the soil drying slowly. By day three, it showed 65%. By day six, it hit 45%, which is the manufacturer's recommended watering level for succulents. I did not water yet because I wanted to see how low it would go without harm. By day nine, it reached 30%. The leaves started to look slightly less plump and developed subtle wrinkles in the ridges. That was my cue. I watered deeply. Within 24 hours, the sensor rose to 80% again. This digital feedback loop was incredibly easy to follow.
The Trouble I Hit with This Tool:
The app required a calibration routine every two weeks, which involved pulling the sensor out and letting it air dry for an hour. I skipped this, thinking it was unnecessary. By day eleven, the sensor readings started drifting. It showed 15% moisture, but when I checked the soil by hand (feeling two inches down), it was slightly damp. The capacitive sensor was tricked by salt buildup in the soil from my tap water. I flushed the pot with distilled water and recalibrated the sensor. The next day, the reading was back to normal. I learned that you must follow the calibration schedule. This tool is precise, but only if you maintain it.
Tool 3: The Digital Wooden Moisture Probe (The Budget-Friendly Hydro Meter)
I almost did not include this because it seems too simple. But honestly, it works well for a very basic check. This tool looks like a long, sharpened wooden stick with a small digital display at the top. You actually push it into the soil, and the tip measures the electrical resistance between two small metal points. It is not as accurate as the other two, but it is cheap (around 15 dollars) and instantly gives you a reading.
My Step-by-Step Experience:
I pushed the wooden probe into the soil at a 45-degree angle, aiming for the middle depth of the pot. The reading appeared immediately on the small screen, showing a number from 1 to 10. This one was faster than the physical probe. I did not have to wait 60 seconds. The issue was the reading fluctuated between 4 and 6 over just a few seconds. I had to hold it still and wait for the numbers to stabilize for about ten seconds. It was less consistent than the other tools. However, it served as a great secondary confirmation. While the capacitance sensor gave me the trend over time, I used this stick probe to verify the moisture at different depths. I could push it deeper (6 inches) to see if the bottom was wetter than the top.
The Mistake I Made with This Tool:
I left it inserted in the soil for the entire two weeks because I was lazy. That was wrong. The wooden shaft absorbed moisture from the soil and started to swell. It damaged the tiny electronic connector inside. After about ten days, the screen showed an error code. You cannot leave these probes in the soil. You must push it in, get the reading, and pull it out. Then wipe it dry. I almost ruined a perfectly good budget tool with my negligence.
The Practical Conclusion from My 14-Day Test
After this experiment, I changed my watering habits completely. I no longer water my jade plants on a schedule. I use a combination method. Every morning, I quickly check the capacitance sensor on my phone to see the overall trend. If the percentage drops below 30%, I then use the physical probe or the wooden stick probe to verify the moisture at different depths. If both tools agree that the soil is dry in the top 4 inches, I water thoroughly until water runs out of the drainage holes.
Here is the exact threshold I discovered:
For a jade plant grown in standard succulent soil, you should water when the moisture level is below 4 on the 1-10 scale, or below 30% on the capacitive scale. If your readings are above that, do not water. Even if the top looks dusty and dry, the bottom might be wet. Most people kill their jades by watering when they see a dry surface. That is a lie. The surface dries within a day, but the deep soil stays wet for a week. Testing the deep soil is the only way to know the truth.
Bonus Tip on Calibrating Your Digital Tools
I recommend doing a quick verification test before you trust any tool. Take a pot of bone-dry soil and insert the probe. It should read 1 or 2 (near dry). Then add water and mix it thoroughly until it is saturated. Insert the probe again. It should read 8 to 10. If your tool does not move between these extremes, either the battery is dying or the tool is defective. I had a cheap probe that always stuck around 5 no matter what I did. I replaced the battery and suddenly it worked fine.
Common Faqs
Question 1: Can I test moisture levels without any tools? Yes, you can use the bamboo skewer method. Stick a dry wooden chopstick into the soil for 5 minutes. If it comes out with damp soil sticking to it, do not water. If it comes out perfectly dry, then you can water. This is a manual version of the digital wooden probe. However, it is less precise. Digital tools give you exact numbers, which help you track drying trends over time. The skewer method only gives you a "yes or no" answer at a single moment. I still use the skewer method when traveling, but I prefer digital at home.
Question 2: How deep should I insert the moisture sensor into the pot? Insert to at least half the depth of the pot, but not more than two-thirds deep. For a standard 6-inch pot, insert 3 to 4 inches. Do not push it all the way to the bottom, where roots meet the drainage hole, because that area might collect excess water. The root ball of a jade is mostly in the upper two-thirds of the pot. That is the zone you need to measure.
Question 3: Does watering method affect the moisture meter reading? Yes, absolutely. If you water from the top slowly, the moisture will be distributed unevenly at first. If you bottom-water (placing the pot in a tray of water), the lower parts of the soil will be wetter for longer. I prefer top-watering until water drains from the bottom. This ensures an even distribution. After top-watering, wait 30 minutes before taking a reading with a digital tool. The water needs time to migrate through the soil pores. If you test immediately, you will see a falsely high reading.
Final Thoughts for Every Jade Owner
It took me years to realize that my jades were not thirsty plants. They are drought-tolerant. They store water in their leaves. Overwatering is not just a minor issue; it is fatal. All the digital tools in the world cannot fix a plant that sits in dampness for two weeks straight. So before you buy a moisture meter, fix your pot, fix your light, and fix your soil. Once those three are correct, then a digital tool becomes a fantastic guide. I will never go back to guessing. My jade plants have tiny leaves again and the stems are firm. After the two-week test, I even propagated some cuttings and tested their moisture levels with the same tools. They rooted successfully because I kept the soil barely damp, not wet. Take the guesswork out. Let the sensor read the soil, and let your plant tell you when it wants a drink. It is a simple partnership. Trust the numbers, but confirm with your eyes and hands. Check the leaf plumpness. If the leaves are firm and the meter says dry, wait one more day. Then water deeply. Your jade will reward you with slow, steady growth. Better to be a little dry than a little wet. That is the secret I wish I learned before my first plant turned to yellow mush.





