 bluename
 How to Fix jade plant Soft & Mushy Leaves: 4 Rot-Prevention Solutions
There’s a special kind of plant parent panic that sets in when you touch a jade plant leaf and find it soft, mushy, and translucent. That firm, plump resilience is gone, replaced by a sickly squish. If you’re reading this, you’ve likely felt that dread. I know I have. I’ve lost a prized, decades-old jade to root rot before I understood what was happening. It’s a heartbreaking and, frankly, preventable problem. This guide isn’t just theory; it’s the hard-won, step-by-step battle plan I developed through trial, error, and ultimately, success. Over the next sections, I’ll walk you through exactly how to diagnose the type of rot, perform emergency surgery on your plant, and implement the four critical prevention solutions that saved my collection. The core issue we’re tackling is jade plant soft mushy leaves, a clear sign of rot that demands immediate action.
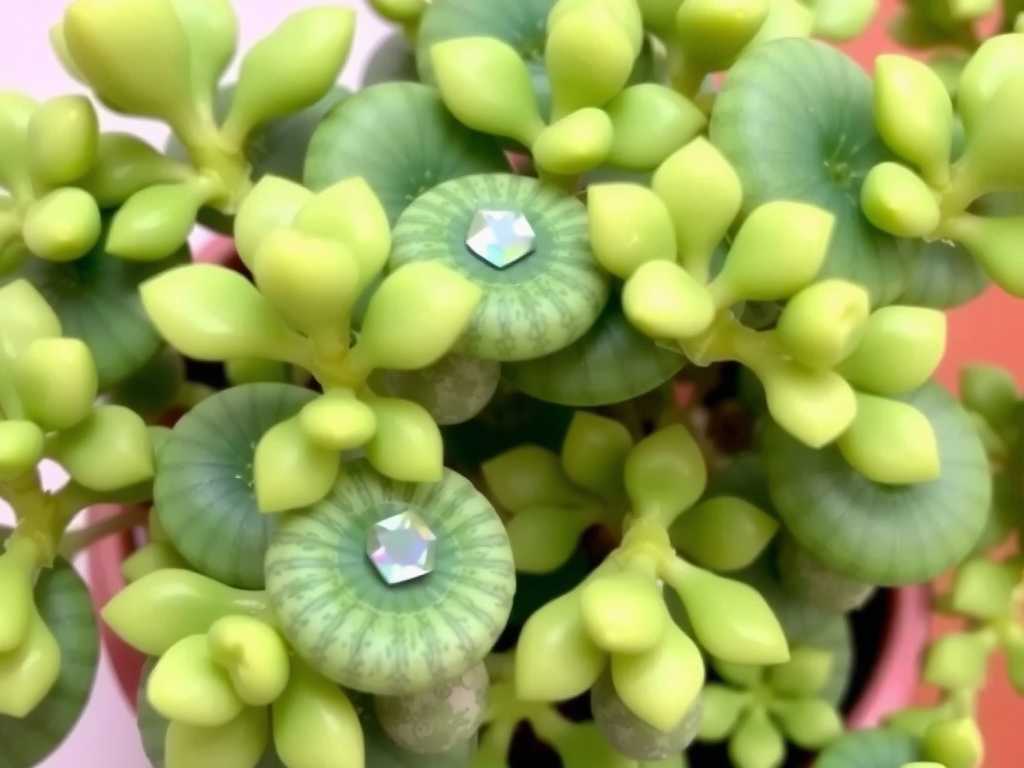
My journey to fixing this began with a jade I’d named “Old Guard.” It was a cutting from my grandmother’s plant. When its lower leaves started yellowing and getting soft, I assumed it needed more water. I was wrong. That overwatering accelerated the rot, and within a week, the stem was black and collapsed. That failure forced me to research, experiment, and apply solutions with the precision of a surgeon. The following methods are the result of that hands-on experience.

Diagnosing the Rot: Is It Stem or Root?
Before you can fix the problem, you must identify it. Soft leaves on a jade plant can stem from two primary sources: stem rot or root rot. Here’s how I tell the difference.
Stem Rot: This is often a top-down issue. You might see a black, brown, or mushy spot on the stem itself, sometimes where a leaf was attached. The area around it is soft, and the problem can spread rapidly upward. Leaves directly above the affected stem section will become mushy and drop. I encountered this on a newer plant I’d placed in a terrarium (a big mistake—too humid!). The stem near the soil line turned dark and squishy.
Root Rot: This is a bottom-up, stealthier killer. The plant looks thirsty (wrinkled leaves) but the soil is damp. When you gently tug the plant, it feels loose. The roots, when inspected, are dark brown or black, slimy, and smell foul—not like earthy soil, but like decay. This was “Old Guard’s” fate. The roots were completely gone, leaving only a rotten stump.
My diagnostic step is always the same: Gently remove the plant from its pot. Brush away the soil and inspect the roots and stem base. Healthy roots are firm and white or tan. Anything dark, mushy, or smelly must go. This is the first, non-negotiable step in treating jade plant root rot.
Emergency Surgery: Saving Your Rotting Jade Plant
This is the scary but necessary part. You need to perform what I call “rot-ectomy.” Gather clean, sharp scissors or pruning shears, rubbing alcohol, fresh succulent/cactus mix, and a clean pot with drainage.
Step 1: Unpot and Expose. I carefully tipped my ailing jade out of its pot. I brushed off all the old, wet soil over a newspaper to get a clear view of the root ball. The smell confirmed it—root rot.
Step 2: The Cut. I sterilized my shears with rubbing alcohol. Then, I started cutting. You must cut above all the rot. For stem rot, cut at least an inch above the highest visible discolored or soft spot. For root rot, cut away all dark, mushy roots until you only see healthy, firm stem tissue. If the main stem is rotted, you may be left with only healthy top branches. This feels drastic, but it’s the only way. I had to cut my plant back to a 4-inch green stem tip.
Step 3: The Dry. This is where I made a mistake early on. I once repotted immediately after cutting. The fresh wound absorbed moisture from the new soil and re-rotted. Now, I always let the cut end callous over completely. I place the cutting in a dry, shaded spot with good air circulation for at least 3-5 days, until the cut is dry, hard, and sealed. No shortcuts.
Step 4: Re-rooting. Once calloused, I plant it in bone-dry succulent mix. I do not water it. For a stem cutting, I wait about a week, then give it a very light watering, only enough to slightly moisten the soil around it. The goal is to encourage new roots to seek out moisture without sitting in it. According to the Royal Horticultural Society (RHS), succulents like jade are highly susceptible to rot in moist conditions during propagation, emphasizing the need for a dry start.
The 4 Pillars of Rot Prevention: A 2-Week Observational Regimen
Saving the plant is half the battle. Preventing a recurrence is the war. After my emergency surgery, I implemented these four solutions simultaneously and monitored my recovering jade for two weeks. Here’s my log and what you can expect.
Solution 1: Master the “Soak and Desert” Watering Technique
Forget schedules. Water only when the soil is 100% dry, plus the leaves show the faintest sign of thirst (a slight give when gently squeezed). My method: I use the “chopstick test.” Insert a wooden chopstick deep into the pot; if it comes out clean and dry, it’s time.
My 2-Week Log: After repotting my saved cutting, I did not water for 10 days. On day 11, the soil was dust-dry and the single pair of leaves had a tiny bit of give. I took the pot to the sink and watered thoroughly until it drained freely from the bottom. I then left it in the sink for an hour to drain completely before returning it to its saucer. Over the next 3 days, I observed the leaves plumping up slightly. No new mushiness appeared. This confirmed the roots had absorbed water and were functioning, a critical milestone in preventing succulent stem rot.
Solution 2: Engineer the Perfect Fast-Draining Soil Environment
Standard potting soil is a death sentence for jade roots. They need fast drainage. My mix: 2 parts succulent/cactus mix, 1 part perlite, and 1 part coarse sand or poultry grit. This creates an airy, gritty environment where water cannot linger.
The Pitfall I Faced: I once used a bagged “cactus mix” that still felt too peaty. It retained moisture for too long. Now, I always do the “squeeze test.” A handful of damp mix should crumble apart easily, not clump. For my recovering plant, the new gritty mix meant even after my thorough watering, the pot felt significantly lighter within 48 hours, indicating rapid drainage and evaporation.
Solution 3: Choose and Use Pots Like a Pro
The pot is your drainage system. Terracotta is my gold standard. Its porous walls wick moisture away from the soil. Ensure the pot has at least one large drainage hole. Pot size matters, too. A pot too large holds excess soil that stays wet for longer. I choose a pot that gives the root ball only about an inch of space around it.
My Observation: I planted my cutting in a small, 3-inch terracotta pot. After watering, I could feel dampness on the outside of the pot within an hour—proof it was breathing. By day 2, the exterior was dry. This microenvironmental control is vital for saving a rotting jade plant and fostering new root growth.
Solution 4: Optimize Light and Airflow for Plant Health
Weak, etiolated (stretched) jade plants are more prone to rot. They need strong, direct light (4-6 hours minimum) to fuel growth and metabolize water efficiently. Good airflow around the leaves and soil surface also helps prevent fungal issues and speeds soil drying.
My Setup: I placed my patient on a south-facing windowsill. I also used a small, oscillating fan on low, set across the room, to ensure gentle air movement in the plant area. Not a direct blast, but enough to prevent stagnant air. Over the two weeks, I noticed the stem began to firm up and a tiny, bright red hue developed on the leaf edges—a sign of adequate sun exposure and stress-free health.
Frequently Asked Questions by Fellow Plant Lovers
Can a jade plant recover from overwatering? Yes, absolutely, but only with immediate and decisive action. The key is to intervene as soon as you notice soft leaves. Follow the surgical steps to remove all rot, allow for proper callousing, and repot in dry, gritty mix. The plant’s incredible will to live, combined with your correct care, can bring it back from the brink.
Should I use hydrogen peroxide on rotten roots? I have used a diluted solution (1 part 3% hydrogen peroxide to 2 parts water) as a root soak after cutting away rot. It can help disinfect remaining tissue and provide extra oxygen. However, it’s not a magic cure. The physical removal of all rot is far more critical. Think of peroxide as an optional antiseptic rinse after the main surgery is complete.
How long does it take for a rescued jade to show new growth? Patience is essential. After my process, I saw no visible change for the first three weeks. The plant was using its energy to grow invisible roots. Around the one-month mark, I noticed a tiny, bright green nub forming at the stem’s tip—a new leaf bud. That was the ultimate sign of success. New growth is your confirmation that the plant has rerooted and is thriving under your new, rot-prevention protocol.
Watching a jade plant succumb to mushiness is a disheartening experience, but it’s rarely the end. The journey from discovering those soft leaves to seeing a fresh, new bud emerge is one of the most rewarding in plant care. It teaches resilience—for both the plant and the gardener. By understanding that softness is a cry for help, acting swiftly to remove the rot, and committing to the four pillars of prevention—judicious watering, gritty soil, breathable pots, and ample light—you transform your care approach. You stop working against the jade’s natural needs and start partnering with them. The result is a stronger, more beautiful plant that can stand firm against rot, its leaves plump and resilient for years to come.





