 bluename
 How to Revive jade plant from Overwatering: 6 Drying-Out Steps
I’ll be honest—I’ve killed my fair share of plants. But watching my beloved, years-old jade plant slowly succumb to my overzealous watering was a special kind of heartbreak. Its leaves, once plump and vibrant, turned soft, yellow, and began dropping like tears. The soil felt perpetually soggy, and a sense of dread settled in. If you're here, you likely know that sinking feeling. Overwatering is the single most common killer of jade plants, but here's the crucial hope: it's often reversible. I successfully navigated this crisis, and over a meticulous two-week revival period, I brought my plant back from the brink. This guide is my firsthand account of how to revive jade plant from overwatering, detailing the exact drying-out steps I took, the mistakes I made along the way, and the lessons learned.
Understanding why overwatering is so deadly is the first step to fixing it. Jade plants are succulents, storing water in their thick leaves and stems. Their roots need to breathe. Constantly wet soil suffocates the roots, creating the perfect environment for root rot—a fast-spreading fungal condition. The visible symptoms (yellowing, mushy leaves, leaf drop) are just the plant's distress signals; the real battle is underground. According to the Royal Horticultural Society (RHS), "Succulents like jade plants require the compost to dry out between waterings," emphasizing that "overwatering is the most common cause of decline."
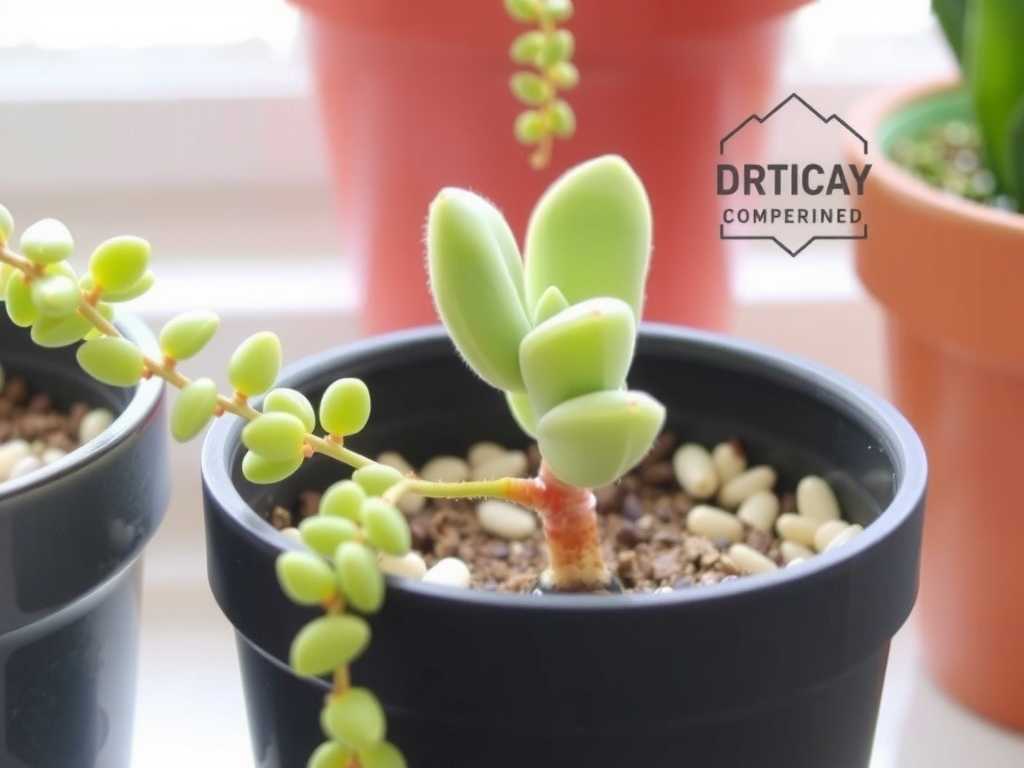
Step 1: The Immediate Intervention – Unpot and Assess the Damage
This isn't the time for hesitation. Gently remove your jade plant from its pot. My mistake the first time I saw trouble was waiting, hoping the soil would dry out on its own. That delay allowed the rot to spread. Shake off as much of the wet soil as possible from the root ball. Then, with clean hands or gently under a soft stream of lukewarm water, rinse the roots to get a clear view. This is the diagnosis phase. Healthy roots are firm and white or light tan. Rotten roots are mushy, dark brown or black, and may fall apart or have a foul smell. The American Horticultural Society (AHA) notes that "root rot is a progressive disease," meaning prompt action is non-negotiable.
Step 2: The Surgical Cut – Pruning Rotten Roots and Foliage
Arm yourself with a pair of sterilized, sharp scissors or pruning shears. I wiped mine down with rubbing alcohol. Carefully cut away every single rotten root. Be ruthless but precise—any rot left behind will continue to spread. Cut back to healthy, firm tissue. Next, address the foliage. Prune any severely yellowed, translucent, or mushy leaves and soft, blackened stems. This serves two purposes: it removes diseased material and reduces the plant's overall water demand, allowing the stressed root system to focus on recovery. This was a hard step for me; cutting back a plant feels counterintuitive. But it's essential for saving an overwatered jade plant.
Step 3: The Critical Dry-Out – Letting the Roots Breathe
Do not repot immediately! This was my second big learning. After surgery, the plant needs time to callous. Place your jade plant in a warm, dry, and shaded spot with good air circulation. I used a clean paper towel on a tray and left the roots exposed to air for 24-48 hours. This drying period allows the cut ends to seal, forming a protective barrier against new fungal attacks when it goes back into soil. You'll see the roots change from a washed, wet look to a drier, slightly shriveled appearance. That's what you want.
Step 4: The Fresh Start – Repotting in the Right Medium
Never, ever reuse the old, contaminated soil. Choose a clean pot—either the old one scrubbed thoroughly with a bleach solution (1 part bleach to 9 parts water) or a new one. Crucially, the pot must have excellent drainage holes. Terracotta pots are ideal as they are porous and help wick away moisture. The soil mix is paramount. Use a fresh, fast-draining succulent or cactus mix. For extra insurance, I now always amend a standard succulent mix with additional perlite or coarse sand (about a 2:1 ratio of mix to perlite) to guarantee drainage. This creates the gritty, airy environment jade roots crave and is key to fixing root rot in jade plants.
Step 5: The Patient Wait – The No-Water Period After Repotting
Here’s the step that tests every plant lover's patience: do not water your newly potted jade plant. Not for a week, sometimes longer. After its traumatic experience, the plant needs to settle into its dry new home and begin the search for water, which encourages new root growth. Watering now would simply restart the cycle of wetness and risk re-infection. I placed my repotted plant in bright, indirect light (no direct sun yet, as it's too stressful) and simply left it alone. The first week post-repotting is a pure observation period.
Step 6: The New Regime – Watering with Discipline and Observation
After 7-10 days, you can introduce water—but minimally. Give it a light, thorough watering until water just runs out of the drainage holes, then empty the saucer underneath immediately. Then, return to the golden rule: wait until the soil is completely dry, all the way to the bottom of the pot, before even considering watering again. To gauge this, I use the "finger test" (inserting a finger deep into the soil) or lift the pot to feel its weight—a dry pot is significantly lighter. My two-week observation log looked like this:
- Days 1-3 (Post-Repot): Plant looked slightly wilted and sad. A few more lower leaves yellowed and dropped—this is normal as the plant conserves energy.
- Days 4-7: The wilting stabilized. No further significant leaf drop.
- Day 8 (First Water): Gave a modest drink.
- Days 9-14: This was the turning point. I noticed the stems seemed firmer. The remaining healthy leaves began to regain their turgor (fullness), and most importantly, I spotted the tiniest hint of new, bright green growth at the stem tips. This was the definitive sign my overwatered jade plant recovery was succeeding.
What are the first signs of an overwatered jade plant? The earliest warnings are leaves that become slightly soft and lose their firm, plump texture. They may turn a lighter green or yellow, starting at the bottom of the plant. The soil will also feel damp for an unusually long time after watering.
Can a jade plant recover from root rot? Absolutely, if caught early. The key is removing all the affected roots during pruning. If the main stem has become completely mushy and black, recovery is unlikely, but if there are still firm, healthy stems and roots, the plant has a strong chance with the steps outlined above.
How long does it take for an overwatered jade plant to recover? The initial revival process, from unpotting to the first signs of new growth, typically takes 2-3 weeks. However, full recovery to its former lushness can take several months of careful, disciplined care. Patience is your most important tool.
Reviving a jade plant from overwatering is a lesson in restraint and observation. It teaches you to listen to the plant rather than follow a rigid schedule. The process hinges on swift action, sterile pruning, a mandatory dry-out period, and a complete change in its environment and your watering habits. My own journey was fraught with anxiety, but seeing those first new leaves emerge was incredibly rewarding. By mimicking the dry conditions of its native habitat, you give your jade the foundation it needs not just to survive, but to thrive once again. Remember, when in doubt, it's always safer to underwater.





