 bluename
 How to Fix jade plant Leaf Discoloration: 5 Color-Restoring Hacks
There’s nothing more disheartening than watching your beloved, plump jade plant slowly lose its vibrant green luster. Those fleshy leaves, once a symbol of resilience and prosperity, start turning yellow, brown, or developing strange spots. If you’re staring at your discolored jade plant right now, feeling a mix of concern and frustration, you’re not alone. I’ve been there too. After years of nurturing these succulents, I’ve learned that leaf discoloration is not a death sentence—it’s a cry for help. This guide is born from my own hands-on trials, errors, and ultimate successes in restoring the health and color of my jade plants. Over the next sections, I’ll share with you the five most effective hacks I personally used to bring my plants back to life, complete with my two-week observation logs and the pitfalls I navigated along the way.
Understanding the "Why" Before the "How"
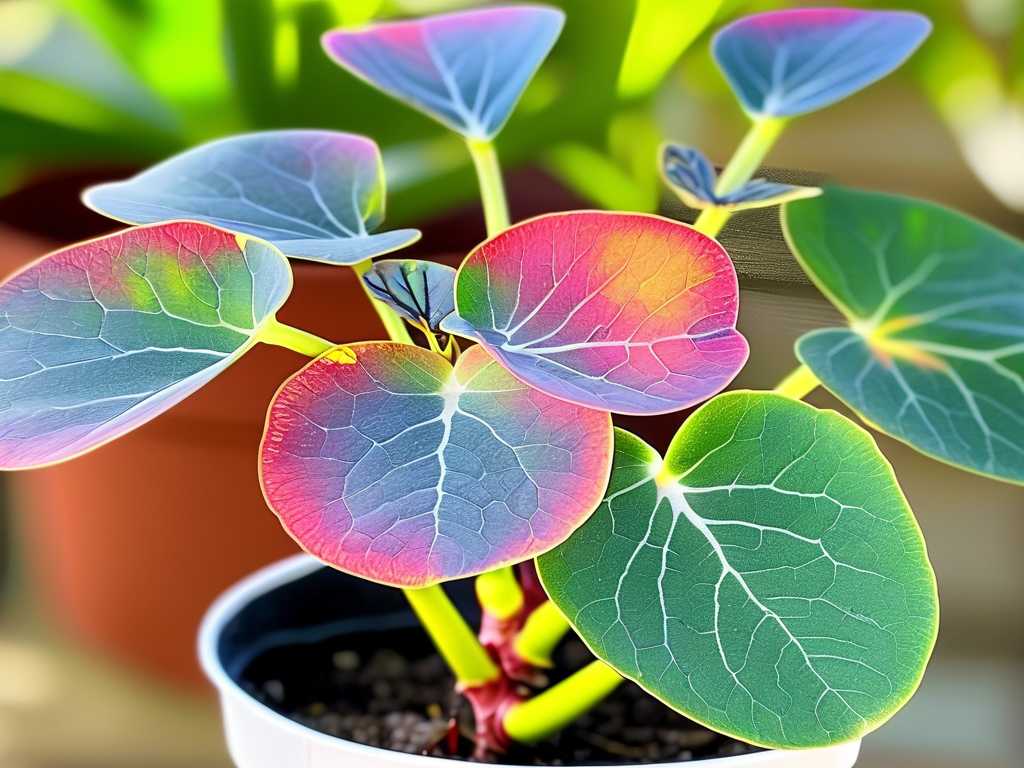
Before we dive into the fixes, it’s crucial to play plant detective. Jade plant leaf discoloration is a symptom, not the disease itself. The color tells the story:
- Yellowing Leaves: Often the first sign, usually pointing to overwatering, poor drainage, or sometimes nutrient deficiency.
- Brown, Crispy Spots or Edges: Typically screams underwatering, too much direct sun (sunburn), or a buildup of salts in the soil.
- Soft, Mushy Brown Areas: Almost always a classic sign of overwatering and potential root rot.
- Red Tinting on Edges: This can be normal with bright light exposure, but widespread red or purple hues might indicate temperature stress or nutrient issues.
My journey taught me that applying the wrong fix can worsen the problem. So, take a moment to observe your plant’s environment. When did the color change start? How does the soil feel? How much light does it truly get?
Hack #1: The Perfect Watering Rhythm Reset
My biggest mistake was loving my jade to death with water. I assumed its thick leaves meant it was always thirsty. I was wrong.
My Step-by-Step Correction:
- The Finger Test is Gospel: I stopped watering on a schedule. Every 3-4 days, I inserted my finger 2 inches deep into the soil. If it felt even slightly damp, I walked away.
- Deep, Infrequent Soaks: When the soil was completely dry, I placed the pot in a sink and watered thoroughly until it freely drained from the bottom holes. I let it drain fully before returning it to its saucer.
- Seasonal Adjustment: I drastically reduced watering in winter (sometimes only once a month), as growth slows.
My 2-Week Observation:
- Days 1-3: No visible change. The existing yellow leaves remained.
- Days 4-7: I noticed no new yellow leaves appearing. The soil surface looked dry and aerated.
- Days 8-14: The plant’s overall posture seemed firmer. While the old yellow leaves eventually dropped (which is normal), the new growth emerging from the stem tips was a healthy, dense green. This was my confirmation that I was on the right track.
The Pitfall I Hit: I used a decorative pot without a drainage hole early on. Even with careful top-watering, moisture pooled at the bottom. The fix was immediate: I repotted into a terracotta pot with excellent drainage. As the Royal Horticultural Society (RHS) advises, for succulents like jade plants, “the single most important factor is ensuring the compost drains freely.” Terracotta helps by wicking away excess moisture.
Hack #2: Soil & Drainage Overhaul
Watering correctly is futile if the soil is working against you. My plant was in dense, moisture-retentive potting mix.
My Step-by-Step Correction:
- The Right Mix: I created a well-draining succulent soil blend: 2 parts standard potting soil, 1 part coarse perlite, and 1 part coarse sand. This ensures rapid drainage and prevents soggy roots.
- Repotting with Care: I gently removed the plant, shook off the old soil, and inspected the roots. I trimmed any black, mushy roots with sterilized scissors.
- Pot Upgrade: As mentioned, I chose an unglazed terracotta pot just 1-2 inches larger than the root ball, ensuring a drainage hole.
My 2-Week Observation:
- Days 1-5: The plant experienced slight transplant shock (a few more leaves dropped), which is common.
- Days 6-10: The shock subsided. The soil dried out uniformly and predictably after watering.
- Days 11-14: A remarkable difference. The leaves looked plumper and held their green color better. The plant simply seemed more stable.
Hack #3: Optimizing Light for Vibrant Color
Jade plants need bright light for compact growth and rich color, but direct scorching sun can bleach or burn them.
My Step-by-Step Correction:
- Finding the Sweet Spot: My plant was in medium indirect light. I moved it to a south-facing window where it received 4-6 hours of direct morning sun, followed by bright, indirect light for the rest of the day.
- Acclimatization is Key: To avoid sunburn, I didn’t make the move abruptly. I increased its direct sun exposure by about an hour every other day over a week.
My 2-Week Observation:
- Days 1-7 (Acclimation): I watched closely for bleaching or brown spots. None appeared.
- Days 8-14: The results were stunning. The leaves developed a beautiful, healthy reddish tinge on their edges—a sign of good anthocyanin production (a natural sunscreen). The green became deeper and more uniform. The new growth was compact, not leggy.
The Pitfall I Hit: One summer, I placed a jade directly into a full-day, south-west sunbeam. Within 48 hours, it had severe brown, scorched patches. The fix was to move it to a shadier spot immediately. The damaged leaves didn’t recover, but the plant eventually pushed out new, healthy growth.
Hack #4: Strategic, Minimal Feeding
I used to think more fertilizer equaled more growth. For jades, this can cause weak, discolored growth.
My Step-by-Step Correction:
- Less is More: I now feed only during the active growing season (spring and summer).
- Product Choice: I use a balanced, water-soluble fertilizer (like a 10-10-10) but dilute it to half the recommended strength.
- Frequency: I apply this diluted fertilizer only once every 4-6 weeks, and only if the plant has been recently watered to avoid root burn.
My 2-Week Observation (Post-Feed):
- Days 1-7: No dramatic change, which is good. A sudden surge would mean shock.
- Days 8-14: I observed a subtle but noticeable boost in the growth rate of new leaf pairs. The color of this new growth was a vibrant, robust green. This confirmed that the previous pale yellowing on older leaves was likely due to my prior overfeeding, not a lack of nutrients.
Hack #5: Proactive Pest Patrol & Leaf Care
Discoloration can sometimes be due to tiny sap-suckers. Mealybugs and spider mites are common culprits.
My Step-by-Step Correction:
- Regular Inspection: I make it a habit to check the undersides of leaves and stem joints weekly.
- Immediate Action: Upon spotting a few mealybugs (white, cottony masses), I dipped a cotton swab in 70% isopropyl alcohol and dabbed each bug directly. For broader issues, I spray with a diluted neem oil solution.
- Leaf Cleaning: Dust blocks light. I gently wipe leaves with a damp, soft cloth every few weeks to maximize photosynthesis.
My 2-Week Observation (Post-Treatment):
- Days 1-3: The visible pests were gone after the alcohol treatment.
- Days 4-10: I monitored for any resurgence. None occurred.
- Days 11-14: The leaves, now clean and pest-free, appeared to have a healthier sheen. Any previous stippling or yellow speckling from pests stopped spreading.
How long will it take to see improvement after I fix the problem? Patience is essential. While you may stop the progression of discoloration within a week, seeing significant new, healthy growth and the plant fully recovering its vigor can take 2-6 weeks. Existing damaged leaves often won’t revert to green; focus on the health of the new growth.
Should I remove the discolored leaves? It depends. Gently remove any soft, mushy, or completely dead leaves to prevent potential rot or disease. If a leaf is partially discolored but still firm, you can leave it; the plant will eventually reabsorb its nutrients. Always use clean tools to make any cuts.
Can a jade plant recover from severe root rot? Yes, it’s possible but requires swift action. Unpot the plant, remove all soft, blackened roots with sterile shears, and let the rootball air dry for a day or two. Repot in fresh, dry, well-draining mix and withhold water for about a week before resuming very cautious watering. The American Horticultural Society (AHS) notes that succulents have a remarkable ability to regenerate from stem cuttings if the roots are too far gone, so propagating a healthy stem is always a good backup plan.
Watching your jade plant transform from a discolored, struggling specimen back to a glossy, green pillar of vitality is incredibly rewarding. It taught me that successful plant care isn’t about rigid rules, but about mindful observation and responding to the clear signals your plant gives you. By mastering the balance of water, light, and soil, and intervening thoughtfully with feeding and pest control, you provide the foundation for lifelong health. Remember, every case of leaf discoloration is a learning opportunity. Start with the simplest explanation—usually your watering habits—and methodically work through these five hacks. Your jade plant’s return to its radiant, prosperous green self will be the best reward.





