 bluename
 How to Revive jade plant Dying: 6 Last-Chance Rescue Steps
I’ve been there. You walk past your beloved jade plant one morning, and your heart sinks. The once plump, vibrant leaves are now wrinkled, yellowing, or worse—dropping like confetti at a sad party. The stems might feel soft, or the whole plant looks like it’s given up. As a long-time plant enthusiast who has nurtured (and nearly lost) my share of Crassula ovata, I understand that panicked search for a last-chance solution. The thought “my jade plant is dying” is terrifying, but I’m here to tell you that hope is not lost. Through trial, error, and a two-week intensive care regimen, I’ve successfully brought several jade plants back from the brink. This guide consolidates my hard-won experience into six critical, sequential steps to revive a dying jade plant.
The key is swift, correct diagnosis and disciplined action. Rushing or skipping steps can do more harm than good. We’ll move from immediate assessment to long-term recovery, ensuring your plant not only survives but thrives again.
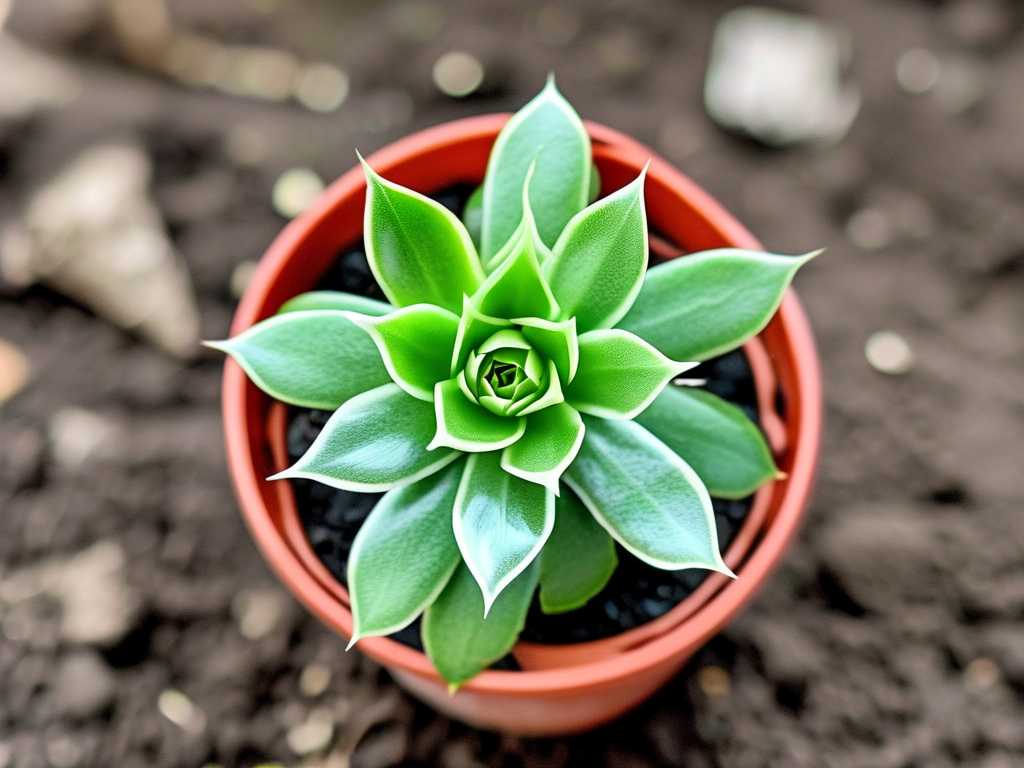
Step 1: The Critical Diagnosis – What’s Really Killing Your Plant?
Before you water, repot, or prune, you must play plant detective. The symptoms of overwatering and underwatering can be surprisingly similar—wilting, leaf drop—but the treatment is opposite. Misdiagnosis here is the most common fatal mistake.
My Diagnostic Checklist:
- The Soil Test: Don’t just skim the surface. Stick your finger an inch or two into the soil. Is it soggy, cool, and clumpy? That’s overwatering. Is it bone-dry, dusty, and pulling away from the pot’s edges? That’s severe underwatering.
- Root and Stem Inspection: Gently wiggle the plant out of its pot. Healthy jade roots are firm and white or light tan. Rotten roots are mushy, dark brown or black, and may smell foul. Similarly, a healthy stem is firm. A soft, squishy stem, especially near the soil line, indicates advanced rot.
- Leaf Analysis: Soft, translucent, yellowing leaves that fall off at a touch often point to overwatering. Thin, wrinkled, crispy leaves that drop are cries for water. Look for pests (mealybugs look like tiny cotton balls) or discoloration from too much direct sun.
In my case, the problem was classic overwatering compounded by poor drainage. I had loved my plant a little too much with the watering can. The soil felt perpetually damp, and a few lower leaves had turned yellow and soft.
Step 2: Emergency Repotting (The Surgical Intervention)
If you’ve discovered root rot, this is non-negotiable. Think of it as emergency surgery. Your plant cannot recover in diseased soil.
My Step-by-Step Rescue Operation:
- Gently Remove and Clean: I carefully removed the plant and gently washed the root ball under lukewarm water to remove all the old, soggy soil. This gave me a clear view of the damage.
- The Root Prune: With sterilized, sharp scissors, I cut away every single soft, dark, or mushy root. This feels drastic, but it’s essential. I cut back until only firm, healthy tissue remained. According to the American Horticultural Society’s plant care guidelines, removing all compromised tissue prevents the rot from spreading.
- Let it Callus: This is a step many miss. I placed the bare-root plant on a paper towel in a warm, airy spot out of direct sun for 24-48 hours. This allows the cut ends to dry and form a callus, which is crucial for preventing re-infection when planted in fresh soil.
- The Right Fresh Start: I chose a clean pot (terracotta is ideal for its breathability) that was only slightly larger than the remaining root system. The superstar of this step is the soil: a very well-draining succulent/cactus mix. I even added extra perlite (about 1:4 ratio) to ensure perfect drainage, as recommended by many horticultural experts.
The Pitfall I Faced: I was impatient during the callusing phase once and repotted too soon. The fresh cuts stayed damp and re-rotted within days. Waiting the full two days was a lesson in discipline that paid off.
Step 3: Strategic Pruning – Less to Sustain, More Energy to Grow
A plant with a severely reduced root system cannot support the same amount of foliage. Pruning reduces stress and redirects energy to new root and shoot growth.
How I Pruned for Recovery:
- I removed all clearly dead or dying leaves and stems.
- I looked for long, leggy growth and trimmed it back to a node. This encourages bushier growth later.
- I didn’t aim for beauty; I aimed for balance. The goal was to create a plant whose remaining top growth could be sustained by the remaining healthy roots.
The initial result looked sparse, even sad. But this strategic reduction was vital for the comeback.
Step 4: The Perfect Environment for Convalescence
Post-op care is everything. Your revived jade needs a stable, gentle environment.
- Light: I placed it in a spot with bright, indirect light—an east-facing window was perfect. Avoid harsh, direct southern sun while it’s vulnerable, as it can scorch the leaves and add dehydration stress.
- Watering – The New Rule: DO NOT WATER IMMEDIATELY. This was the hardest part. After repotting into dry soil, I waited a full 5-7 days before giving it a modest drink. This allows any disturbed roots to heal and prevents new rot. The Royal Horticultural Society (RHS) advises this waiting period for succulents after repotting to avoid root issues.
- Temperature & Airflow: A consistent room temperature (65-75°F) with good air circulation aids recovery. I kept it away from drafts and heating/cooling vents.
Step 5: The Two-Week Observation & Care Protocol
Recovery isn’t instant. I committed to a disciplined two-week watch.
Week 1 Observations: The plant looked static, which I took as a good sign—no further decline. The soil dried out completely. On day 7, I gave it a thorough but careful watering, allowing excess water to drain freely from the hole. No water was left in the saucer.
Week 2 Observations: Here’s where I saw the first glimmer of hope. The remaining plump leaves felt firmer. The wrinkled ones plumped up slightly. Most importantly, at the stem tips, I spotted tiny, bright green nubs—new growth! This was the definitive sign the rescue steps were working.
Step 6: Long-Term Care Adjustments for a Thriving Plant
Once your jade shows stable new growth, you’ve passed the critical phase. Now, prevent a relapse by mastering its long-term needs.
- The Soak-and-Dry Method: This became my gospel. I water deeply only when the soil is completely dry all the way through. In winter, this might mean watering only once a month.
- Light for the Long Haul: As the plant strengthened, I gradually introduced more direct morning sun. A jade plant that receives 4-6 hours of direct sunlight daily will grow compact and strong.
- Hold the Fertilizer: I did not fertilize for at least 3-4 months after the rescue. Fresh soil has nutrients, and a recovering plant’s roots are too tender for fertilizer, which can burn them.
My Final Takeaway: Reviving a dying jade plant is a test of patience and restraint. It’s about providing the right conditions for the plant to heal itself, not forcing growth with excessive care. The six steps—Diagnose, Operate (Repot), Prune, Shelter, Observe, and Adjust—create a framework for success.
Why are all the leaves on my jade plant wrinkly? Wrinkled leaves are almost always a sign of thirst. However, if the soil is wet and leaves are wrinkled, the roots may be rotten and unable to absorb water—a more serious issue requiring the repotting steps outlined above.
Can a jade plant recover from stem rot? Yes, if caught early. You must cut back the stem well above the soft, rotten area until you see only clean, firm, green tissue. Let the cut end callus completely (for several days) before replanting it in dry, well-draining mix. Do not water it for at least a week.
How often should I water a recovering jade plant? Throw out the calendar. Water only when the soil is 100% dry, and then water thoroughly. In the first few months, this interval may be longer than you think. Always err on the side of underwatering; it’s much easier to fix than overwatering.
Seeing new, bright green growth emerge from a plant you thought was lost is one of the most rewarding experiences for any plant lover. It requires a shift from reactive panic to proactive, informed care. By understanding the “why” behind each step—from the critical root inspection to the patient waiting period—you empower yourself not just to save this plant, but to become a more confident and successful jade plant caretaker for years to come. Your resilient jade is waiting for its second chance.





