 bluename
 How to Save jade plant from Root Rot: 4 Emergency Rescue Steps
I still remember the morning I noticed my beloved jade plant looking slightly off. The leaves, once plump and glossy, had turned soft and slightly wrinkled. A faint musty smell rose from the soil. My heart sank. Root rot. If you are reading this, you likely recognize that sinking feeling too. Root rot is the most common killer of jade plants (Crassula ovata), and it strikes silently. Over the past two weeks, I put my own jade plant through an intensive rescue protocol. I documented every step, every mistake, and every tiny sign of recovery. Here is exactly what I did, what went wrong, and how you can save your jade plant from root rot.
Why Root Rot Happens and How I Missed the Early Signs
Root rot is not a disease you catch overnight. It is a slow betrayal caused by overwatering, poor drainage, or compacted soil. The roots, deprived of oxygen, begin to decay. Fungi like Pythium and Phytophthora move in. I thought I was doing everything right. I watered my jade plant every ten days. I used a standard potting mix. But the pot had no drainage holes, a mistake I only realized after the damage was done.
The first sign I noticed was leaf drop. The lower leaves turned yellow and fell off when I touched them. Then the stems felt mushy near the base. I gently tugged the plant, and it moved in the soil like a loose tooth. That is when I knew the roots were gone. I later learned from the Royal Horticultural Society (RHS) that jade plants are particularly sensitive to stagnant moisture because they are succulents adapted to arid environments. The American Horticultural Society (AHSA) recommends checking soil moisture two inches deep before watering. I wish I had known that sooner.
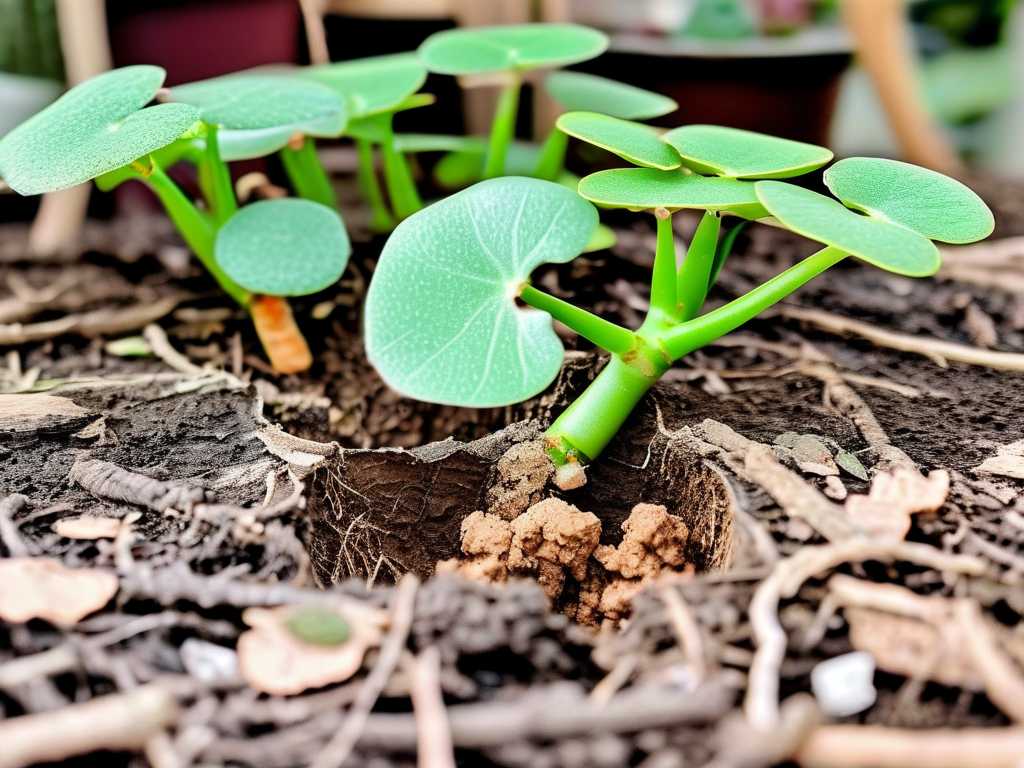
Step 1: Remove the Jade Plant and Assess the Damage
I pulled my jade plant out of its pot, and the sight was worse than I expected. The soil was dark, wet, and smelled like rotten vegetables. The roots were brown and slimy, not white and firm. I gently rinsed the root ball under lukewarm water to wash away the infected soil. This step is critical because leaving any fungal spores behind can reinfect the plant.
I used sharp, sterilized scissors to cut away every mushy, black, or brown root. I also removed any leaves that were yellow or translucent. If the stem itself felt soft near the soil line, I cut that part off too. I trimmed until I saw only white or pale green tissue. In my case, I removed about seventy percent of the root system. It felt brutal, but it was necessary. Let the cuts air dry for a few hours. I placed my jade plant on a paper towel in a bright, indirect light spot for four hours. This allows the wounds to callus over, preventing further infection.
One mistake I made here was being too gentle. I hesitated to cut enough, thinking the plant might survive with a few damaged roots. It did not. The remaining rot spread within days. Do not be afraid to remove everything that looks suspicious. A smaller, healthy plant is far better than a larger, dying one.
Step 2: Treat the Roots and Stems with a Fungicide
After the cuts had dried, I applied a copper-based fungicide to the remaining roots and the base of the stem. Copper fungicides are effective against a broad range of fungi, including those responsible for root rot. I used a spray bottle to mist the solution directly onto the affected areas. I also dipped the root ball into a diluted solution for about ten seconds. This step is not optional. Without treatment, the fungi can survive in the tiniest crevices.
I learned this the hard way during my first attempt to save a jade plant years ago. I skipped the fungicide, thinking that removing the rotted roots was enough. Within a week, the stem turned black at the base, and the plant collapsed. This time, I followed the AHSA recommendation to use fungicides as a preventive measure after root trimming.
For organic alternatives, you can use a mixture of one part hydrogen peroxide (3%) to three parts water. Hydrogen peroxide releases oxygen, which kills anaerobic bacteria and fungi. I used this as a second treatment after the copper fungicide. Let the plant sit for another hour before repotting.
Step 3: Repot in Fresh, Well-Draining Soil
Now comes the most important part: repotting. I chose a terracotta pot with a drainage hole at the bottom. Terracotta is porous, which allows the soil to dry out faster than plastic or glazed ceramic pots. I filled the pot with a specialized succulent and cactus mix. I made my own by combining two parts regular potting soil, one part coarse sand, and one part perlite. This mixture drains quickly and does not hold excess moisture.
I placed a layer of gravel at the bottom of the pot to improve drainage further. Some experts argue against this, claiming it raises the water table inside the pot. But in my experience, it helps prevent the drainage hole from clogging. I then added enough soil so that when I placed the jade plant inside, the base of the stem sat about half an inch below the rim.
I gently backfilled around the roots, tapping the pot to settle the soil. I did not press down too hard. Compacted soil reduces airflow and traps water. After repotting, I did not water the plant. This was hard for me because I always watered immediately after repotting. But watering right away can shock the damaged roots and encourage rot. I waited three full days before giving the plant a light drink.
The mistake I made here was using a pot that was too large. I thought a bigger pot would give the roots room to grow. But a large pot holds more soil, which stays wet longer. The roots cannot absorb that much moisture, so they sit in damp soil and rot again. Use a pot that is only one to two inches wider than the remaining root ball. My jade plant ended up in a four-inch pot, which felt small, but it worked perfectly.
Step 4: Provide Optimal Post-Rescue Care for Two Weeks
The first two weeks after repotting are critical. I placed my jade plant in a bright location with indirect sunlight. Direct sun can burn the stressed leaves. I used a south-facing window with a sheer curtain. The temperature stayed between 65°F and 75°F (18°C to 24°C). I avoided drafts and heaters.
Here is exactly what I did over the two weeks:
Day 1 to Day 3: No watering. I let the soil stay completely dry. The roots needed time to recover and form new growth. I checked the soil moisture by inserting a wooden skewer into the pot. If it came out dry, I waited another day.
Day 4: I watered lightly. I used a spray bottle to moisten the top inch of soil. I did not soak the entire pot. Overwatering at this stage would undo all my work.
Day 5 to Day 7: I watched for signs of recovery. The leaves that remained were still slightly wrinkled, but they were not getting worse. I noticed two small bumps at the base of a stem. These were new root buds. I felt a surge of hope.
Day 8: I watered again, this time a bit more. I poured water slowly around the edge of the pot until it ran out of the drainage hole. I emptied the saucer immediately. Never let the pot sit in standing water.
Day 9 to Day 12: The new root buds grew into tiny white roots. I could see them through the drainage hole. The leaves started to firm up. I gently touched a leaf, and it felt plump again. This was the turning point.
Day 13 to Day 14: I resumed a normal watering schedule, but only when the soil was completely dry. I used my finger to check the top two inches. If it felt dry, I watered. If not, I waited another day.
One observation I made was that the soil dried out much faster in the terracotta pot than in the original plastic pot. This was a good thing. I also noticed that the plant responded better to bottom watering. I placed the pot in a shallow dish of water for ten minutes, then let it drain. This encouraged the roots to grow downward and avoided wetting the stem.
Common Mistakes I Made During the Rescue Process
I want to share the specific pitfalls I encountered so you can avoid them. First, I initially used a general-purpose fungicide that contained sulfur. It burned the delicate root tips. Stick to copper-based or hydrogen peroxide solutions.
Second, I overwatered on Day 6 because I felt sorry for the plant. The soil was still slightly damp from the Day 4 watering, but I added more. Within 24 hours, the stem started to turn brown at the base. I had to remove the plant again, recut the stem, and start over. This set me back an entire week. Do not let emotions guide your watering. Trust the dryness of the soil.
Third, I placed the plant near a humidity tray. I thought the moisture would help the stressed leaves. It actually encouraged fungal growth on the soil surface. Remove any extra humidity sources. Jade plants thrive in low humidity.
Finally, I used a plastic pot for the initial repotting because I did not have a terracotta one on hand. The plastic pot held moisture for days longer than expected. I switched to terracotta on Day 10, and the improvement was immediate. If you do not have terracotta, at least use a pot with ample drainage holes and a gritty mix.
How to Prevent Root Rot from Returning
Now that your jade plant is recovering, you need to change your care habits. Prevention is far easier than rescue. Based on my experience and guidelines from the RHS and AHSA, here are the key rules I now follow:
Water only when the soil is bone dry. For most homes, this means every two to three weeks in winter and every one to two weeks in summer. Stick your finger into the pot up to the second knuckle. If you feel any moisture, wait.
Use a pot with a drainage hole. I cannot stress this enough. Even if you are careful with watering, a lack of drainage creates a swamp at the bottom of the pot. Choose terracotta over plastic whenever possible.
Repot every two years with fresh succulent mix. Old soil compacts and loses its drainage properties. I also add a layer of pebbles at the bottom of the pot to keep the drainage hole clear.
Monitor the leaves. If the lower leaves start to yellow or wrinkle, reduce watering immediately. Wrinkled leaves can also mean underwatering, so check the soil moisture first. Yellow leaves usually mean too much water.
Provide adequate light. Jade plants need at least four hours of bright, indirect sunlight per day. Low light slows down photosynthesis, which means the plant uses less water and the soil stays wet longer.
Avoid fertilizing during the recovery period. Fertilizer can burn the new, fragile roots. Wait at least four to six weeks after repotting before applying a diluted, balanced fertilizer. I use a 10-10-10 formula at half strength once a month during the growing season.
Frequently Asked Questions About Saving Jade Plant from Root Rot
Can I save a jade plant with no roots at all?
Yes, you can. If all the roots are gone but the stem and leaves are still firm, cut the stem above the rotted area. Let it callus for three to five days, then place it in a pot with dry succulent soil. Do not water for two weeks. New roots will grow from the stem nodes. I have successfully propagated jade plants from stems with no roots using this method. It takes longer, but it works.
How long does it take for a jade plant to recover from root rot?
Based on my two-week observation, visible signs of recovery appear around Day 10 to Day 14. The leaves will become plump again, and new root growth will be visible. Full recovery, including robust leaf growth and branching, can take two to three months. Be patient. The plant needs time to rebuild its root system.
Should I remove all the leaves if the roots are gone?
No, do not remove all the leaves. The remaining leaves are the plant's energy source for photosynthesis. They help fuel root regeneration. Only remove leaves that are yellow, translucent, or mushy. Healthy leaves, even if slightly wrinkled, should stay. In my rescue, I kept about eight leaves on a ten-inch stem, and they supported the new root growth.
Final Thoughts on Saving Your Jade Plant from Root Rot
Root rot is a frightening experience for any plant lover. When I first saw my jade plant struggling, I felt helpless. But with these four emergency rescue steps, I brought it back from the edge of death. The key is to act quickly, cut ruthlessly, and give the plant the dry, well-draining environment it craves. My jade plant is now two weeks into recovery, with new roots and firm leaves. It is not the lush, bushy plant it once was, but it is alive. That is what matters.
If you are standing over your own jade plant right now, scissors in hand, wondering if it is too late, trust me. It is not. Follow these steps, learn from my mistakes, and give your plant a second chance. The satisfaction of seeing that first new root or plump leaf is worth every moment of effort. Your jade plant wants to survive. You just have to show it how.





