 bluename
 If your jade plant looks leggy, top-heavy, or just plain sad with a few lonely leaves clinging to a bare stem, the fix is not more water and it's not a bigger pot. The fix is a sharp pair of pruners and the right cuts. You can trim jade plant topiary for fullness in about 15 minutes, and I'll show you exactly the 5 cuts that force branching, thicken the trunk, and turn a stick into a shrub. Let me be blunt: 90% of indoor plants die from overwatering, but jade plants die from neglect of a different kind — the neglect of not cutting them back. Stop babying it. Start snipping.
I killed my first jade plant by treating it like a cactus. I barely watered it, never touched it, and watched it stretch into a lanky, pathetic thing that eventually snapped under its own weight. I learned the hard way that jade plants are not low-maintenance. They are high-response. They want to be shaped. They want to be cut. They reward aggression with density.
Before I show you the cuts, let me address the elephant in the room. You are probably making one of three fatal mistakes. I made all of them at some point across five dead jade plants. Do not repeat my history.
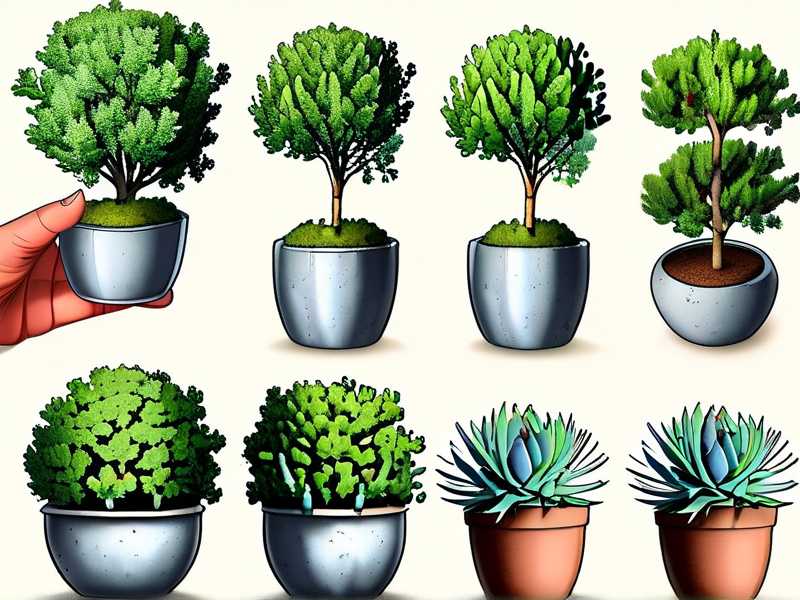
The 3 Deadly Beginner Mistakes That Kill Jade Plants Before You Even Start Pruning
Mistake #1: Overwatering — The Silent Killer
I cannot stress this enough. 90% of indoor plants die from overwatering, and jade plants are the poster child for this tragedy. Their roots rot within days of sitting in soggy soil. I used to water my jade every three days because the top of the soil felt dry. Big mistake. The soil deeper down was still swimming.
Here's the truth: jade plants store water in their leaves and stems. They are succulents. They want the soil to completely dry out between waterings. In winter, I water mine once every three weeks. In summer, maybe once a week. If you are unsure, wait another week. A slightly wrinkled leaf is not a cry for help. It's a normal state. A yellow, mushy leaf is a cry of drowning. I lost my second jade plant to root rot because I thought it looked "thirsty." It wasn't thirsty. It was suffocating.
The fix: Always check the drainage hole. Stick a wooden skewer into the soil. If it comes out damp, do not water. If it comes out bone dry, then and only then water thoroughly. And I mean thoroughly — drench it until water runs out the bottom, then let it drain completely. Never let the pot sit in a saucer of water.
Mistake #2: Wrong Light Position — The Slow Stretch
Jade plants are sun worshipers. They need direct, bright light for at least 4-6 hours a day. I had my third jade on a bookshelf across the room from a south-facing window. It looked fine for two months. Then it started stretching. The spaces between leaves became long and gangly. The stems grew thin. It looked like it was reaching for something it could never touch.
That stretching is called etiolation. It happens because the plant is starving for light and stretches its cells to try to find more. You cannot fix etiolation after it happens by moving the plant. The stretched part will never fill out. The only fix is to cut it back hard and move it to the right spot.
The fix: South-facing or west-facing window. Direct sun. If you don't have that, get a grow light. I use a cheap LED grow light for my winter setup, and the difference is dramatic. Within two weeks of proper light, new leaves emerge tight and compact. I also rotate the pot a quarter turn every week so all sides get even sun. Otherwise, the plant leans toward the light like a sunbather chasing rays. That lean becomes permanent if you don't rotate.
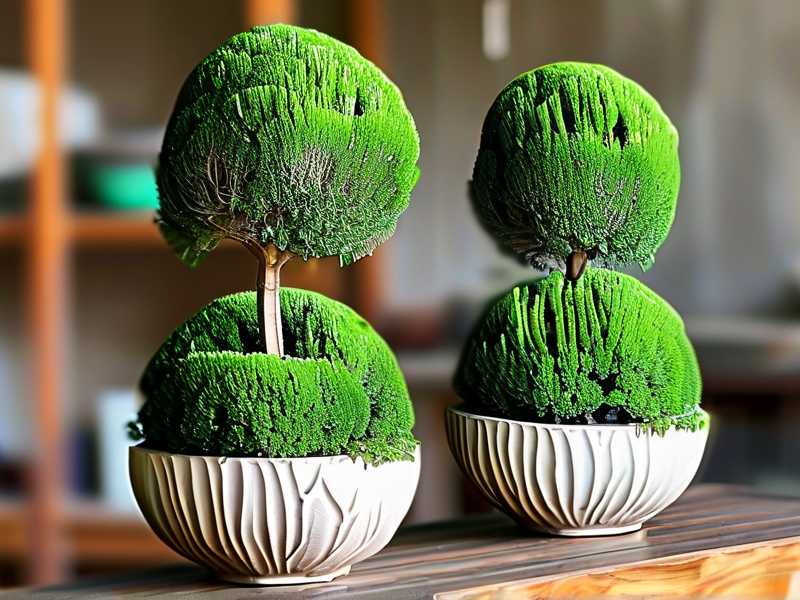
Mistake #3: Wrong Pot — The Design Flaw
My fourth jade plant died in a beautiful ceramic pot with no drainage hole. I know. I know. I was a fool. I put a layer of pebbles at the bottom, thinking that would help. It didn't. The water pooled below the pebbles, the roots grew down into that pool, and the whole thing rotted from the bottom up.
Jade plants need pots with drainage holes. Period. Non-negotiable. You also want a pot that is slightly snug. A jade plant in a massive pot will drown because the soil stays wet forever. The roots can't use that much moisture.
The fix: Terracotta pots are my favorite. They're porous, so they wick moisture away from the roots. They're heavy and stable, which matters when you're shaping a topiary that gets top-heavy. The pot size should be about 1-2 inches larger in diameter than the root ball. When I repotted my jade into a terracotta pot with a drainage hole and gritty succulent soil mix, it changed everything. The plant finally breathed.
Now, assuming you've fixed those three issues and your jade plant is alive and in the right conditions, we can talk about the actual pruning. Timing matters: I prune in late spring or early summer when the plant is in active growth. I never prune in winter dormancy. The cuts heal faster and new branches appear within weeks.
The 5 Bushiness-Boosting Cuts You Need to Make
This is the part I wish someone had shown me with diagrams and a steady hand. I've made every wrong cut you can imagine — cutting too low, cutting at the wrong angle, cutting off the good buds. Let me save you from the same mistakes.
Cut #1: The Apex Cut — Break the Dominance
Every jade plant has a dominant central stem. That stem grows straight up and suppresses the side buds. To get a bushy topiary, you must break that dominance. You're essentially telling the plant, "Hey, you can't just go up. You need to go out."
How I do it: I find a leaf node on the main stem that's roughly 60-70% of the way up the plant. I cut right above that node, about 1/4 inch above the leaf line. I use sterilized pruning shears and make a clean, straight cut. Angled cuts are for outdoor woody plants; jade stems are soft and fleshy, so a flat cut is cleaner and heals faster.
What happens: Within 7-10 days, two new buds emerge at that cut point. They push out from the node on either side. This is the beginning of the "Y" shape that gives jade topiaries their classic fullness.
My mistake: When I first attempted this, I cut too far down, leaving a long bare stump below the cut. That stump never produced new growth. It just sat there ugly for months. I had to cut it again even lower, wasting a good section of stem. Cut closer to the node, not in the middle of an internode.
My observation over 2 weeks: Day 3 after the cut, the wound looks slightly dry and calloused. Day 7, tiny green bumps appear at the node. Day 14, those bumps become visible baby leaves. It's one of the most satisfying things to watch — that little sign of new life where I made my precise cut.
Cut #2: The Side-Stem Pinch — Force Lateral Fill
The main problem with jade plants is they love to grow straight. Side stems grow longer and longer without branching. A single long stem reaching out looks awkward and thin. The fix is pinching the tips.
How I do it: I look at the side branches that have grown beyond my desired silhouette. I pinch each tip back to a point where two healthy leaves meet the stem. This removes the apical bud and forces two new branches to form at that junction.
My mistake: I used to pinch with my fingers, which crushed the stem and caused bruising. The bruised stem sometimes rotted before callusing over. Now I always use sharp, clean scissors or pruning shears for these smaller cuts. Fingernail pinching might work for herbs, but jade stems are too thick and juicy for that.
What happens: Within 10 days, two new shoots appear from the axils of the leaves below the cut. Each of those shoots will grow as straight as the original stem. So I'll pinch them again in a few months. This doubling effect is how you achieve true fullness — geometric multiplication of branches.
My observation over 2 weeks: Day 4, the cut tip dries and looks a bit crinkled. Day 8, I can see the tiniest of green swelling at the leaf axils. Day 12, the first new leaf pairs unfurl. By day 14, the branch has visibly increased in density, and the overall silhouette is rounder than before.
Cut #3: The Leggy-Stem Shortening — Fix the Stretch
Remember that etiolated plant I had? This is the cut that saved it. You have to be ruthless here. If you have a long stem with sparse leaves, keep the healthy new growth and chop the rest.
How I do it: I measure from the top of the stem down to where the leaves start getting dense. I cut at that transition point, right above a node. This leaves a shorter stem but one that has good leaf density at the top. It also forces new branching lower down, which fills out the bare base of the stem.
My mistake: I was too conservative the first time. I removed only the top few inches, thinking less was more. The plant just continued growing from the nearest node and stayed leggy. I had to be much more drastic — removing almost half the stem — to get the result I wanted. It was scary, but the plant bounced back with vigor.
What happens: The bare stem below the cut starts producing new shoots from old, dormant nodes. This is one of the most rewarding things about jade plants — they have latent buds all along the stem that burst to life when the dominant tip is removed.
My observation over 2 weeks: This is the slowest cut to show results. Day 5, nothing changes. Day 10, small bumps appear on the bare stem. Day 14, tiny leaf clusters emerge. This cut requires more patience, but the payoff is dramatic — new growth appears right where you want it, turning a lanky stem into a compact, branching structure.
Cut #4: The Interior Thinning Cut — Open Up for Airflow
You might think more leaves equals more bushiness. Not always. When jade plants get too dense, the interior leaves suffocate from lack of light and become weak, pale, and prone to pests. Removing some interior stems redirects energy to the outer growth and improves air circulation.
How I do it: I look at the center of the topiary where stems cross over each other. I identify any stems that grow inward, toward the plant's center, rather than outward. I remove those entirely, cutting them off at their base where they join the main trunk or parent branch.
My mistake: I removed too many stems at once, making the plant look like it had been through a bad haircut. I learned that thinning is surgical — remove no more than 20% of the interior stems at a time. Wait a month, evaluate, and then decide if you need more removal.
What happens: The remaining stems get better light and airflow. They strengthen and produce denser foliage. I actually find that the plant looks fuller after thinning because the healthy outer growth becomes more vibrant and compact.
My observation over 2 weeks: Day 3, the plant looks a bit sparse, and I second-guess myself. Day 6, I notice the remaining leaves look perkier and more upright. Day 10, the exposed interior starts producing new shoots. Day 14, the center is filling in with healthy growth, and the overall shape is more defined and sculptural.
Cut #5: The Root-and-Replant Cut — Full Rejuvenation
This last cut is the nuclear option. You use it when your jade has become a tangled mess of crossing branches and the topiary shape is hopeless. I had a patient that was seven years old and had become a chaos of stems — all crossing, all fighting for light, none looking good.
How I do it: This is a two-step process. First, I prune the top growth dramatically, removing about 50% of the stems and leaves. This reduces the plant's water and nutrient demands. Then I remove the plant from its pot, shake off the old soil, and trim the roots. I cut away any brown, mushy, or dead roots and shorten the healthy white roots by about a third. Then I repot in fresh, well-draining succulent mix.
My mistake: I did the top pruning and root pruning at the same time but didn't water correctly afterward. I watered the newly repotted plant immediately and it rotted. The roots were too damaged to absorb water. Now I wait 5-7 days before watering after a repot, allowing any cut roots to callus over.
What happens: This shock treatment forces the plant to restart. In 4-6 weeks, you'll see new growth from the remaining stem stubs. The plant will be shorter, fuller, and more intentional in its shape. This is how I completely transformed an ugly, leggy plant into a compact topiary that looked like I'd bought it from a specialist nursery.
My observation over 2 weeks: Day 2, the plant looks tragic — reduced to stubs and bare stems. Day 6, the soil is dry, and I mist the remaining stems. Day 9, I see the first tiny bud emerging from a stem stub. Day 14, the plant has several promising buds, and I'm reminded that jade plants are survivors — they want to grow, they just need permission.
The Maintenance Mindset: Beyond the 5 Cuts
You can't just do these cuts once and expect permanent fullness. Jade plants are like good haircuts — they need regular maintenance every 3-4 months during the growing season. I do a light pinch every 6 weeks throughout spring and summer to encourage constant branching. In fall and winter, I don't cut at all — the plant rests.
I also find that feeding after pruning speeds up recovery. I use a balanced liquid fertilizer diluted to half strength. I feed every two weeks during active growth, but only after the pruning cuts have dried and callused, which takes about 2-3 days. Never feed immediately after pruning — the roots are stressed and the cut tissue is vulnerable to rot and chemical burns from fertilizer.
Watering also needs adjustment after pruning. With fewer leaves, the plant transpires less, so it needs less water. I cut my watering frequency by about a third in the two weeks following major pruning. This prevents moisture buildup in the soil, which could compromise the root system.
Temperature matters too. I keep my jade in a room that stays between 65-75°F (18-24°C). Sudden temperature drops after pruning can shock the plant. I avoid placing my freshly pruned jade near drafty windows or air conditioning vents. The pruning wounds heal faster in stable temperatures with good airflow.
The Royal Horticultural Society at RHS recommends similar approaches for succulent maintenance, emphasizing that well-drained conditions and proper light are the key foundations for healthy plants. The American Horticultural Society at AHS also highlights the importance of structural pruning for woody-stemmed succulents like Crassula ovata. Both resources offer excellent practical guidance if you want to dig deeper into jade plant care.
The Tool Kit: What You Actually Need
You don't need fancy equipment. I use a pair of precision pruning shears that cost twenty dollars, a spray bottle of rubbing alcohol for sterilizing, and a small paintbrush to brush away soil and debris around the cuts. That's it.
I sterilize my shears between cuts, especially if I'm pruning multiple plants. Jade plants are susceptible to bacterial infections through fresh cuts, and a dirty blade can introduce pathogens. I dip the blades into rubbing alcohol, let them air dry, and then continue cutting. Simple, fast, effective.
For small pinches, I've found that regular household scissors work fine if they're sharp. What matters is that the cut is clean and doesn't crush the stem. I've also experimented with razor blades for the smallest pinch cuts — they work beautifully because they make such a fine incision that callsuses over within 48 hours.
Deformed Leaves and Unusual Growth: What to Expect
In the weeks after pruning, you might see some strange growth patterns. Leaves might come out crumpled or misshapen. Stems might twist. I've seen my jade produce leaves that looked nothing like the originals — some were flatter, some were rounder, some were tiny. This is normal. The plant is pushing out new growth quickly, and it takes a cycle or two to stabilize into normal leaf shape.
Don't panic and cut again. Let the plant settle. Wait for the next round of growth to see if the new leaves come out more typical. Usually by the second or third round of new leaves, the shape normalizes. I had one jade that produced a single leaf that was three times the size of any other leaf on the plant, right at a pruning cut. I left it. It looked quirky for a while, but the plant eventually balanced itself out.
Twisting and Wiring: Advanced Shaping
If you want a true topiary — like a spiral or a pom-pom shape — you'll need some structural aids. I've used soft green tie tape and flexible wire to gently guide young stems into the shape I want. This is advanced stuff, and I recommend practicing on a sacrifice plant first.
I wire my jade’s main trunk into a gentle bend by wrapping green training wire around the trunk and bending it to the desired angle. I leave it for 4-6 weeks, checking every week to ensure the wire isn't digging into the bark. Once the bend has set, I remove the wire. This works because jade stems are flexible when young and become woody as they age.
But honestly, the 5 cuts I described above get you most of the way there. The shaping wire is for adding character and flow. The cuts are for adding density and health. Combined, you can create a jade topiary that looks like it belongs on a bonsai stand at a high-end flower show.
Frequently Asked Questions
Q1: When is the best time to prune my jade plant for fullness?
The best time is late spring to early summer, during the plant's active growing season. Pruning during this period gives the plant plenty of time to recover and push out new growth before the slower winter months. I avoid pruning in winter when the plant is dormant, as cuts take longer to heal and the plant is more susceptible to rot. If you have indoor grow lights and can maintain warmth, you could potentially prune year-round, but spring and summer remains optimal.
Q2: Can I propagate the cuttings I remove when pruning?
Absolutely. In fact, jade plant cuttings root very easily, which means you get free plants from your pruning efforts. I let the cuttings dry for 2-3 days until the cut end calluses over, then I insert them into a pot with well-draining succulent soil. I don't water for the first week, then I water sparingly. Within 3-4 weeks, the cuttings develop roots and new growth appears. It's like getting a reward for your work — 10 minutes of pruning can yield 5 new plants.
Q3: Over time, the main branch becomes too heavy and bends. What should I do?
Bending is a common issue with larger jade plants. You have a few options. You can stake the stem with a cocoa fiber stake to offer structural support, which you should replace with a larger stake as the trunk thickens. You can also prune the top of the plant more heavily to reduce weight and encourage lower lateral branches to grow and act as support. The third option is to let the bend be a feature — cascading jade plants are actually beautiful if you let them grow over the edge of a pot. I've personally embraced this approach with my older jades, and visitors often compliment their natural shape.
The Bottom Line
Trimming a jade plant topiary for fullness is not complicated, but it takes a decisive hand, the right light and watering conditions, and patience in waiting for new buds to appear. Your plant is telling you what it wants — the dull, stretching growth is a cry for sunlight; the yellow mush is a cry for less water; the tangled mess is a cry for structure.
Listen to your plant. Cut deliberately. Water thoughtfully. Give it the light it craves. Within a month, you will see fullness you never imagined. I spent years being timid, scared to cut my jades, treating them like fragile heirlooms. They rewarded my caution with leggy, scraggly growth. The moment I became brave, the moment I started cutting with purpose, my jade plants transformed.
I now have three mature jade topiaries that people ask about at parties. Not because I'm a skilled horticulturist, but because I finally understood one simple truth: jade plants don't need a gentle touch. They need a confident hand. So go cut your jade plant. Let it branch. Watch it fill out. And send me a photo in your mind — I already know it's going to look great.





