bluename
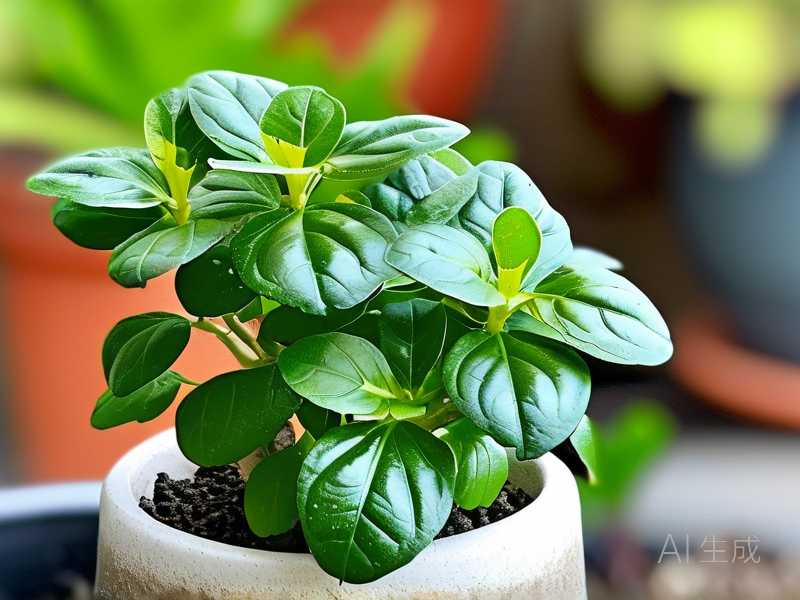
 If you have ever stared at a leggy, overgrown jade plant and wondered what to do with those fallen leaves, this guide is for you. The simple answer is this: you can root jade plant leaves in a damp paper towel inside a plastic container, and you will see roots in about 2 to 3 weeks. Let me show you exactly how I do it, step by step, including the mistakes that nearly killed my first three attempts.
I have been growing succulents for over seven years now. I have killed more jade plants than I care to admit. But the paper towel method? It changed everything for me. It is cheap, it is clean, and you can watch the roots develop without digging around in soil.
Here is the thing. Most people rush into soil propagation and then panic when nothing happens. Or worse, they water the cutting and it rots within a week. I get it. I have been there. So let me walk you through the exact process that finally worked for me.
Why Use Paper Towels for Jade Plant Propagation?
Let us be honest. Traditional soil propagation works. But it has one big problem. You cannot see what is happening underground. You are basically guessing whether roots are forming or whether the leaf is just sitting there rotting silently.
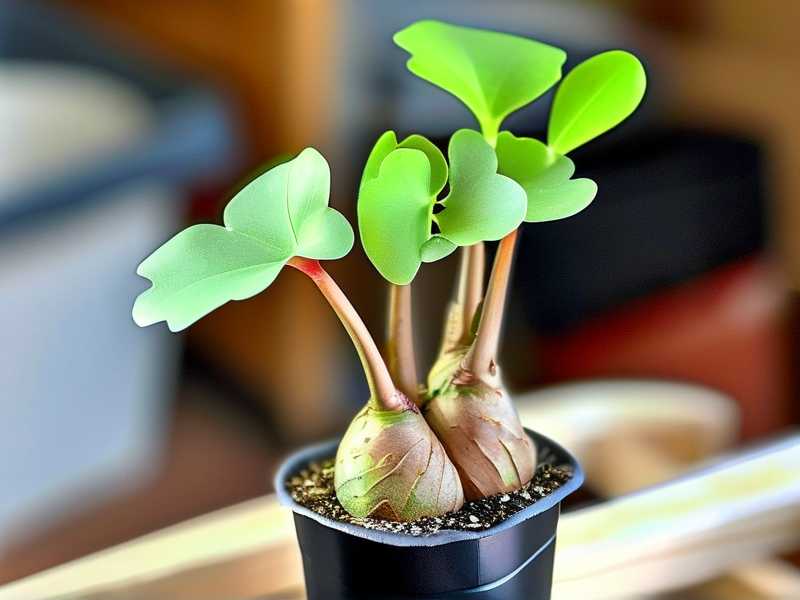
The paper towel method solves this. You place your jade leaves on a moist paper towel, seal them in a container, and check on them daily. Within two weeks, you will see tiny pink or white roots pushing out from the base of the leaf. It is satisfying, practical, and it works.
I tried this method after my second jade plant died from root rot. I was frustrated. A friend suggested I try the "sphagnum moss baggy method," but I did not have moss at home. Paper towels? I had a full roll under the sink.
So I improvised. And honestly, the results surprised me.
What You Need Before You Start
Gather these items first. Preparation matters more than you think.
- A healthy jade plant (Crassula ovata) with plump, firm leaves
- A sharp, sterile knife or scissors
- Paper towels (the thicker, the better)
- A plastic container with a lid (I use an old takeout container)
- A spray bottle filled with clean water
- Optional: rooting hormone powder (I use it sometimes, but it is not mandatory)
- Cinnamon powder (this acts as a natural fungicide)
- A warm, bright location out of direct sunlight
I keep all my propagation supplies in a shoebox. It is simple and everything stays together.
4 Germination Steps for Jade Plant Propagation in Paper Towels
Let me break this down into the four steps that actually work. I have refined this process over multiple attempts, and these steps are what I now follow every single time.
Step 1: Select and Prepare the Leaves Properly
The first step determines everything else. You cannot just yank any leaf off and expect it to root. There is a technique to it.
I gently twist a healthy leaf from the stem. The key is to get the entire leaf, including the base where it attaches to the stem. If you tear the leaf and leave part of the base on the stem, that leaf will not root. It will just shrivel up and die.
A friend of mine once said, "You have to think of it like removing a piece of candy from its wrapper. You want the whole thing to come off cleanly."
Choose leaves that are plump and firm. Avoid leaves that are wrinkled, yellow, or show any signs of damage. I usually pick leaves from the middle section of the plant. The bottom leaves can be old and less vigorous. The top leaves are sometimes too young.
Once you have your leaves, here is an important tip. Do not place them on the paper towel immediately. Leave them on a dry plate for 24 to 48 hours. This allows the cut end to callus over. A callus is a dry, hardened layer that prevents rot and encourages root development.
I learned this the hard way. In my first attempt, I placed fresh leaves directly onto a wet paper towel. Within three days, every single leaf had turned mushy and translucent. It was a disaster. The moisture entered the open wound before the leaf could seal itself.
The waiting period is boring, I know. But it is non-negotiable.
Step 2: Set Up the Paper Towel Container Correctly
This step sounds straightforward, but the details matter. Let me walk you through my exact setup.
First, take a paper towel and fold it so it fits inside your plastic container. I use two layers of paper towel. It holds moisture better and provides a softer surface for the leaves.
Next, moisten the paper towel with your spray bottle. You want it damp, not dripping wet. If you squeeze the paper towel and water runs out, it is too wet. Wring it out and try again.
Think of it like this. The paper towel should feel like a damp sponge that you have squeezed well. That is the perfect moisture level.
Place the paper towel flat in the bottom of the container. Now, lay your callused jade leaves on top of the paper towel with the cut end facing down or slightly resting on the surface. You do not need to press them in. Just let them sit there.
Close the lid. This creates a humid micro-environment inside the container. That humidity signals the leaf to start producing roots.
I place the container in a bright spot, but I exclude direct sunlight. The top of a bookshelf near a north-facing window works perfectly. Direct sunlight will cook the leaves inside the closed container. The temperature inside can rise quickly and turn your propagation experiment into a leaf stew.
Step 3: Monitor and Maintain Humidity
This is where patience comes in. And observation. You will not see anything dramatic on day one or day two. But do not give up.
Every day, I open the lid for about five minutes. This allows fresh air to circulate and prevents mold from forming. Then I check the paper towel. If it feels dry, I give it a light mist with my spray bottle. Not a soak. A light mist.
Here is what you are looking for. After about 5 to 7 days, you should see small roots emerging from the cut end. Sometimes they look like tiny white or pink threads. On other occasions, you might see a small root that looks like a little worm poking out.
I was so excited the first time I saw roots. It was day six, and I remember shouting for my partner to come and look. It felt like magic. But it is just biology.
One thing I want to warn you about. Do not keep opening the container every few minutes. Each time you open it, you release the humidity and disrupt the environment. Check once a day. That is enough.
If you see condensation on the inside of the lid, that is a good sign. It means the humidity level is correct. If you see mold growing on the leaves or the paper towel, you have too much moisture. Remove the affected leaves, replace the paper towel, and let the container air out longer.
Step 4: Transplant Rooted Leaves to Soil
Once your leaves have roots that are about half an inch to an inch long, it is time to move them to soil. This usually happens between day 14 and day 21. Do not wait too long. The roots need soil to continue developing properly.
Here is how I do it. I prepare a small pot with a well-draining succulent mix. Then I add perlite to the mix at a ratio of about 1 part perlite to 2 parts succulent soil. This ensures excellent drainage.
I make a small hole in the soil with a pencil or my finger. Then I gently place the rooted leaf in the hole and press the soil around it. I leave the leaf resting on the soil surface. The roots go underneath.
Here is a mistake I made. In my third attempt, I buried the leaf too deep in the soil. The leaf itself ended up underground. Within a week, it had rotted. The leaf needs light for photosynthesis. Do not bury it completely.
After transplanting, I wait another 24 hours before watering. This gives any damaged roots time to heal. Then I water lightly and let the soil dry out completely before watering again.
3 Fatal Mistakes Beginners Make with Jade Propagation
Over the years, I have talked to many succulent enthusiasts. We all made the same mistakes. Let me save you the trouble.
Mistake 1: Overwatering Everything
I cannot stress this enough. Overwatering is the number one killer of jade plants. It is also the number one killer of jade plant propagation attempts. In fact, 90% of indoor plants die from overwatering. It is a shocking statistic, but I believe it completely.
The leaves themselves contain water. They do not need a lot of extra moisture to root. The paper towel method works precisely because it provides gentle humidity without drowning the leaf.
When I first started, I would water my cuttings every day. I thought I was helping. I was actually killing them. The leaves turned yellow, then brown, then they collapsed into mush.
Here is a practical rule. When in doubt, do not water. The paper towel should be just barely damp. If you are unsure, let it dry out a little. Jade plants are incredibly resilient to drought. They are not resilient to overwatering.
Mistake 2: Wrong Light Placement
Jade plants need bright, indirect light. This is true for mature plants and for propagating leaves. Direct sunlight is too intense. It will dry out the leaves and cause them to shrivel.
I remember placing my propagation container on a south-facing windowsill. I thought, "More light is better." Within two days, the leaves had turned reddish-brown and looked cooked. The container had become a mini greenhouse, and the leaves were getting sunburned.
The solution was simple. I moved the container to a spot with bright, filtered light. A sheer curtain can help your plants by diffusing direct sunlight.
The ideal location is a few feet away from a bright window. The goal is to provide enough light for the leaf to remain healthy, but not so much that it heats up the container.
Mistake 3: Using the Wrong Pot
I cannot tell you how many times I have seen people propagate jade plants in pots that are way too large. A large pot holds excess soil, which holds excess moisture. That moisture surrounds the developing roots and causes rot.
I lost my fourth jade plant because I moved it from a cutting directly into a huge ceramic pot. I thought it would grow into the space. Instead, the soil stayed wet for three weeks and the roots rotted.
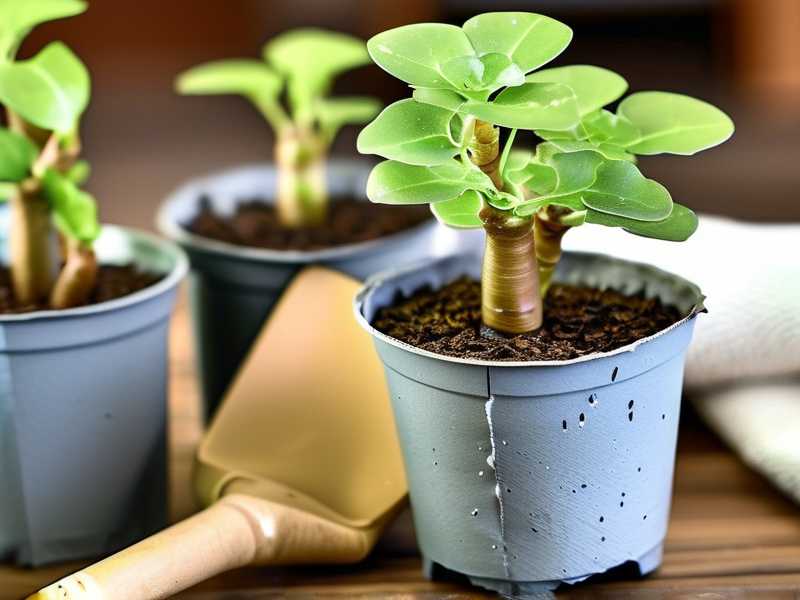
For jade propagation, use small pots. A 2-inch or 3-inch pot is perfect for a single leaf. The pot should match the size of the root system. As the plant grows, you can repot it into a larger container.
Also, the pot must have drainage holes. I learned this the hard way with a cute pot that had no holes. The water pooled at the bottom and created a breeding ground for rot.
My 14-Day Observation Journal
Let me share what I observed during my most successful propagation attempt. I wrote notes every day. It helps me track progress and notice problems early.
Days 1-2: The Callusing Phase
I twisted off five leaves from my healthiest jade plant. I placed them on a dry plate on my kitchen counter. The cut ends were wet and dark green. By day two, they had dried and formed a thin, whitish layer. That was the callus forming.
Day 3: Setting Up the Paper Towel
I placed the callused leaves on the damp paper towel. The container went on my bookshelf in the living room. The temperature was around 22°C (72°F). I closed the lid and left them alone.
Day 5: The First Sign of Life
I opened the container and checked. Two of the five leaves showed a tiny bump at the cut end. It was not a root yet. It looked like a small, pale nub. I gently closed the lid and resisted the urge to touch them.
Day 7: Roots Appear
One leaf had a root that was about 2mm long. It was pale pink and slightly translucent. I was thrilled. I took a photo and sent it to my plant-loving friend.
Day 9: More Roots and Some Drama
Three leaves now had visible roots. The longest root was about 6mm long. However, one leaf had developed a small spot of mold at the base. I removed it immediately. I also opened the lid for an extra five minutes to let the container air out.
Day 11: Steady Growth
The roots on the surviving leaves had grown to about 1cm. They were branching slightly. The paper towel was still moist, so I did not add water. I noticed the leaves were slightly less plump. That is normal. The leaf is using its stored water to fuel root growth.
Day 14: Ready for Soil
Two leaves had roots that were about 1.5cm long. They looked strong and healthy. I decided it was time to transplant them. I filled small pots with my succulent mix and perlite blend. I planted them gently and waited.
Day 16: The Transplant Success
I checked the transplanted leaves. They looked stable. No signs of wilting or rot. I watered them lightly the day after transplanting, then left them alone.
Day 21: New Growth Visible
The leaves had settled into their new home. I spotted a tiny new leaf emerging from the base of one of the original cutting. That was the moment I knew it had worked.
The Science Behind the Paper Towel Method
I am not a botanist, but I have read a lot about plant propagation. The paper towel method works because it creates an ideal balance of moisture and oxygen.
Jade plants are succulents. They have adapted to store water in their leaves. When you remove a leaf, it enters a survival mode. It forms a callus to seal the wound, then it produces roots to seek out water and nutrients.
The RHS notes that many succulents can be propagated from leaves or stem cuttings with the right conditions. You can visit RHS for more detailed guidance on succulent care and propagation techniques.
The American Horticultural Society also emphasizes the importance of using clean tools and proper moisture levels. Their resources are available at AHS.
The key is that the paper towel provides moisture without waterlogging. The plastic container traps humidity but also allows for air exchange when you open the lid daily. This combination keeps the leaf hydrated enough to produce roots but not so wet that it rots.
Common Problems and How to Fix Them
Even with the best instructions, things can go wrong. Here are the most common issues I have encountered, and how I fixed them.
Problem 1: The Leaf Turns Mushy
This is the most common issue. The leaf is too wet. Remove it from the container immediately. If the mushy part is small, you can cut it off with a sterilized knife. Then let the leaf callus again for a day. If the mushy part covers most of the leaf, discard it and start over.
Problem 2: Mold Growth on the Paper Towel
Mold is a sign of excess moisture and poor airflow. I solved this by replacing the paper towel with a fresh, dry one. I also let the container stay open for 15 minutes instead of 5. Increasing airflow helps enormously.
Problem 3: No Roots After Two Weeks
This can happen if the leaf did not callus properly, or if the temperature is too cool. Jade leaves root best at temperatures between 18°C and 24°C. If your house is cooler, move the container to a warmer spot. Also, make sure the paper towel is slightly damp and not bone dry.
Problem 4: The Leaf Rooted but the Original Leaf is Shriveled
This is actually normal. The leaf uses its stored energy to create roots and new growth. Over time, the original leaf will shrink and eventually fall off. Do not panic. That is the plant's natural life cycle.
How Long Until You Get a Full Plant?
This is a question many people ask. The answer is: be patient.
After transplanting a rooted leaf, you will likely see new leaf growth within 3 to 4 weeks. However, it will take several months for the new plant to form a stem and look like a miniature jade plant.
In my experience, a jade plant propagated from a single leaf takes about 6 months to become a small but recognizable plant. After 12 months, it can be a few inches tall with multiple leaves.
If you want faster results, consider propagating from stem cuttings instead of leaves. Stem cuttings root more quickly and produce a mature-looking plant sooner. The paper towel method works for stem cuttings, too. Just place the cut end of the stem on the damp paper towel and follow the same steps.
Tips for Long-Term Jade Plant Health
Once your propagated jade plant is established, you need to keep it healthy. Here are my practical tips.
Use Well-Draining Soil
Jade plants need soil that drains quickly. I mix two parts succulent soil with one part perlite. This ensures that water flows through and does not sit around the roots.
Water Deeply but Infrequently
I water my jade plants once every two to three weeks during the growing season (spring and summer). In winter, I water even less. The soil should be completely dry before you water again.
Provide Bright, Indirect Light
A south-facing window is ideal in winter. In summer, you might need to provide some shade during the hottest part of the day. The leaves will turn reddish if they are getting too much direct sun.
Fertilize Lightly
I use a diluted liquid fertilizer once during spring and once during summer. I skip fertilization in fall and winter. Over-fertilizing can burn the roots and cause leaf drop.
Frequently Asked Questions
Why is my jade leaf not rooting?
Several factors can prevent rooting. The leaf may not have formed a proper callus. The temperature may be too low. The paper towel could be too wet or too dry. Make sure your leaf was healthy to begin with, allow it to callus for at least 24 hours, and place it in a warm, bright location.
Can I use a wet paper towel and no container?
Yes, you can use just a paper towel, but it dries out quickly. The container creates a stable, humid environment that supports rooting. If you do not use a container, you will need to moisten the paper towel more frequently.
How often should I mist the paper towel?
You should not need to mist every day. Check the paper towel daily. If it feels dry to the touch, give it a light spray. On average, I mist every 2 to 3 days. The closed container retains humidity well.
Can I propagate jade plant in water instead?
Yes, I have tried water propagation. It works, but I prefer the paper towel method. Water propagation can lead to roots that are adapted to water, and they sometimes struggle when transplanted to soil. The paper towel method produces roots that are more similar to what you would get in soil.
How do I know when the roots are ready for soil?
When the roots are at least half an inch long, they are ready. Some people wait until roots are an inch long. Both are fine. Just do not wait too long. If the roots are left on the paper towel, they can become tangled and damaged during transplant.
Final Thoughts on Propagating Jade Plants
The paper towel method has completely changed how I propagate jade plants. It is simple, low-cost, and highly effective. I have successfully propagated dozens of leaves using this technique. Each new plant reminds me that even the smallest leaf can grow into something beautiful.
If you have ever struggled with jade plant propagation, I hope this guide helps you. Follow the steps. Avoid the three mistakes I mentioned. Be patient. And do not be afraid to try again if it does not work on your first attempt.
I killed several leaves before I got it right. Now I cannot stop propagating. My windowsill is filled with tiny jade plants in various stages of growth. It is a satisfying hobby that costs almost nothing.
So grab a leaf. Grab a paper towel. And give it a try. You might be surprised at how easy it can be.