 bluename
 How to Revive jade plant from Drought Stress: 6 Rehydration Steps
I’ve been there. You come back from a trip, or life simply gets too busy, and you find your once-plump, vibrant jade plant looking sad and wrinkled. Its leaves are soft, thin, and maybe even dropping. That heart-sinking feeling is real—you’re looking at a classic case of severe drought stress. As a long-time indoor gardener who has nurtured (and, admittedly, occasionally neglected) my succulent collection for years, I know this scenario all too well. The good news? Jade plants are remarkably resilient. With a careful, patient approach to how to revive jade plant from drought stress, you can often bring them back from the brink. This guide isn’t just theory; it’s the exact 6-step rehydration process I used to save my own cherished ‘Crassula ovata’ over a critical two-week period, complete with the mistakes I made and how I corrected them.
Understanding the “Why” Before the “How”
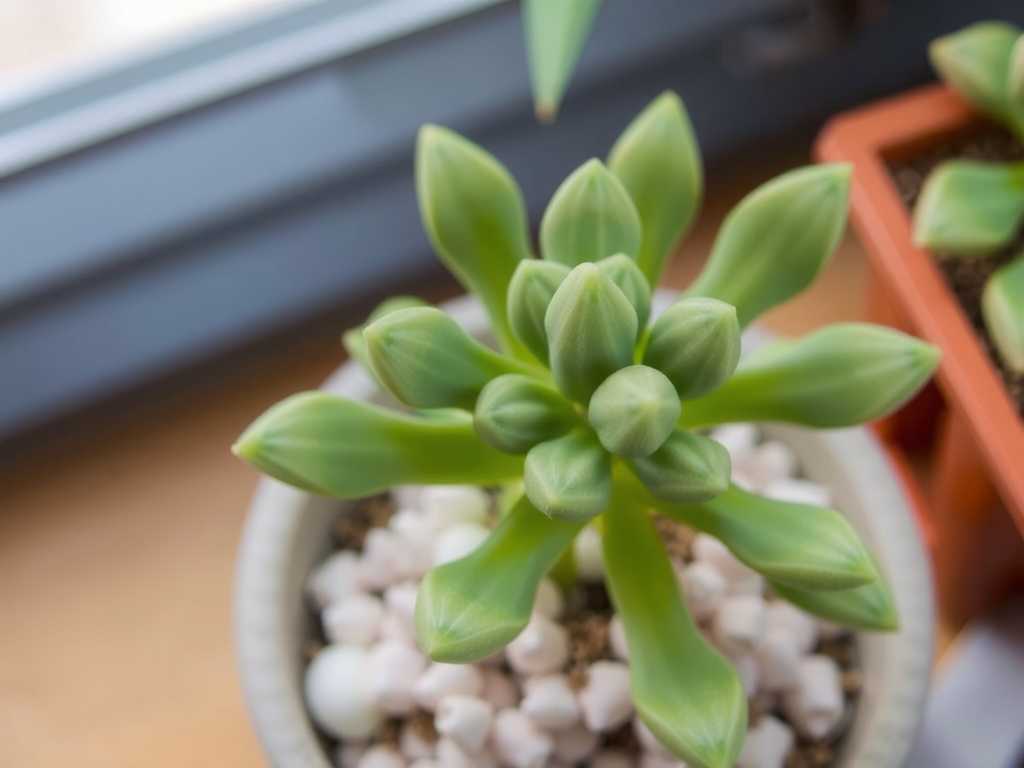
Before we dive into the rescue steps, it’s crucial to understand what’s happening inside your plant. When a jade plant lacks water, it taps into the moisture reserves stored in its thick leaves and stems. This causes the leaves to lose their firmness and become wrinkled or puckered. Prolonged drought can damage the delicate root hairs responsible for water uptake. The biggest mistake at this stage, one I’ve painfully learned, is to drown the plant in a well-meaning but frantic deluge of water. A severely dehydrated root system can rot if suddenly soaked. The goal of jade plant drought recovery is gradual, controlled rehydration.
My 6-Step Rehydration Protocol for a Dehydrated Jade Plant
Here is the precise, step-by-step method I followed to nurse my jade plant back to health.
Step 1: The Initial Assessment and Diagnosis
Don’t just grab the watering can. First, gently feel the leaves. They will be limp and thin, not firm and juicy. Check the stems; they might have some give. Look for leaf drop, but note that some lower leaf loss is normal during stress. Next, I carefully tipped the pot to inspect the soil. It was bone-dry and had likely pulled away from the edges of the pot. This confirmed my suspicion: this wasn’t mild thirst but severe dehydration in succulents. This assessment phase is critical—it prevents you from misdiagnosing the problem (as overwatering can sometimes cause similar leaf droop) and applying the wrong treatment.
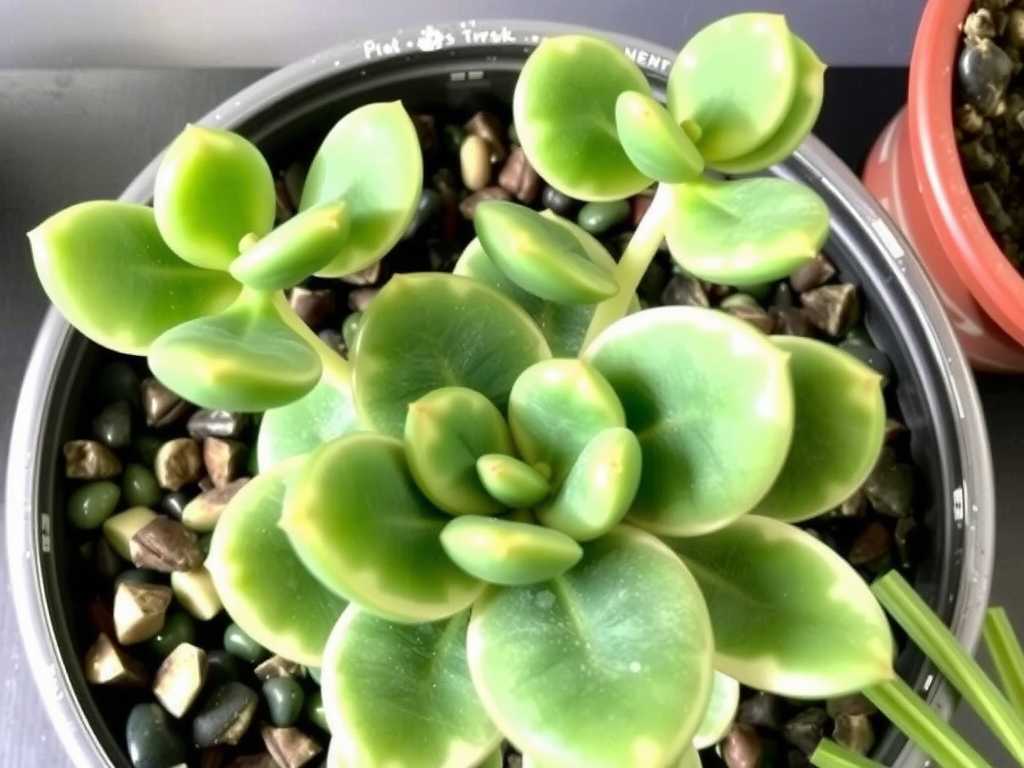
Step 2: The First Sip – Bottom Watering for Gentle Rehydration
This is the most important step to avoid shock. Instead of watering from the top, I placed my jade plant’s nursery pot inside a bowl or sink filled with about 2 inches of lukewarm water. The Royal Horticultural Society (RHS) advises using tepid water to avoid root shock, a tip I now always follow. I let the pot sit in the water for 15-20 minutes, allowing the soil to slowly wick moisture up from the bottom until the top surface felt damp. This method ensures the root ball gets evenly hydrated without overwhelming the roots. After the time was up, I lifted the pot out and let it drain completely on a rack. No plant should sit in a saucer of water, especially a stressed one.
Step 3: Creating a Recovery Microclimate
A dehydrated plant is a weak plant. To reduce further stress, I moved my jade to a “recovery room.” This was a bright spot with plenty of indirect light, but absolutely no direct, hot sunlight. Direct sun would accelerate moisture loss from its already compromised tissues. I also ensured the area had stable, room-temperature conditions, away from drafts, air conditioning vents, or heating sources. The American Horticultural Society’s (AHS) stress management guidelines emphasize the importance of a stable environment for plant recovery. This sheltered spot allowed my jade to focus its energy on repair without environmental battles.
Step 4: The Waiting Game and Observation
Here’s where patience is non-negotiable. I did not water the plant again immediately. I resisted the urge! Over the next 3-4 days, I simply observed. The goal was to let the soil approach dryness again but not return to complete desert-like conditions. This dry period allows roots to seek moisture and begin functioning, and it prevents the onset of root rot. During this time, I saw minimal visible improvement, which was expected. The recovery was happening underground.
Step 5: The Second Hydration and Establishing a Cycle
After about 4 days, when the top inch of soil was dry, I repeated the bottom-watering technique. This second soak reinforced the hydration signal to the roots. Following this, I established a new, careful watering schedule. The old “once every two weeks” rule was out the window. Now, I watered only when the soil was 90-100% dry, checking with my finger. This cycle of a thorough bottom-watering followed by a complete dry-out became the new rhythm. It mimics the natural boom-and-bust rainfall cycles succulents are adapted to.
Step 6: Long-Term TLC and Pruning
About 10 days into the process, I started to see signs of life. The deepest wrinkles on the sturdiest stems began to smooth out slightly. The leaves, while not plump, looked less paper-thin. However, some of the most severely shriveled leaves and one small, fully desiccated branch did not recover. This is normal. Using sterilized pruning snips, I gently removed these clearly dead parts. As the Royal Horticultural Society notes, removing dead tissue helps prevent potential disease and allows the plant to redirect energy to healthy growth. I held off on any fertilizer for at least a full month, as fertilizing a stressed plant can burn the new, tender roots.
The Two-Week Recovery Timeline: What I Observed
- Days 1-3: No visible change. The plant looked the same. (This is the hardest period—trust the process!).
- Days 4-7: After the second watering, the stem firmness improved noticeably. The most severe leaf drop stopped.
- Days 8-14: A subtle plumpness returned to the upper, younger leaves. The deep wrinkles on the main stem became less pronounced. Tiny, bright green growth points (nodes) near the stem tips became more visible, indicating the plant was exiting survival mode and resuming growth.
Common Pitfalls I Encountered and How I Fixed Them
Pitfall 1: The Top-Watering Temptation. On day 2, anxious because I saw no change, I gave it a small splash from the top. This caused water to pool on the compacted soil surface and run down the sides without wetting the core root ball. I realized my error when I checked the soil depth and found it still dry. I corrected this by strictly adhering to bottom-watering for all subsequent sessions.
Pitfall 2: The “More Light is Better” Fallacy. Thinking sunshine would perk it up, I initially left it in a sunny window. Within a day, a few leaves developed soft, sunburned spots. I immediately moved it to the bright, indirect light location, and no further damage occurred.
Pitfall 3: Over-pruning Too Soon. I was tempted to remove all wrinkled leaves immediately. I’m glad I waited, as many of them partially recovered and continued to contribute to the plant’s photosynthesis during the critical early recovery phase. Only remove what is clearly crispy and dead.
How long does it take for wrinkled jade plant leaves to plump back up? Don’t expect overnight miracles. While stem firmness can improve within a week, severely wrinkled leaves may never fully regain their original smooth, rotund shape. The plant will prioritize hydrating living tissue and producing new growth. You may see some improvement in leaf texture over 2-4 weeks, but some older, sacrificed leaves will be shed or remain puckered.
Can I save a jade plant if the stems are mushy? Mushy stems are a sign of rot, often caused by watering a severely dehydrated plant too aggressively. If the main stem is soft and brown, the plant may be too far gone. However, if only some branches are affected, you can try propagation. Cut several inches above the mushy section with a sterile tool, let the cutting callous for a few days, and then plant it in fresh, dry succulent mix to grow a new plant.
What is the best way to prevent drought stress in the future? Establish a “soak and dry” routine rather than a calendar-based schedule. Water deeply only when the soil is completely dry, using the bottom-watering method for even saturation. Use a well-draining succulent/cactus soil mix in a pot with drainage holes. During hot, dry periods or in very bright light, check moisture levels more frequently.
Reviving a jade plant from severe drought is a lesson in patience and attentive care. The process underscores that these plants are built for survival, but they require our understanding, not just our actions. By mimicking natural conditions through controlled bottom-watering, providing a stable recovery environment, and resisting the urge to over-care, you give your plant the strongest chance to rebound. My own jade, now several months past its ordeal, has pushed out vigorous new growth and stands as a testament to its own resilience and the effectiveness of a gentle, methodical rehydration strategy. Remember, the goal is not just to save it today, but to strengthen it for all your tomorrows together.





