How to Cure Jade Plant Fungal Blight: 3 Infection-Control Fixes
There’s a special kind of heartbreak that comes from watching a beloved, decades-old jade plant succumb to a creeping, silent enemy. I know it all too well. One day, your sturdy, glossy-leaved companion is fine; the next, you notice a few soft, discolored spots. Within weeks, a full-blown fungal blight can turn a symbol of resilience into a mushy, leaf-dropping shadow of itself. For years, I treated these outbreaks with panic and guesswork, often making the problem worse. It wasn't until I combined methodical science with hands-on, patient observation that I cracked the code. In this guide, I’ll share the three precise infection-control fixes that saved my oldest jade from a severe fungal attack, based on my own two-week rescue mission and the lessons learned from every mistake in between.
Understanding the Enemy: What Is Fungal Blight on Jade Plants?

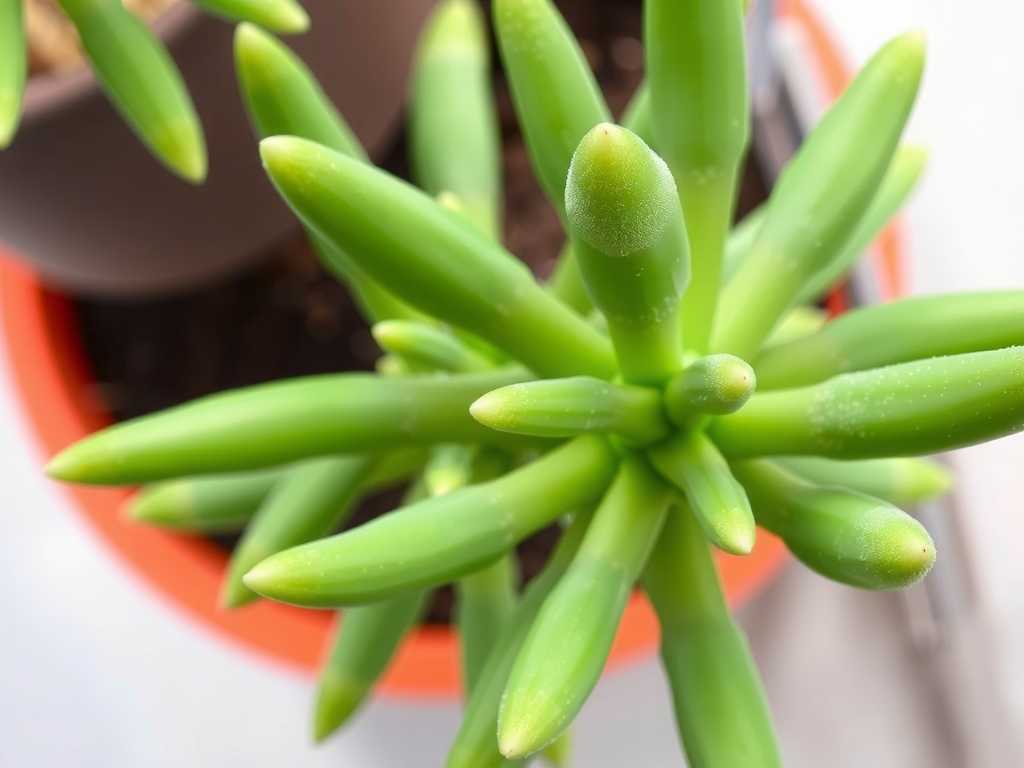
Before you can fight an enemy, you must know its name and tactics. Fungal blight in jade plants (Crassula ovata) isn't a single disease but often a combination, typically involving pathogens like Phytophthora (root and stem rot) or Botrytis (gray mold). These fungi thrive in one condition above all: excess moisture. The initial symptoms are subtle—a leaf that’s slightly softer, a stem with a darkened, water-soaked appearance, or those dreaded brown spots on jade plant leaves that slowly spread. The Royal Horticultural Society (RHS) notes that these pathogens are often present in the environment but only become problematic when the plant is stressed, particularly by overwatering or poor air circulation. My own battle began with what I thought were harmless "age spots," a critical misdiagnosis that cost the plant precious time.
Fix #1: The Immediate Isolation and Surgical Removal Protocol
The moment you confirm or even strongly suspect fungal blight, action must be swift and decisive. Containment is everything.
Step 1: Quarantine Without Delay I moved my infected jade to a separate room, away from all other houseplants. Fungal spores travel easily via air currents and water splashes. This isn’t overkill; it’s essential biosecurity for your indoor garden.
Step 2: Sterilize Your Tools I learned this the hard way. Early on, I used the same unsterilized pruners on multiple plants, likely spreading the problem. Now, I keep a dedicated pair of sharp, bypass pruners for sick plants. Before and after every cut, I wipe the blades thoroughly with isopropyl alcohol or a 10% bleach solution.
Step 3: The Pruning Process Here’s the exact procedure I followed:
- I inspected the entire plant under good light, gently feeling stems and leaves.
- I cut back all visibly affected tissue, making each cut at least one inch back into healthy, firm, green stem. Cutting only at the edge of the rot leaves infected tissue behind.
- For leaves with early-stage spots, I removed the entire leaf at its base.
- All discarded material went directly into a sealed bag for the trash—never the compost.
My 2-Week Observation & The "Oops" Moment: After this aggressive pruning, the plant looked sparse, even brutalized. For the first 3-4 days, I anxiously checked for new spots. By day 7, there were none on the remaining foliage—a huge relief. However, around day 10, I noticed a slight darkening on a lower stem I had missed. This taught me the critical lesson of inspecting jade plants for stem rot from every angle, especially at the soil line. I performed a second, smaller round of surgery, going even further back on that stem. Patience and a ruthless eye are non-negotiable.
Fix #2: The Soil and Root Zone Overhaul
Fungal blight is almost always a soil and root issue first. Treating the foliage without addressing the root zone is a temporary fix.
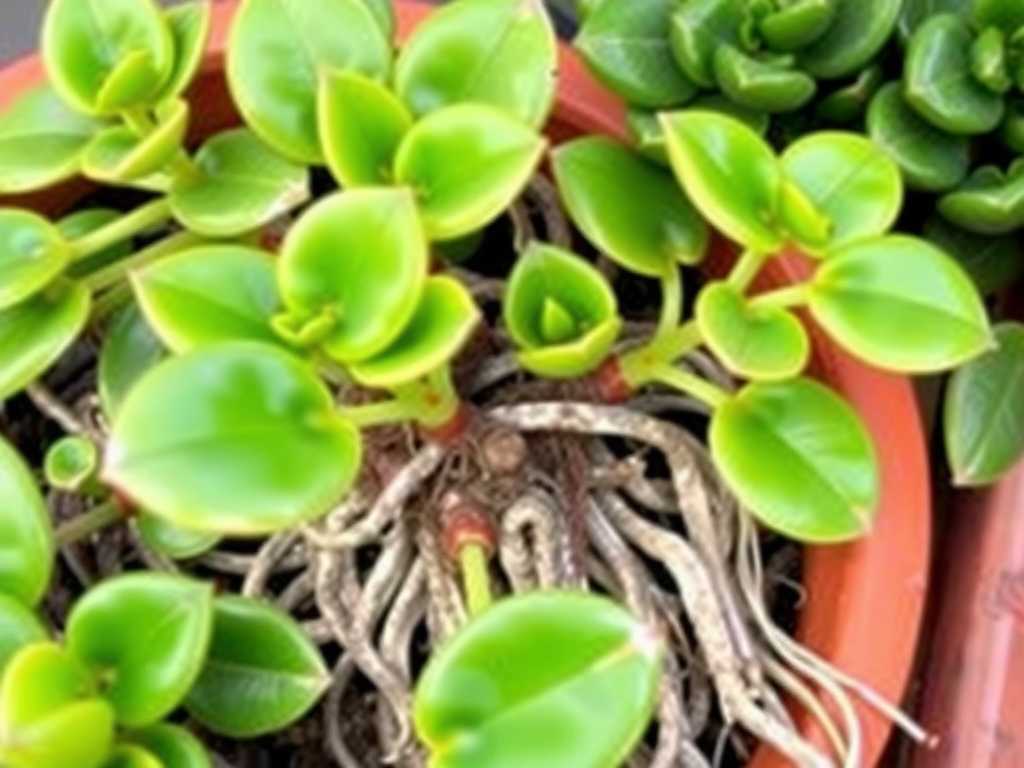
Step 1: The Unpotting and Root Audit After the plant stabilized from pruning (I waited 48 hours), I carefully un-potted it. The soil was far too damp at the bottom. I gently washed the root ball under lukewarm water to see the roots clearly. As the American Horticultural Society (AHS) advises, healthy roots are firm and white or light tan. Rotted roots are mushy, dark brown or black, and often slough off easily. I pruned away every single compromised root.
Step 2: Repotting with a Fungal-Fighting Mix This is where you rebuild the plant’s foundation.
- Pot: I used a clean pot with excellent drainage, only slightly larger than the remaining root system. A huge pot holds too much wet soil.
- Soil: I created a custom, well-draining succulent mix: 2 parts standard potting soil, 1 part coarse perlite, and 1 part pine bark fines. For an extra layer of fungal infection control for succulents, I lightly mixed in a tablespoon of horticultural charcoal to help absorb toxins and deter microbes.
- Technique: I placed the plant at the correct height, filled in with the new mix, and did not water it in. A dry period is crucial for callusing over cut roots and stems.
My 2-Week Observation & The "Overcare" Pitfall: The most challenging part was the post-repotting discipline. The plant looked thirsty. Every instinct said to water it. I resisted. For 14 full days, I kept the bone-dry soil dry. I placed the pot in bright, indirect light with fantastic airflow (a gentle fan on low across the room). The goal was to let the plant use its stored water while the roots healed. By the end of the two weeks, the cut stems had callused, and there was zero progression of disease. The plant was stable, proving that drought can be a powerful medicine.
Fix #3: Environmental Correction and Preventative Care
Curing the current outbreak is half the battle. Changing the conditions that caused it prevents a vicious cycle. This is the cornerstone of long-term jade plant disease management.
Step 1: Mastering the Watering Regimen I abandoned the calendar. My new rule: water only when the soil is completely dry all the way to the bottom of the pot. I now use a wooden chopstick as a moisture probe. I also water deeply but infrequently, always in the morning so any splashes on leaves dry quickly.
Step 2: Optimizing Light and Airflow I moved the recovering jade to a south-facing window where it receives several hours of bright, indirect light. Strong light strengthens plant tissues. I also ensured it wasn’t crowded among other plants. Good air circulation around the leaves and soil surface is a natural fungicide, preventing the stagnant, humid air fungi love.
Step 3: When and How to Use a Fungicide For severe cases, a fungicide can be a helpful backup. After my corrective pruning and repotting, I applied a copper fungicide for jade plant blight as a protective coat on the remaining stems and leaves. It’s crucial to use a product labeled for succulents and follow instructions meticulously. I applied it once at the start of the two-week period and once at the end, focusing on prevention rather than expecting it to cure already-rotted tissue.
My 2-Week Observation & The Recovery Signs: By the end of the 14-day protocol, the plant was no longer in crisis. New growth wasn’t yet visible (that came about a week later), but the existing leaves plumped up slightly, showing the roots were functioning again. Most importantly, there was an absolute halt to leaf drop and spot formation. The environment had been successfully reset from hospitable to hostile for the fungus.
What are the first signs of fungal blight I should look for? The earliest signs are often soft, water-soaked spots on leaves that may be yellow, brown, or black. A stem may become slightly darkened and soft to the touch. A single leaf dropping for no apparent reason can also be a red flag. Catching it at this stage makes treatment vastly easier.
Can I use cinnamon or hydrogen peroxide as a home remedy? I’ve experimented with both. Ground cinnamon is a mild desiccant and antifungal. I’ve used it to dust fresh cut ends on stems as a low-cost protectant. A diluted hydrogen peroxide solution (1 part 3% peroxide to 4 parts water) can help disinfect the root zone during repotting. However, for an active, aggressive blight, these are supportive measures, not cures. They lack the systemic strength of dedicated fungicides for stopping a determined infection.
How long does it take for a jade plant to fully recover from a severe fungal attack? Patience is key. After implementing these fixes, you should see the infection halt within 1-2 weeks. However, full recovery—where the plant puts out vigorous new growth and regains its former density—can take an entire growing season (several months). The plant’s energy is first directed toward healing and sealing wounds before it can focus on new leaves. Consistent, correct care during this period is what ultimately rebuilds its strength.
")
Watching a jade plant overcome a fungal blight is a lesson in resilience, both the plant’s and your own. The process demands that we move from reactive worry to proactive, informed care. It’s not about a single miracle cure but a integrated strategy of removal, environment, and patience. By acting surgically, reforming the root environment, and committing to preventative practices, you don’t just save a plant. You establish a foundation of health that will keep your jade thriving for decades to come, turning a moment of crisis into a long-term success story.
发表评论